Subaru Outback Camper Build
Woodworking • Solidworks • Budgeting • Adventure

Summary
In 2021, I bought a Subaru Outback, designed a camper build for it using Autodesk Inventor, bought the wood and hardware, built it in my parents' driveway, and left for a 2-month roadtrip with a friend. I did this all within a week. It remains one of my favorite home projects. I got to bring a design to fruition and use it immediately, and it helped me experience many cool places on my way to my new home in Utah.
Skills Required & Applied
- CAD modeling (Autodesk Inventor)
- Design for easy assembly (only simple hand tools)
- Basic woodworking
- Budgeting
- Tight time constraints
Process
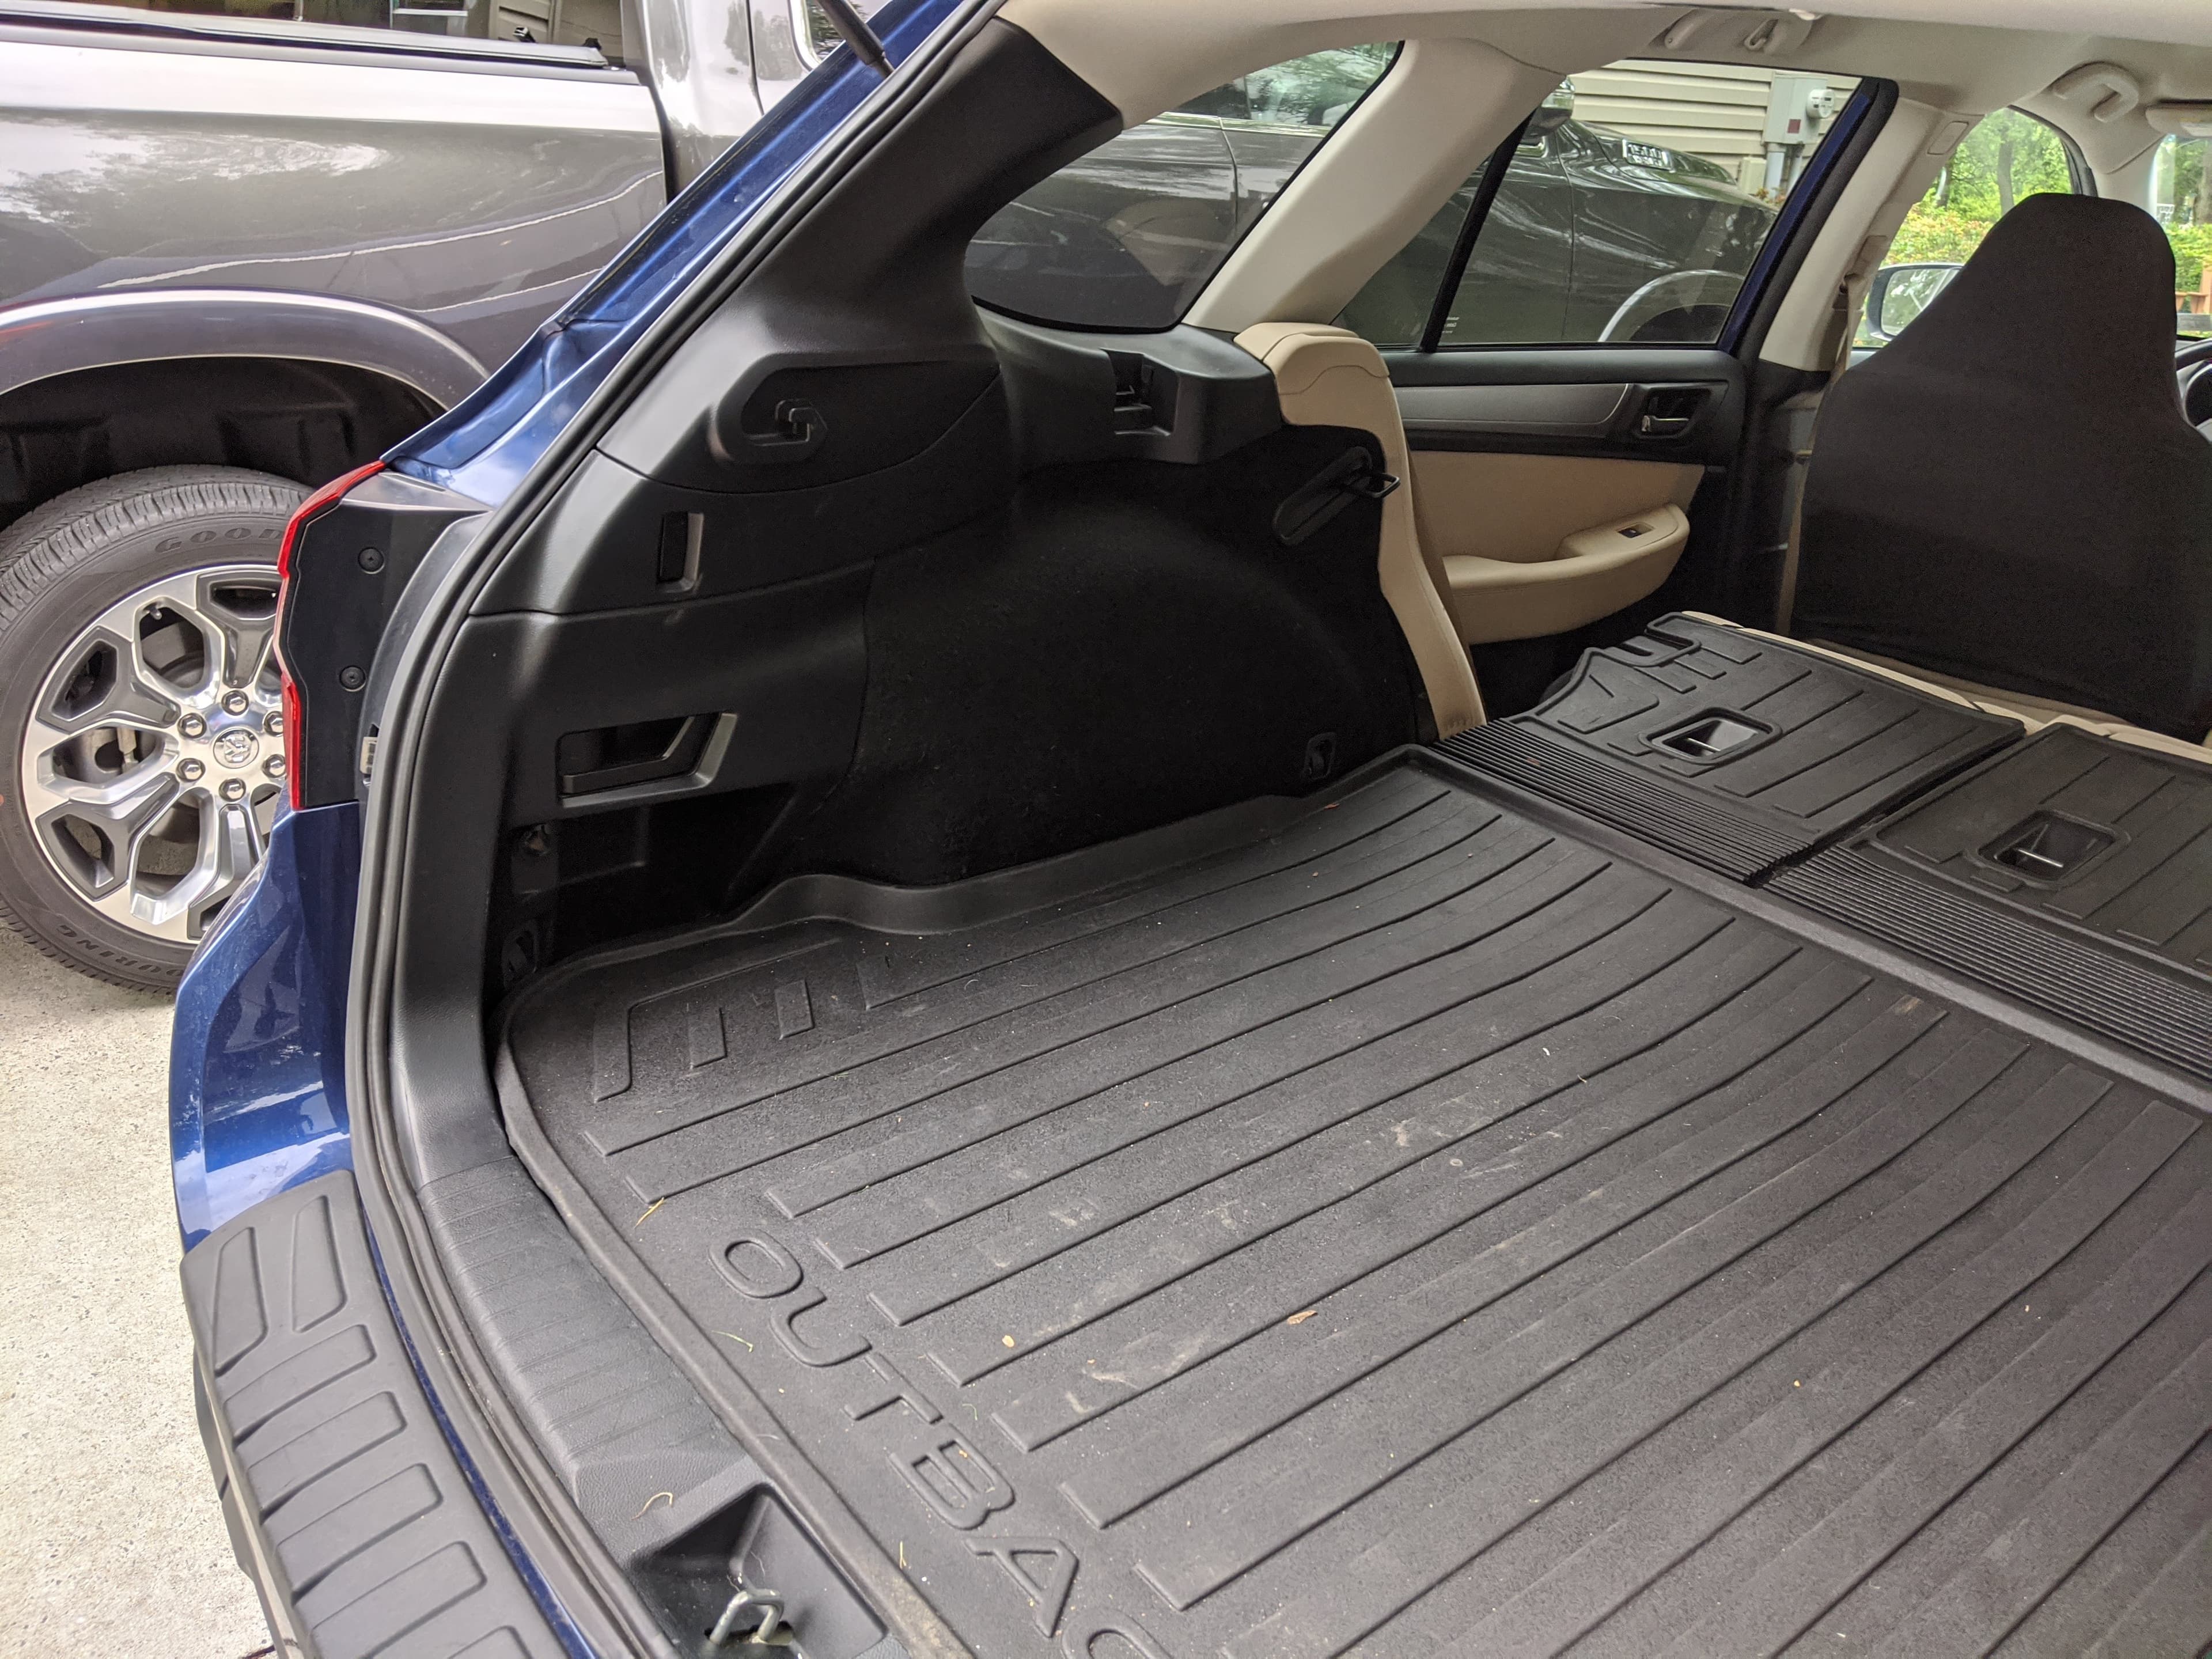
Measuring the Space
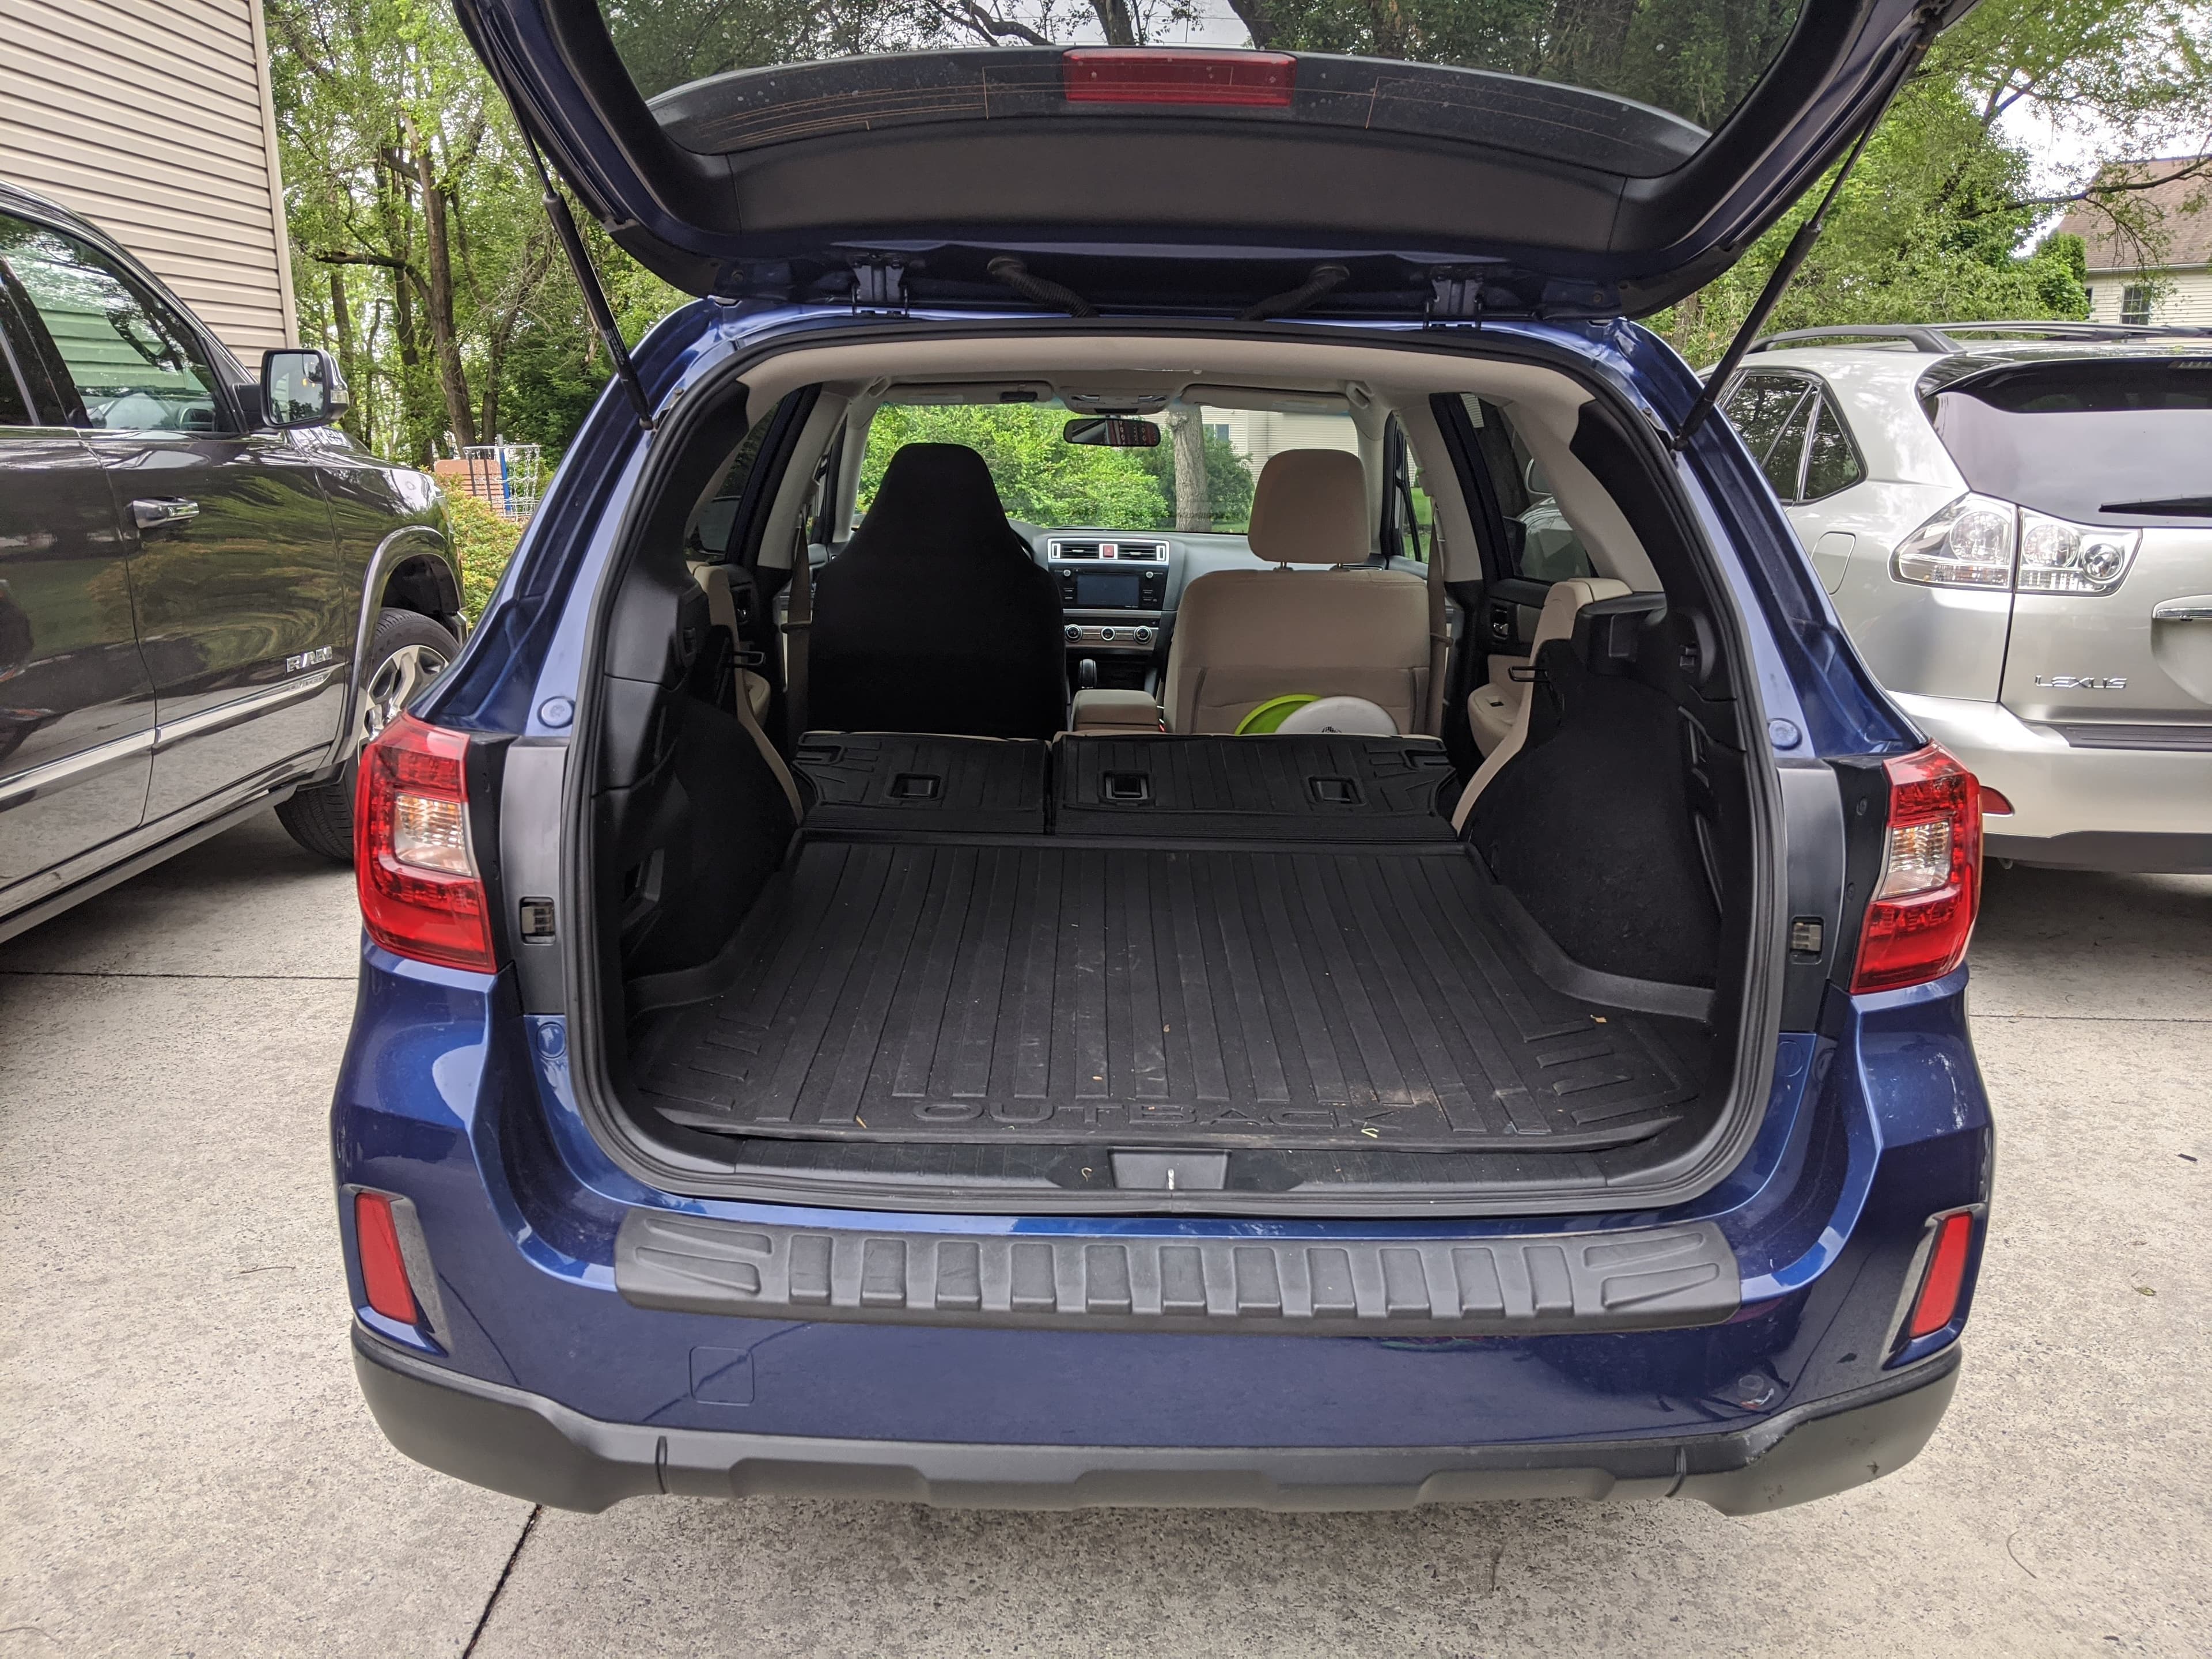
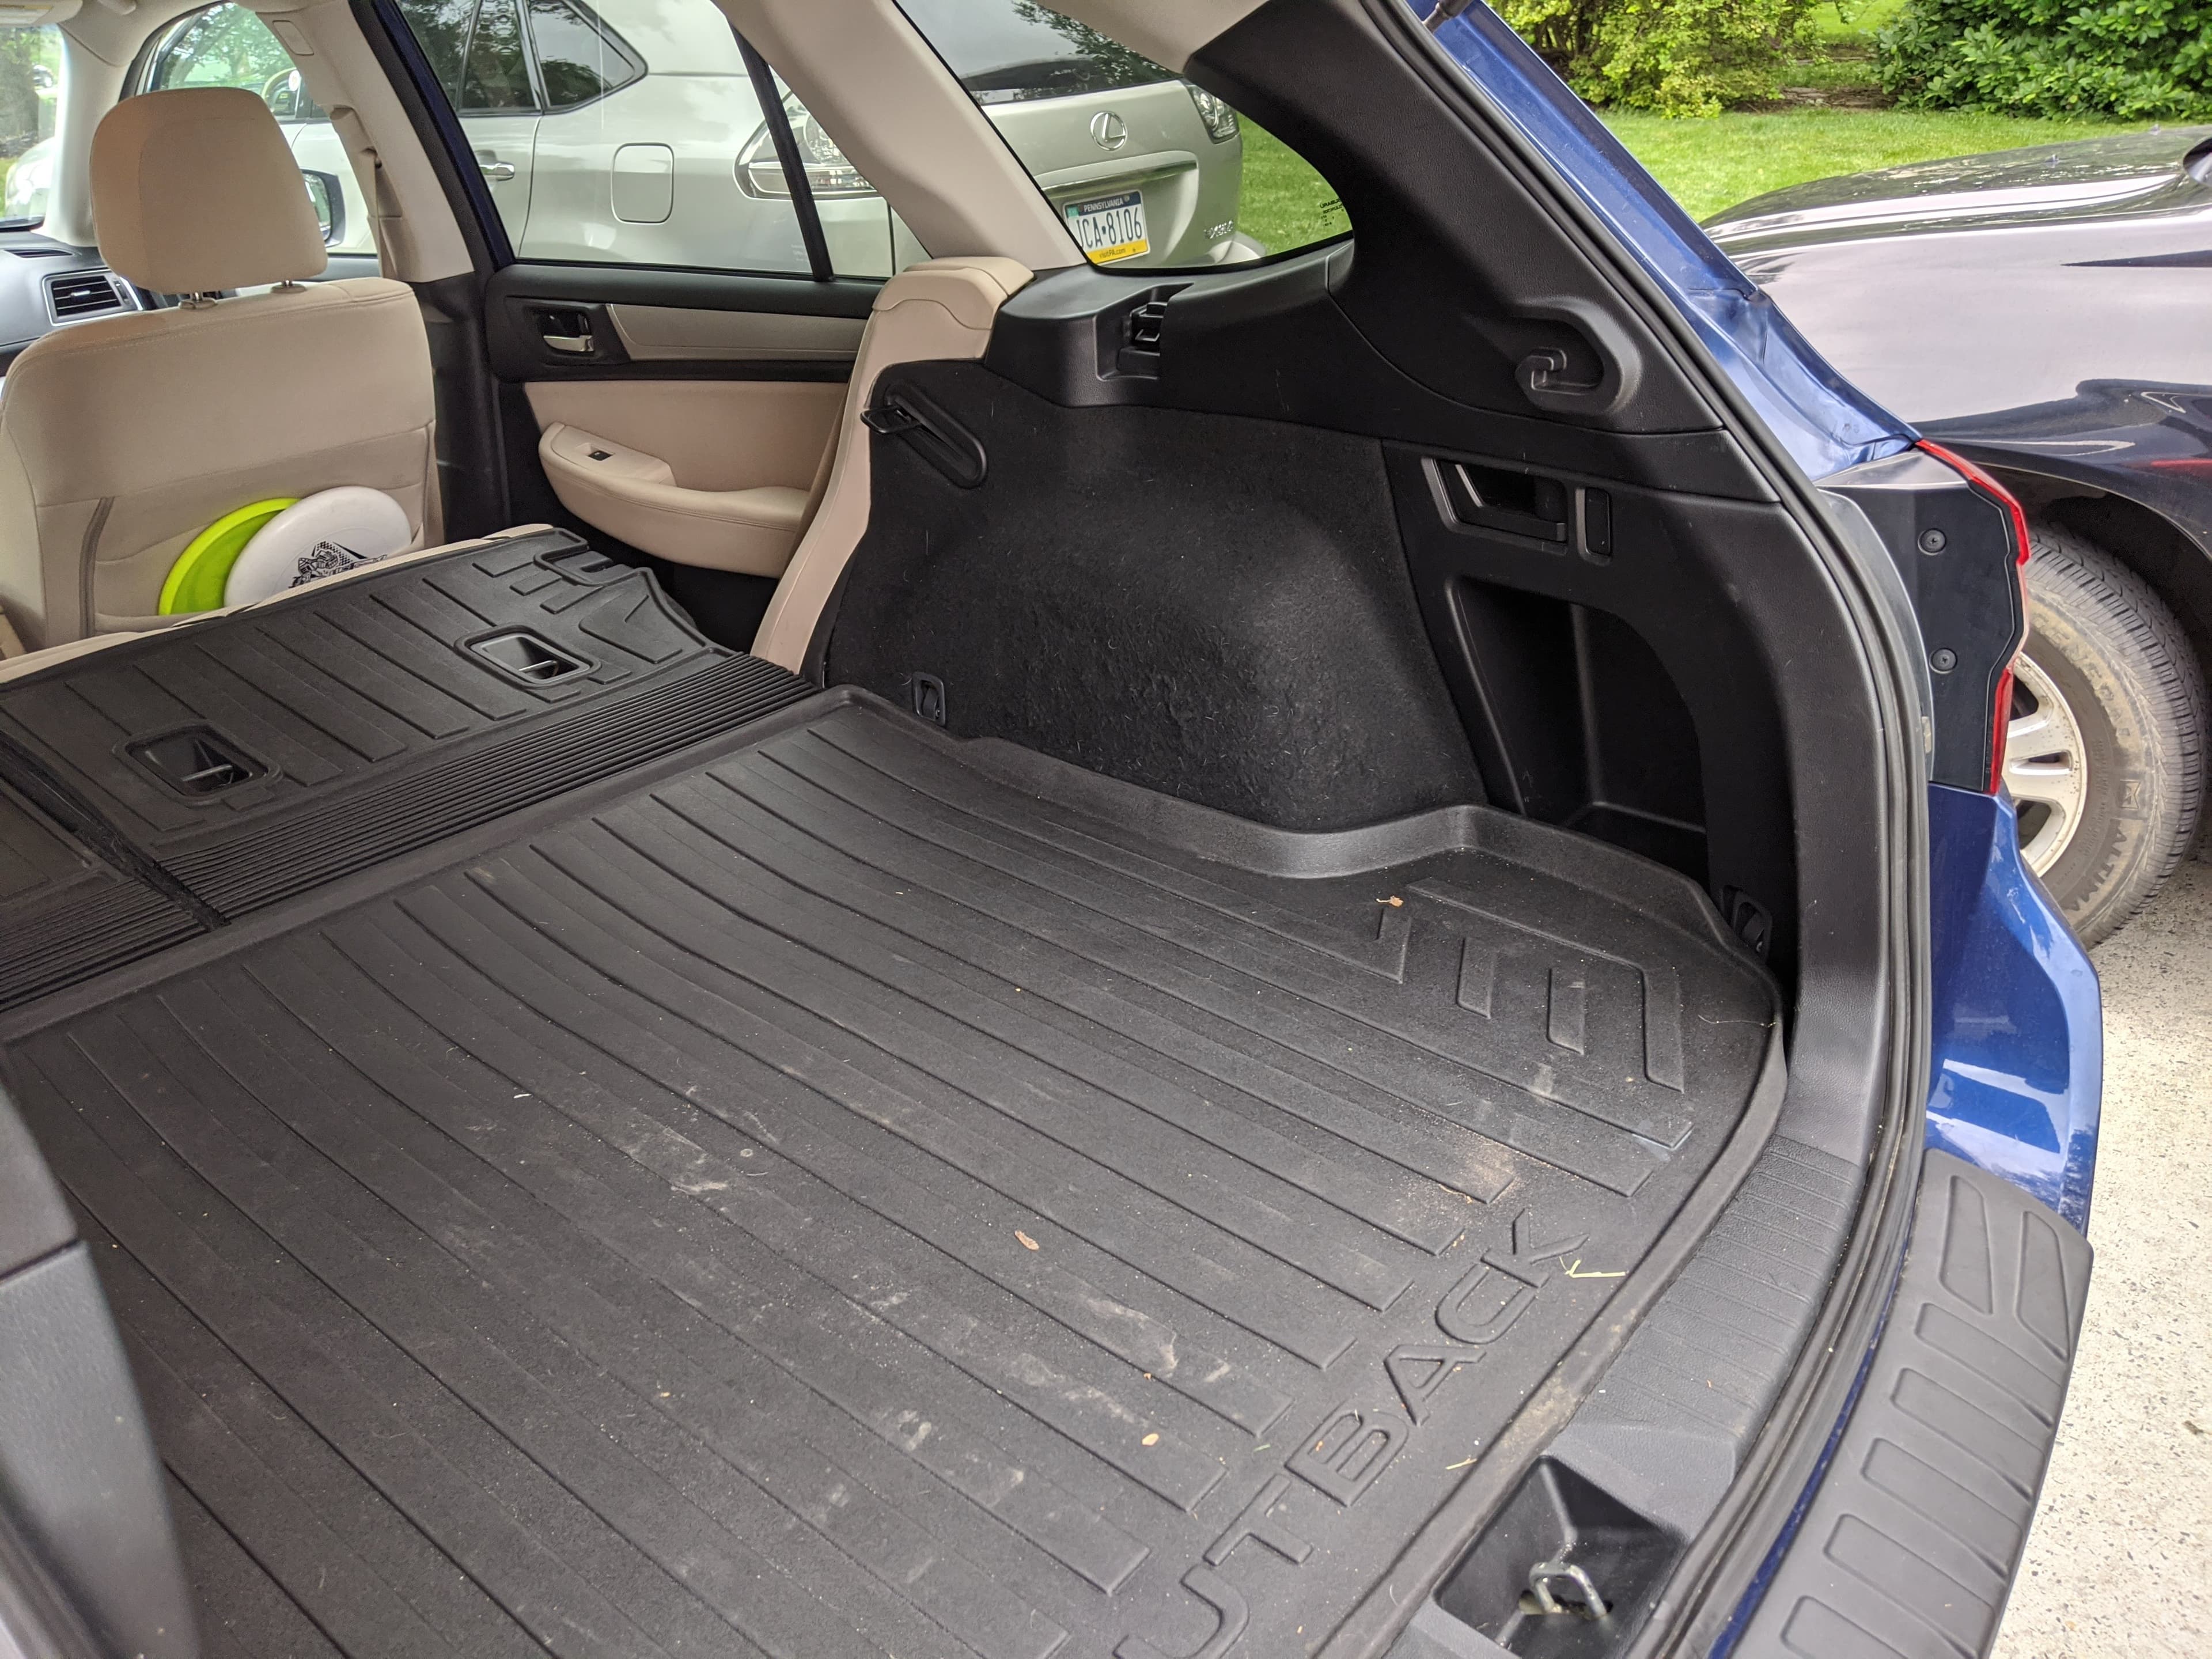
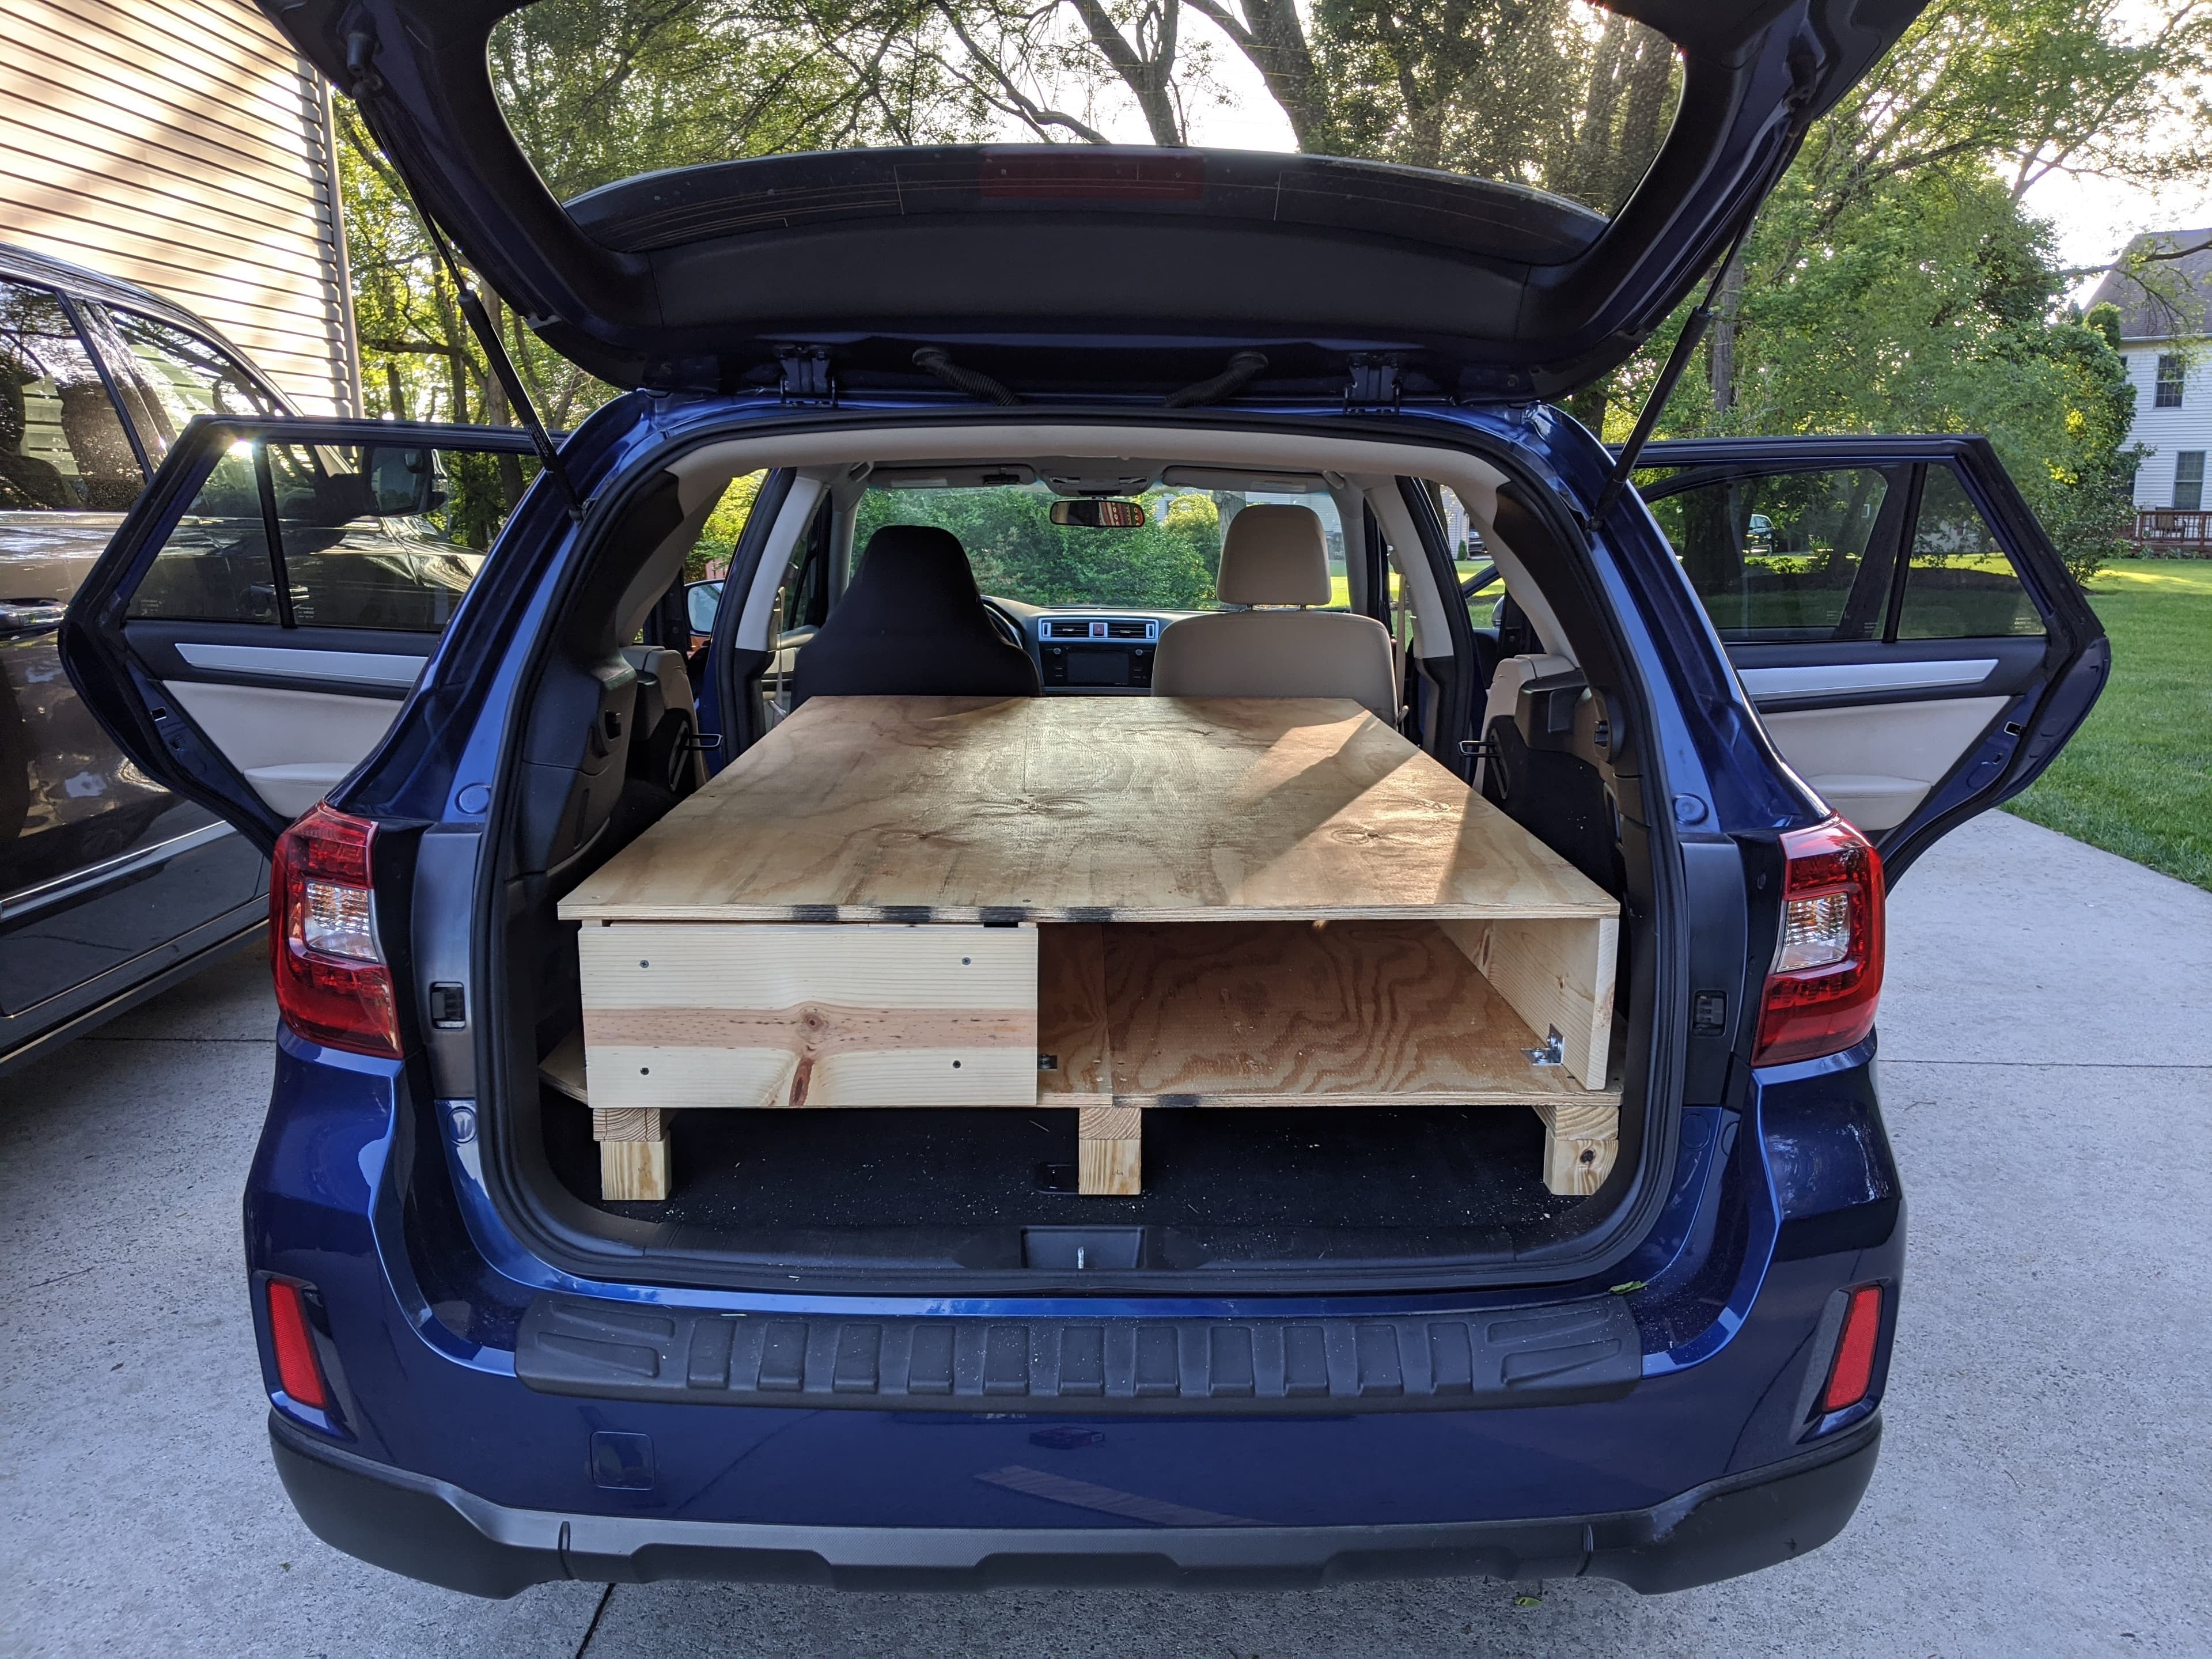
As soon as I bought my car, I brought it home and started measuring the trunk geometry. I wanted my design to maximize its use of the limited, compact space of my trunk. The wheel wells prevented me from using a simple rectangular approach, so I made sure to take careful measurements around each well.
Once I had reliable reference dimensions, I used my sketches to design a full assembly of my camper idea in Autodesk Inventor. I kept the platform split into simple panels so it could be built with basic cuts, assembled quickly, and still come apart cleanly whenever I needed the back seats again.
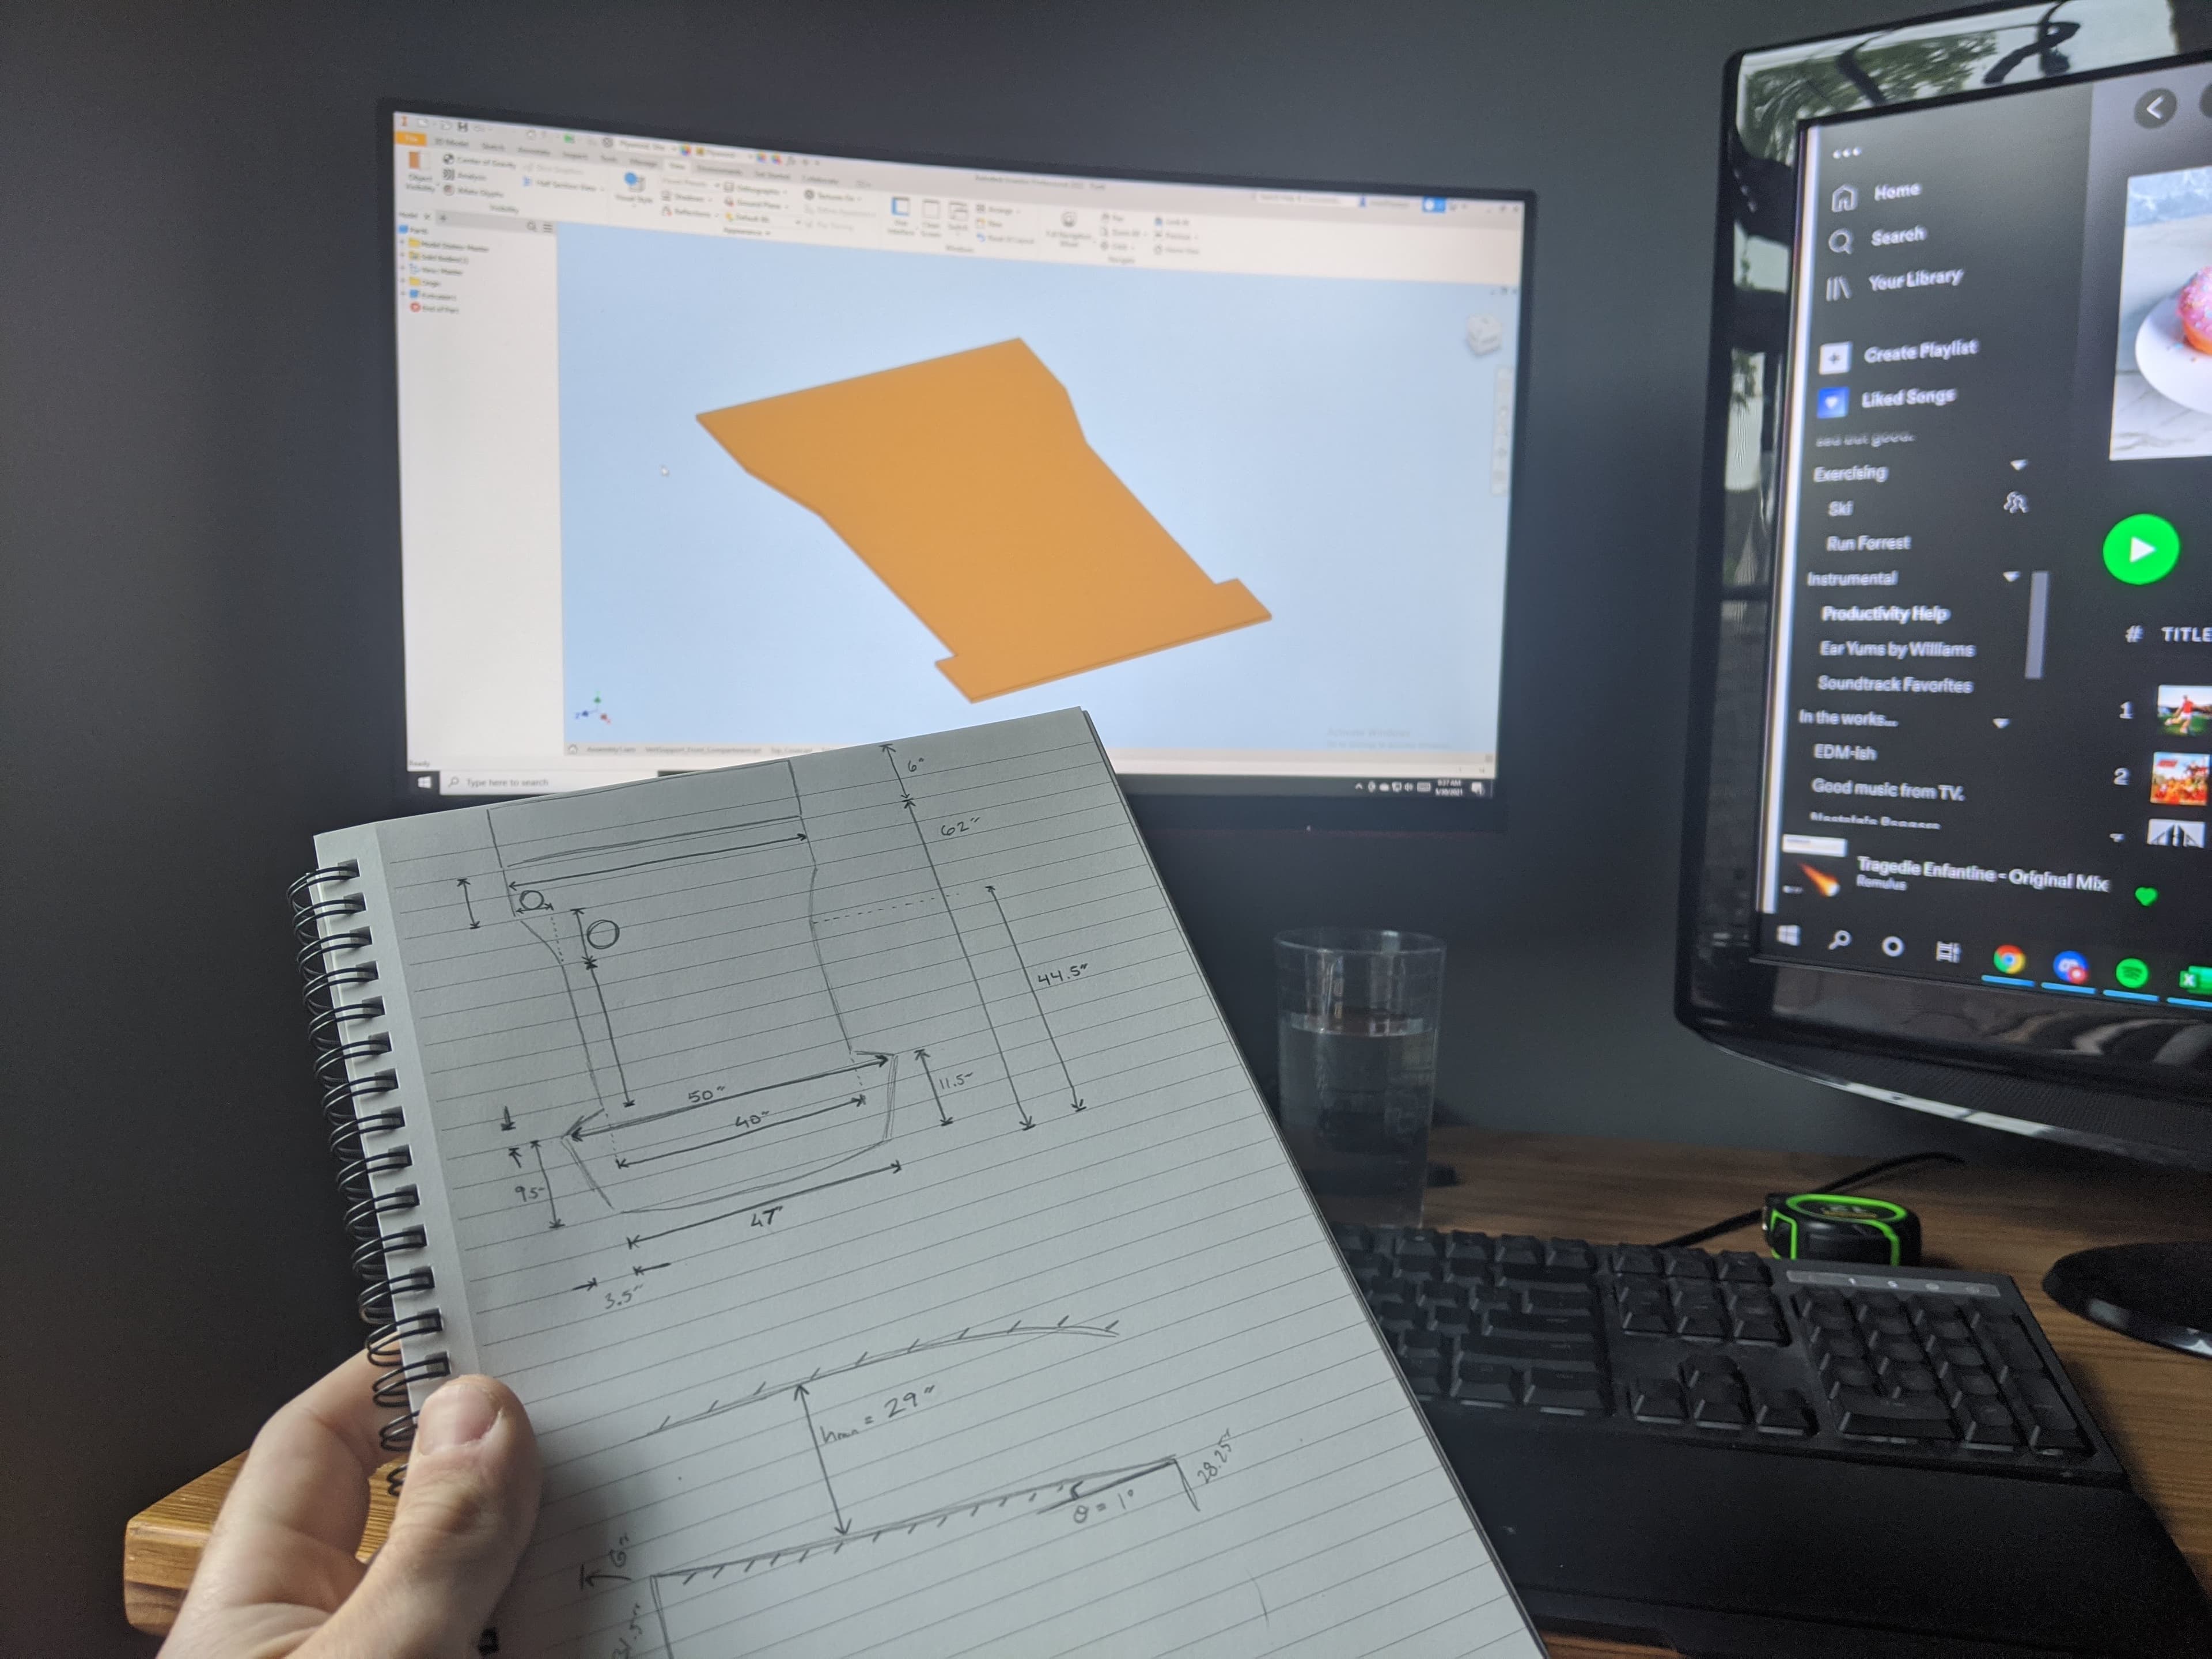
First pass: turning the real car envelope into a buildable geometry.
Process
Modeling the Build
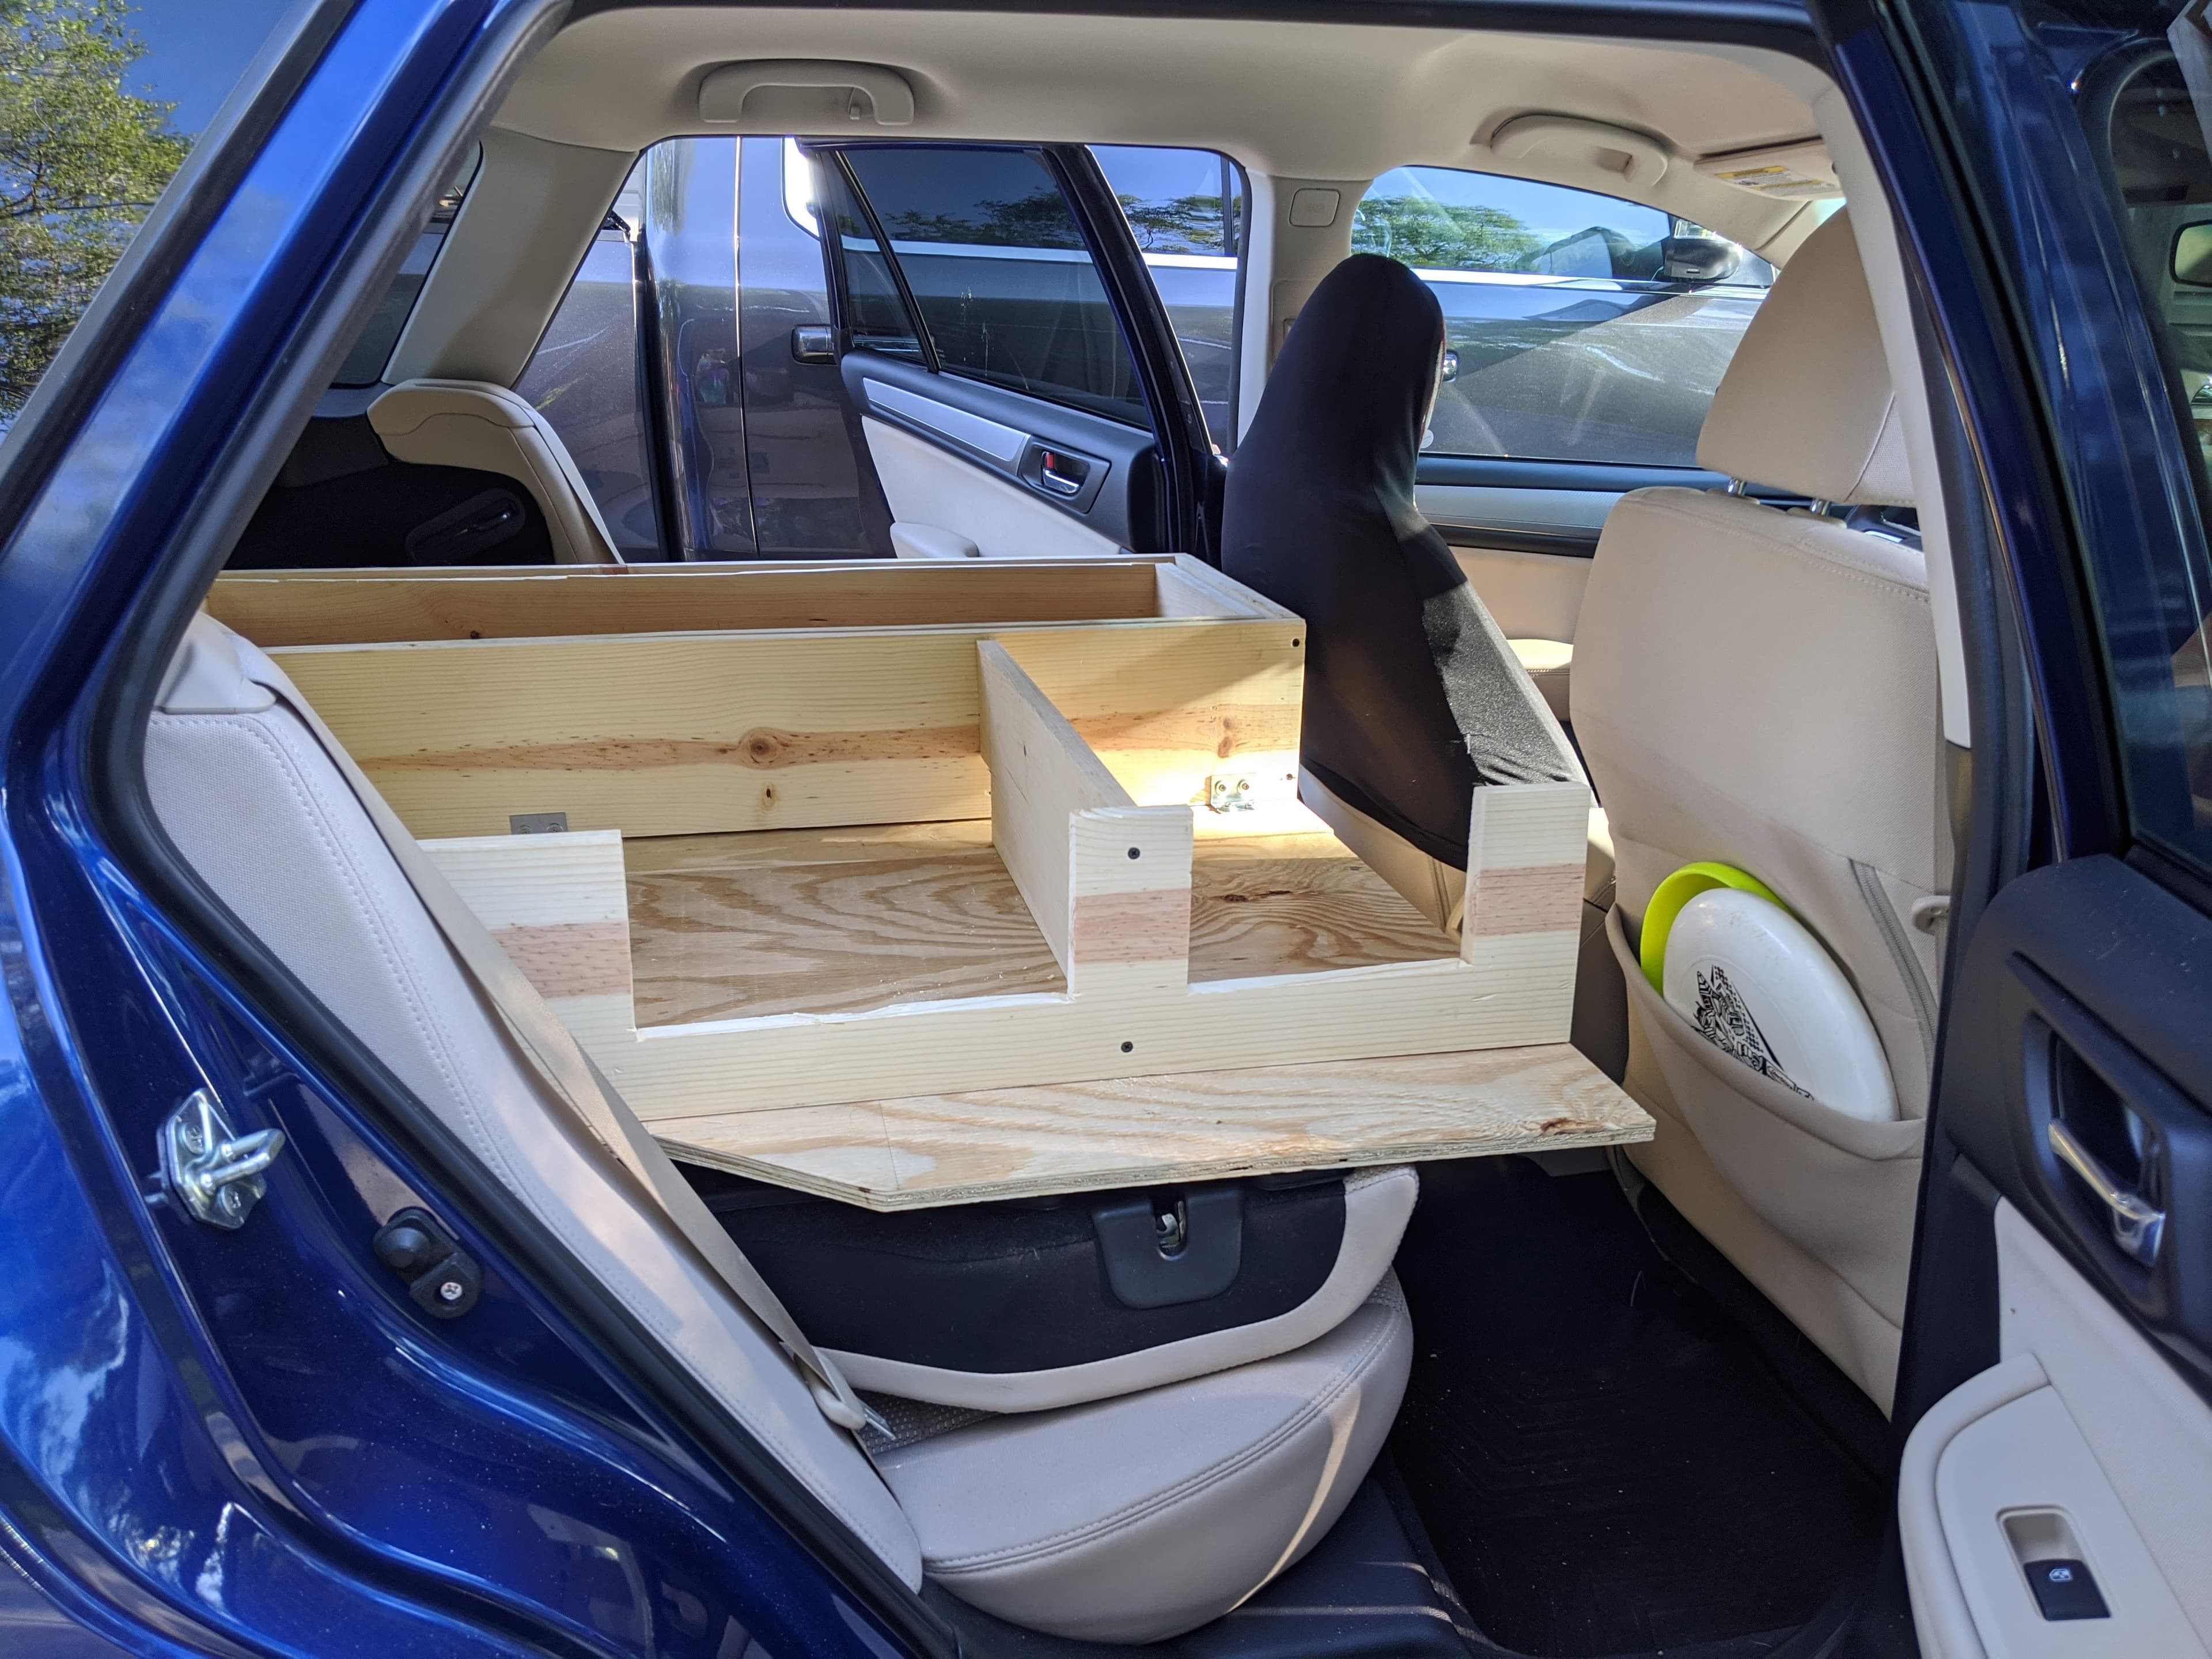
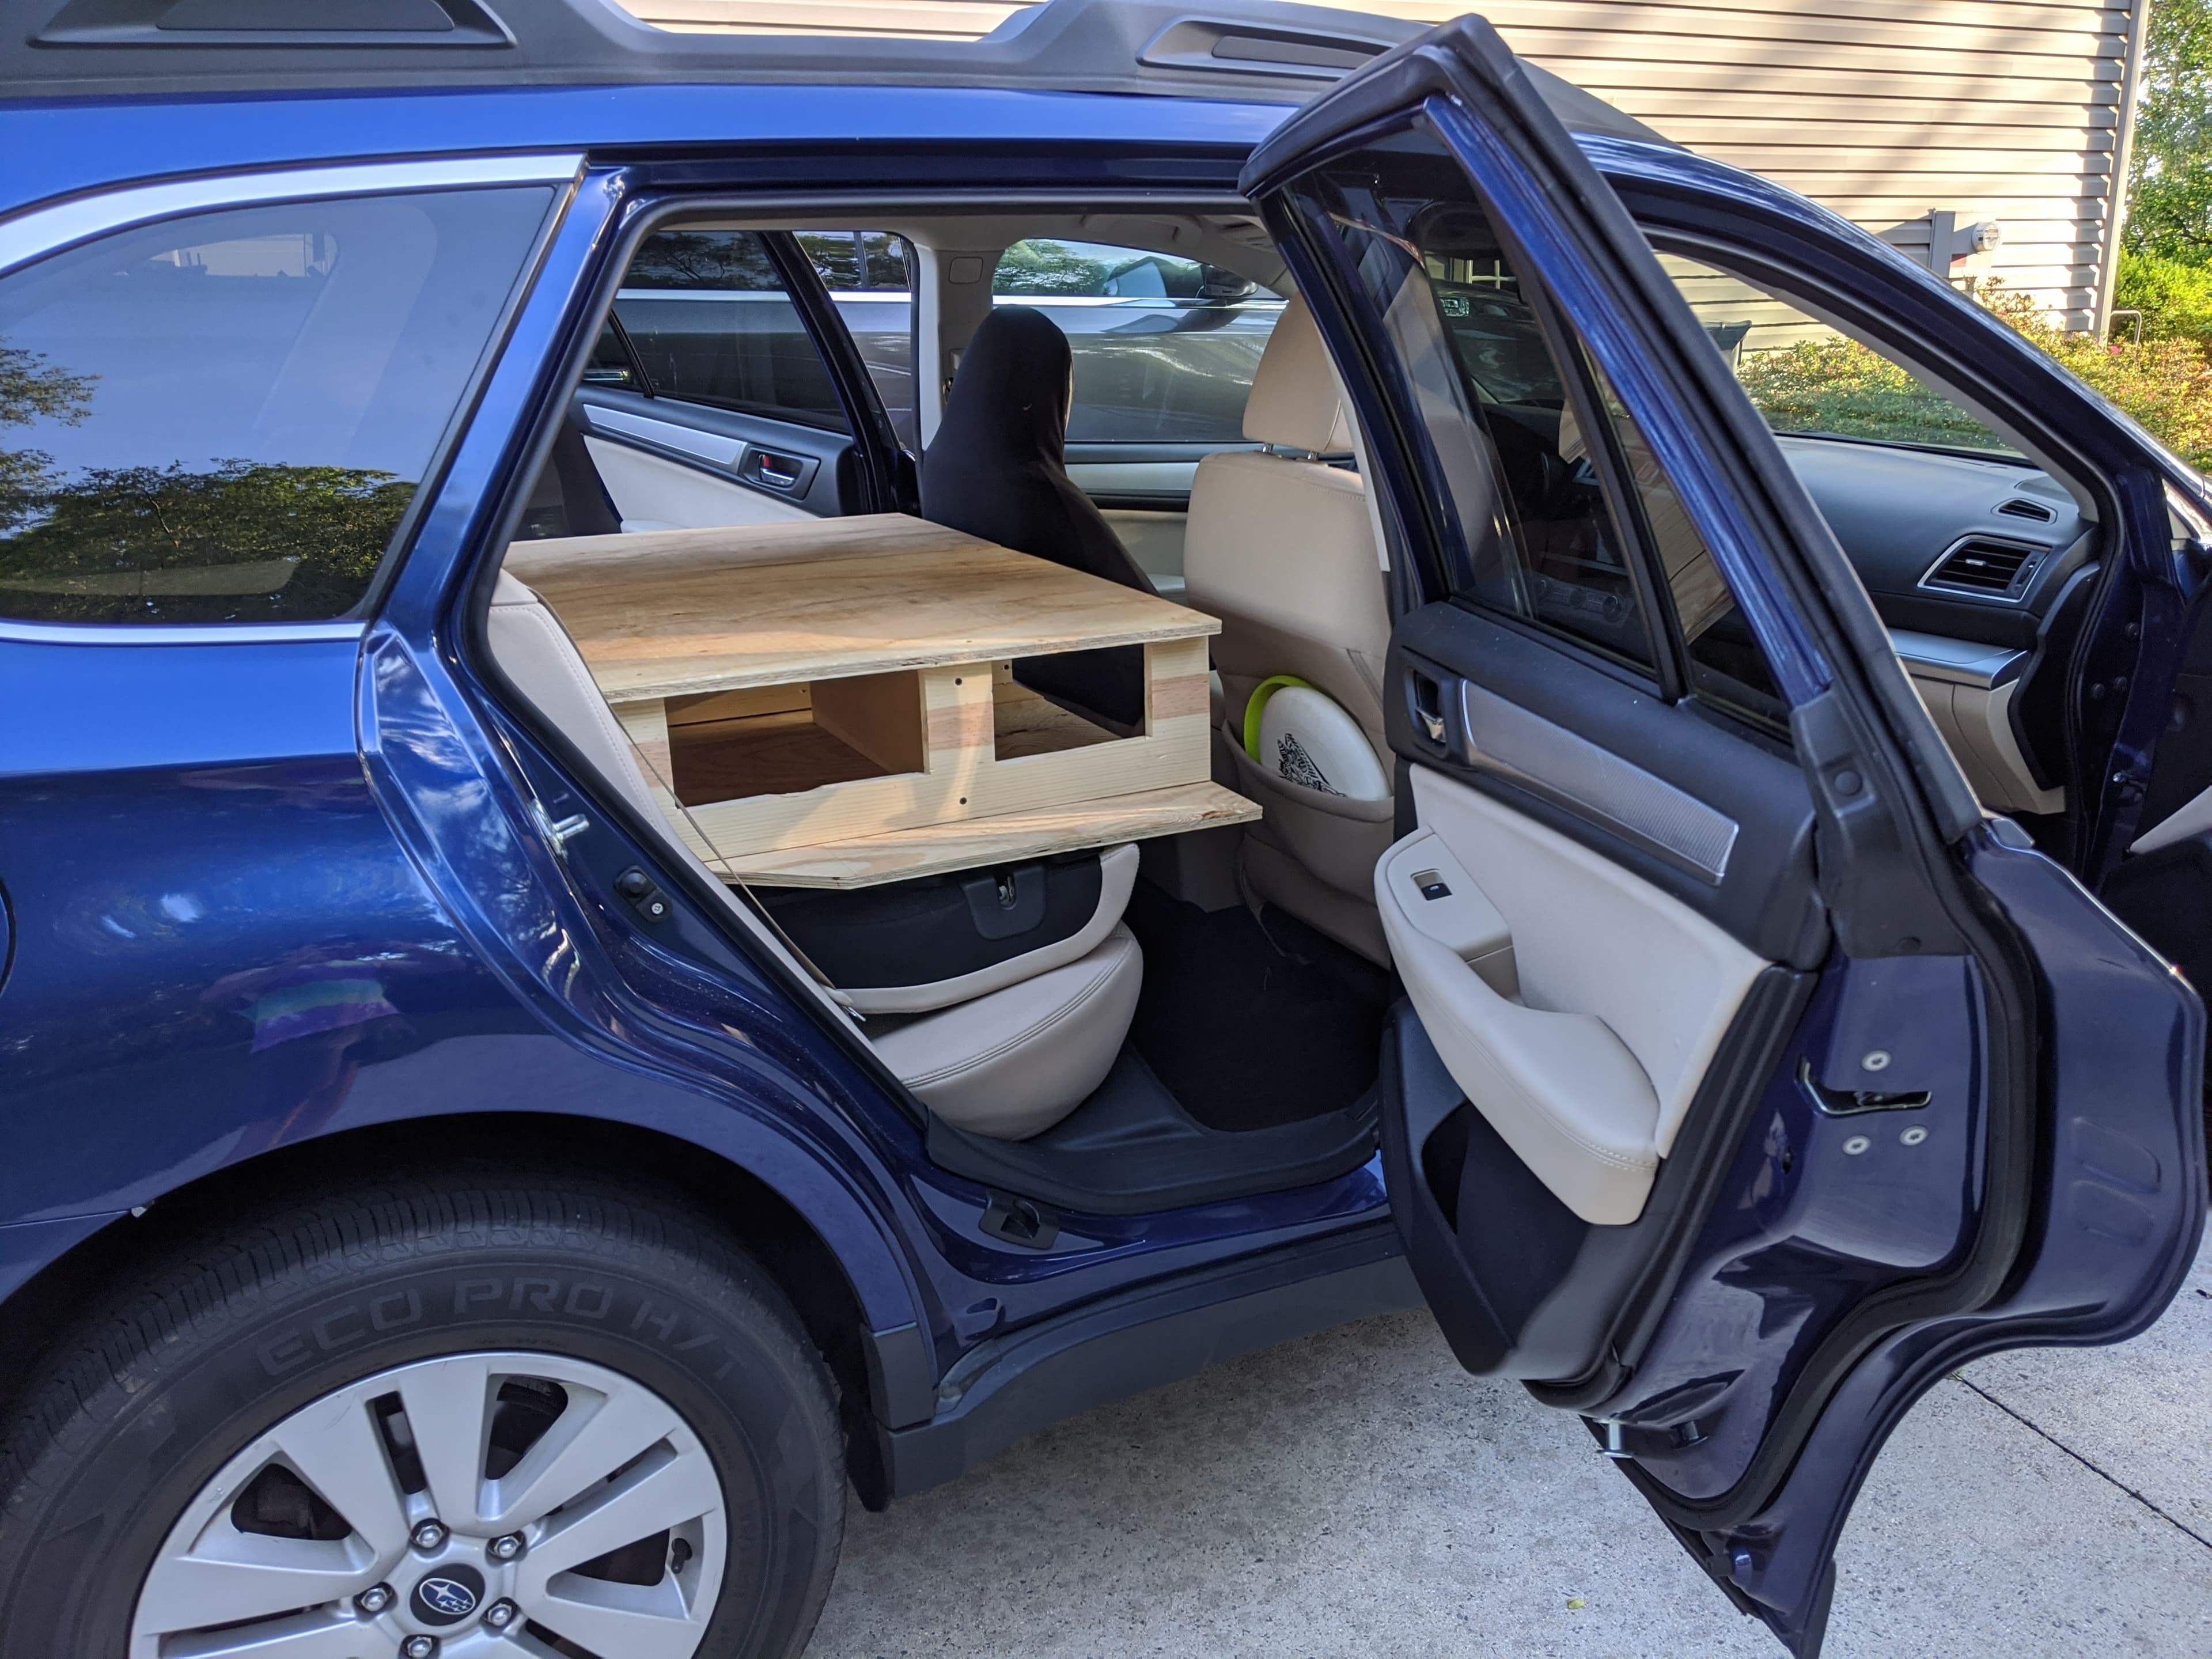
I wanted the build to do more than just provide a sleeping platform and basic unorganized storage. I designed a clothes compartment accessible from the mattress, simple shelving for toiletries, and a drawer system that doubles as a cooking counter with quick access to supplies. CAD made it much easier to integrate these features, check clearances, and make sure everything worked together. Since I was also working with a constrained budget, I also used CAD to generate a bill of materials and stay on top of costs throughout the build.
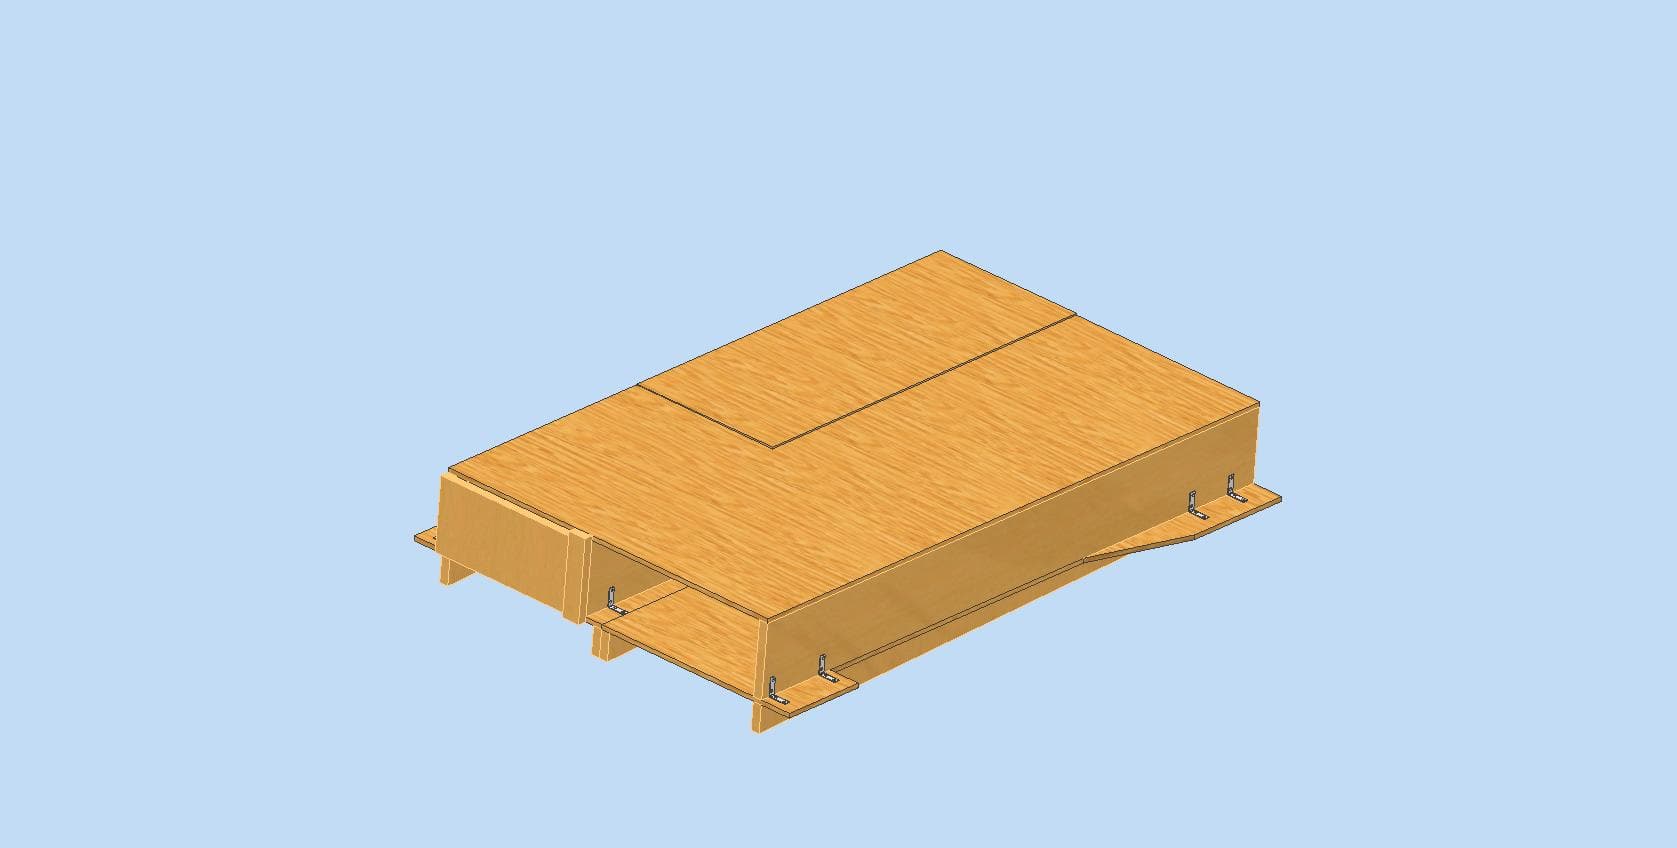
Overall footprint and panel split.
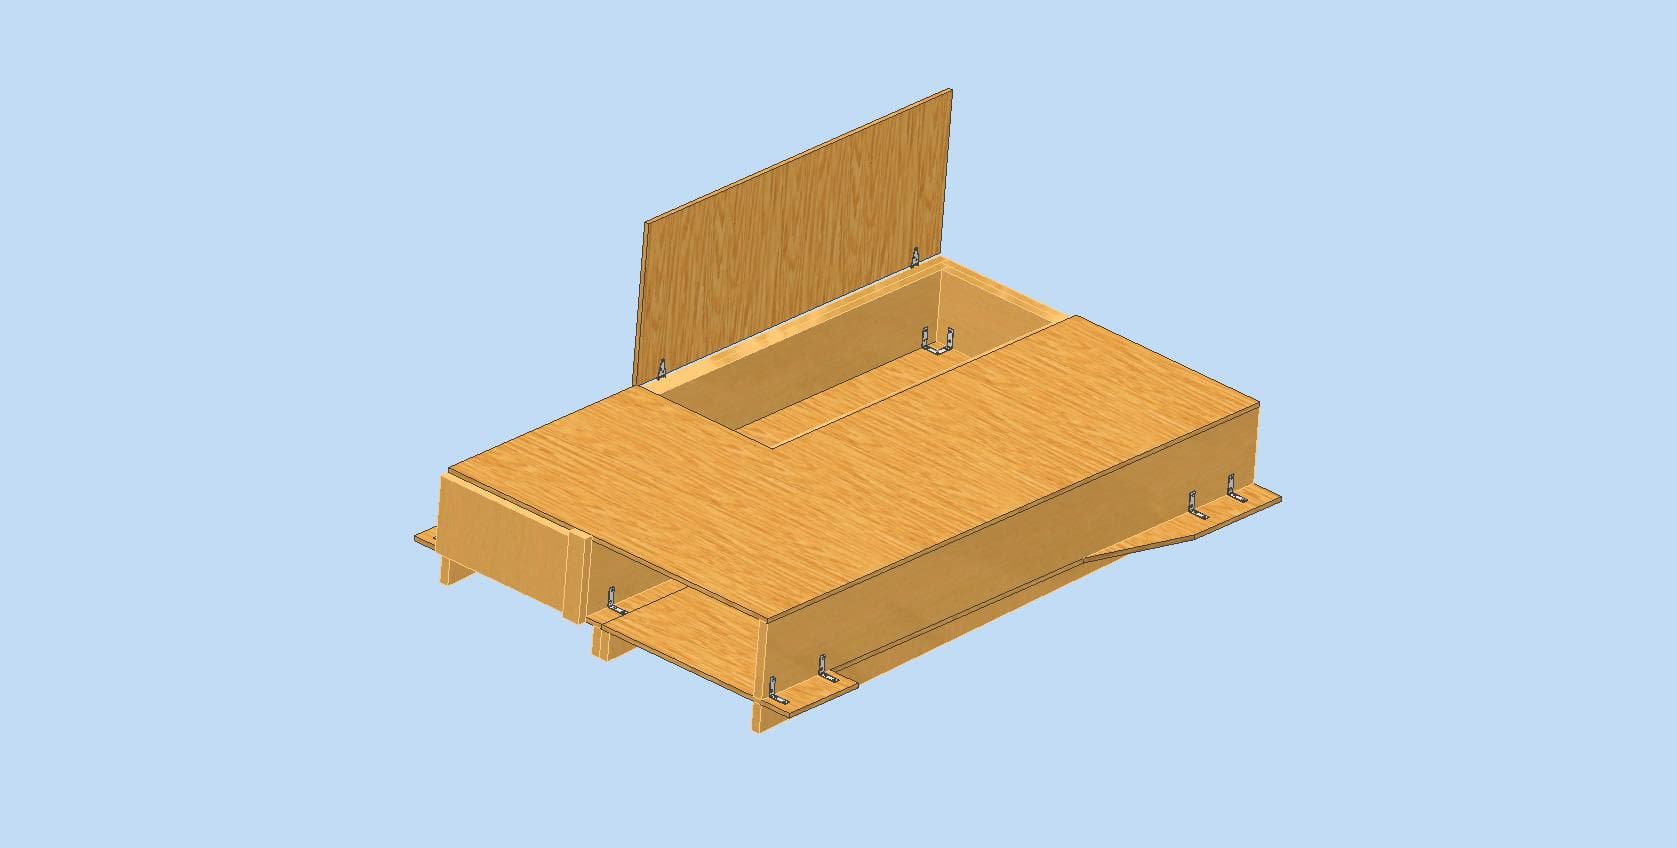
Compartment sizing driven by real gear + usability.
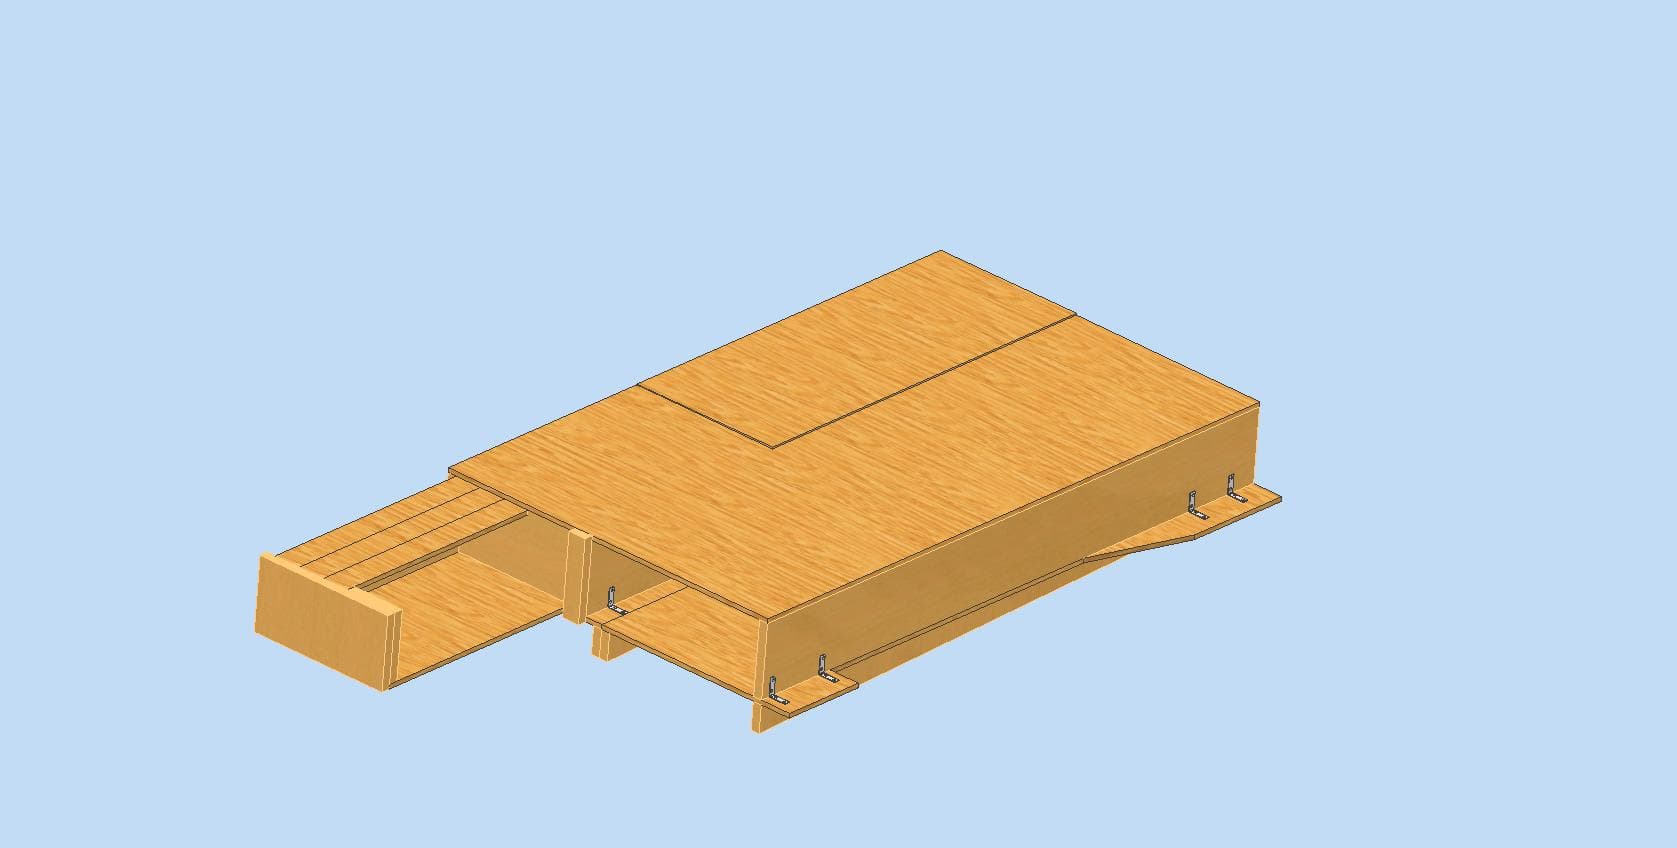
Drawer length, slide placement, and access clearance.
Process
Building the Rig
After finalizing the design, I bought the wood and hardward and began building. Here, I've included a few pictures of the process, but it was honestly all pretty straightfoward woodworking (e.g., sawing and assembling with screws and nails).
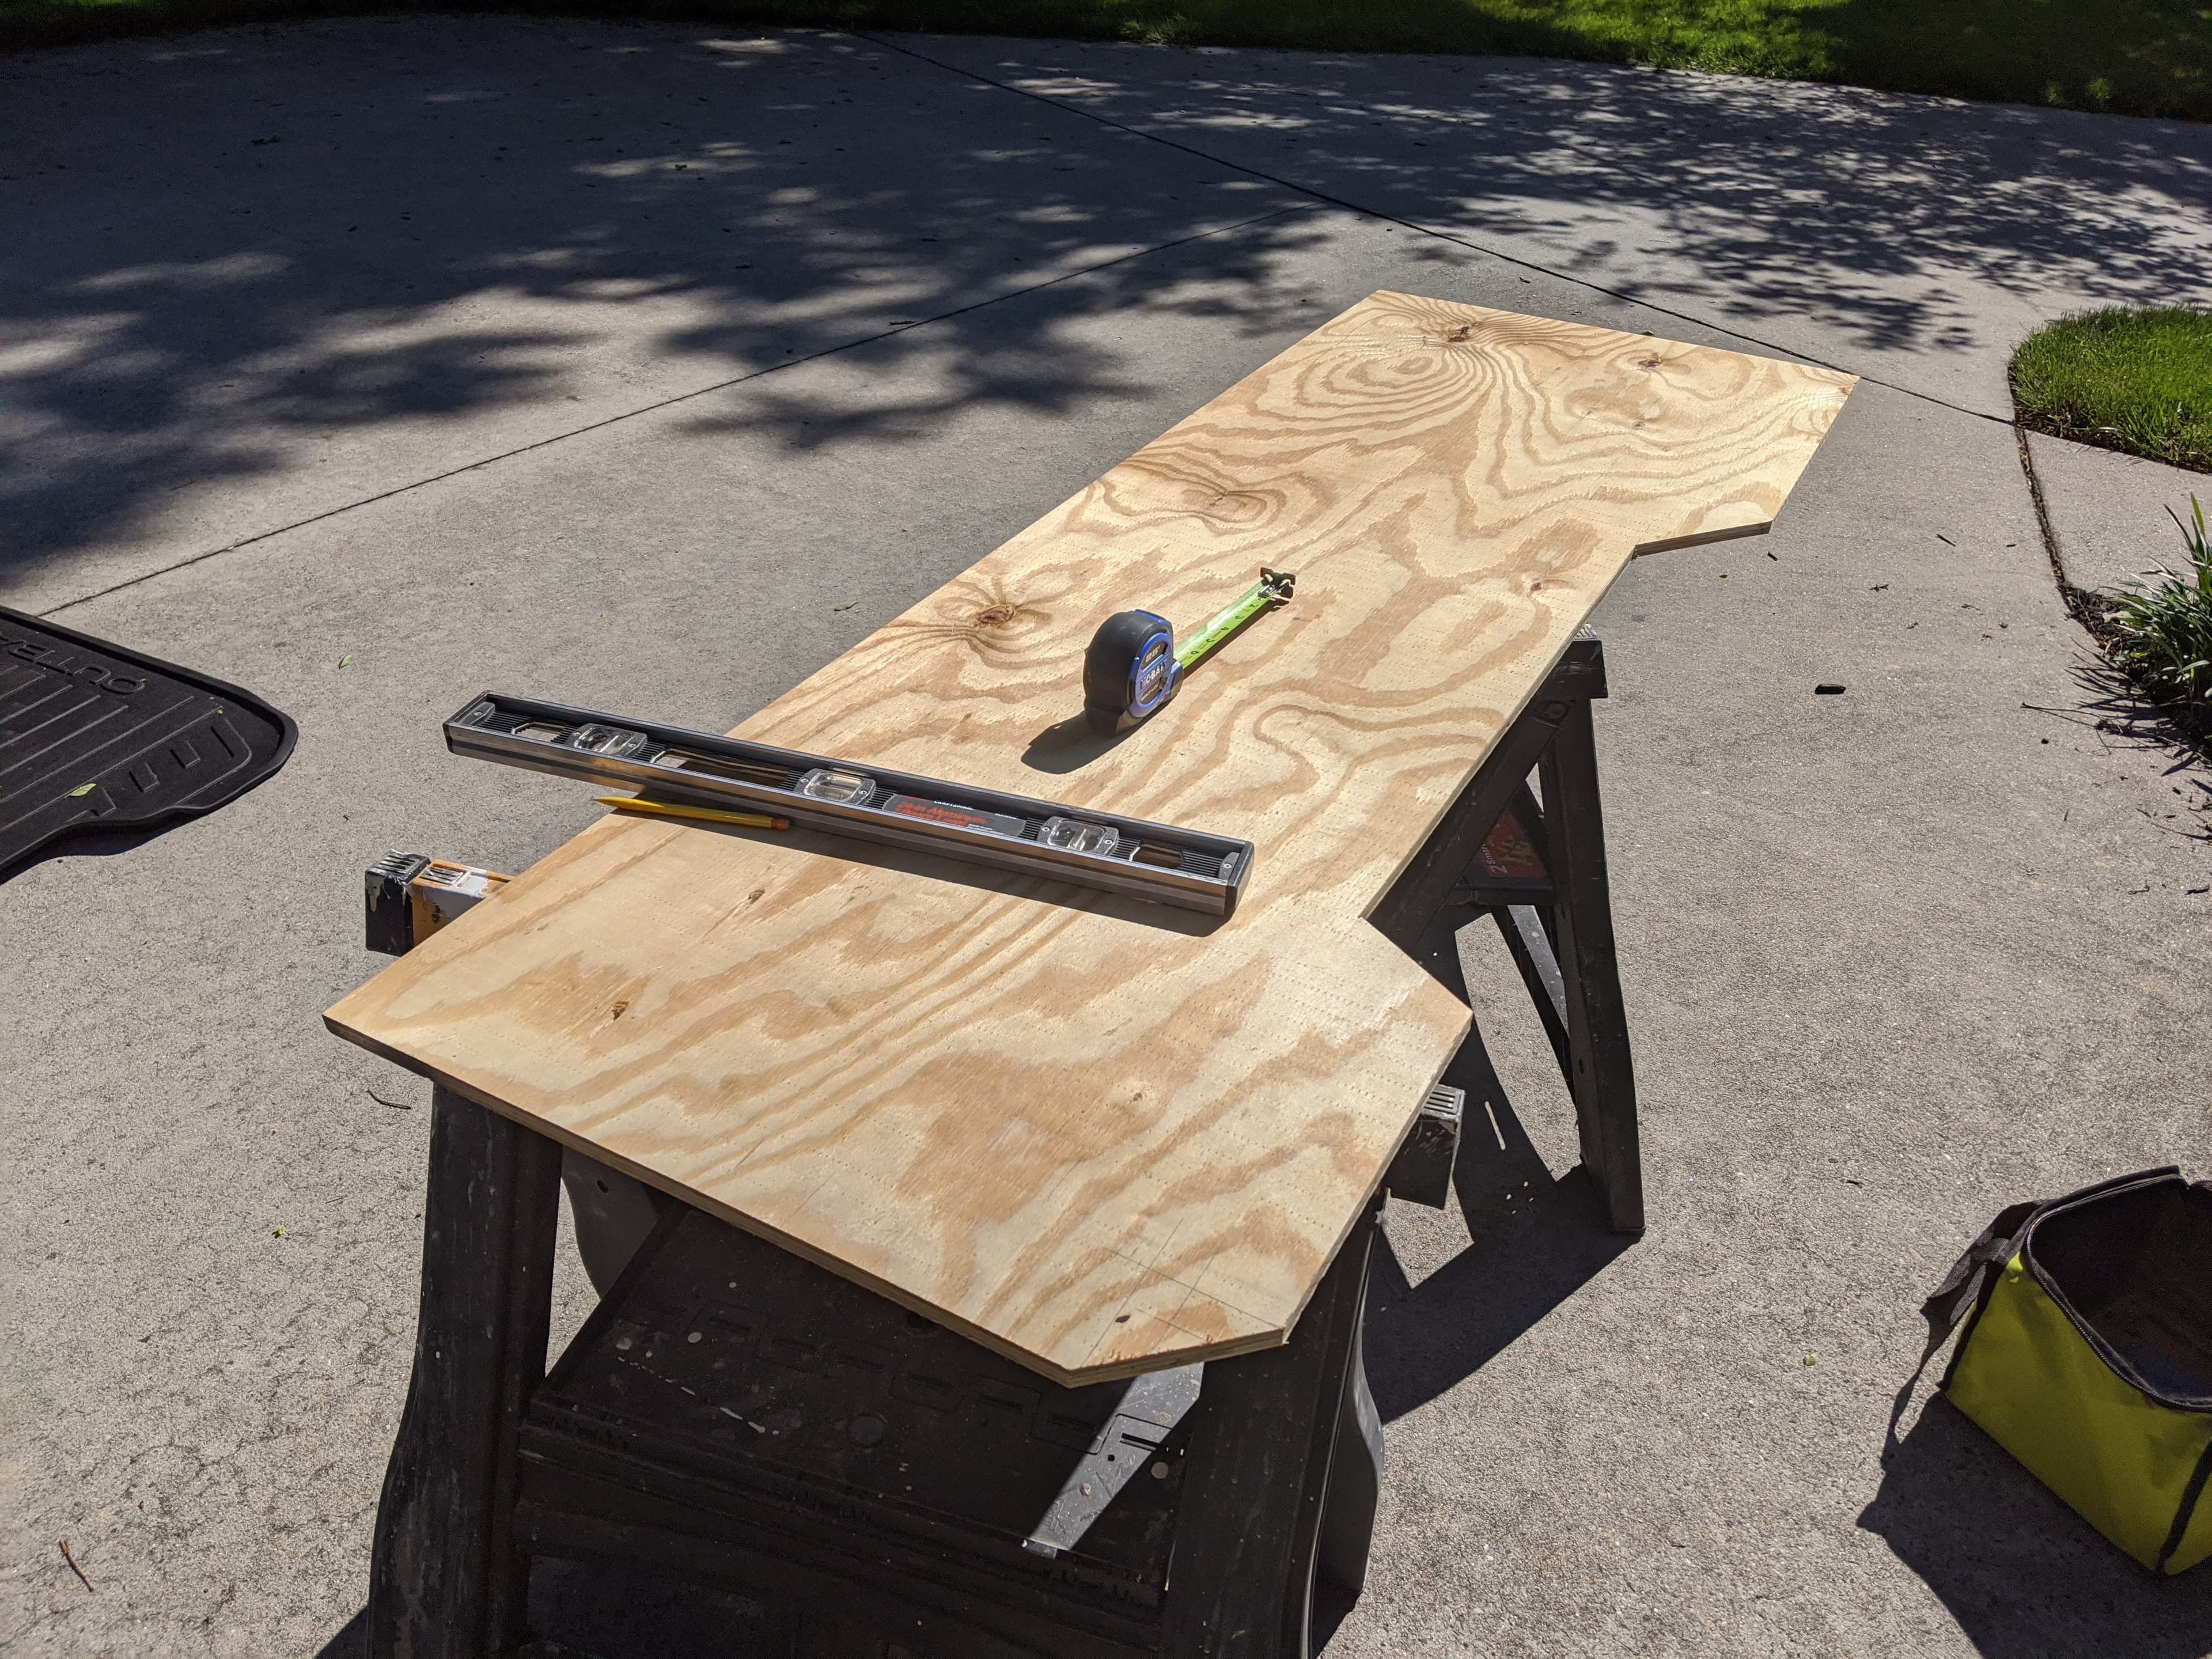
1) Cutting the base panels
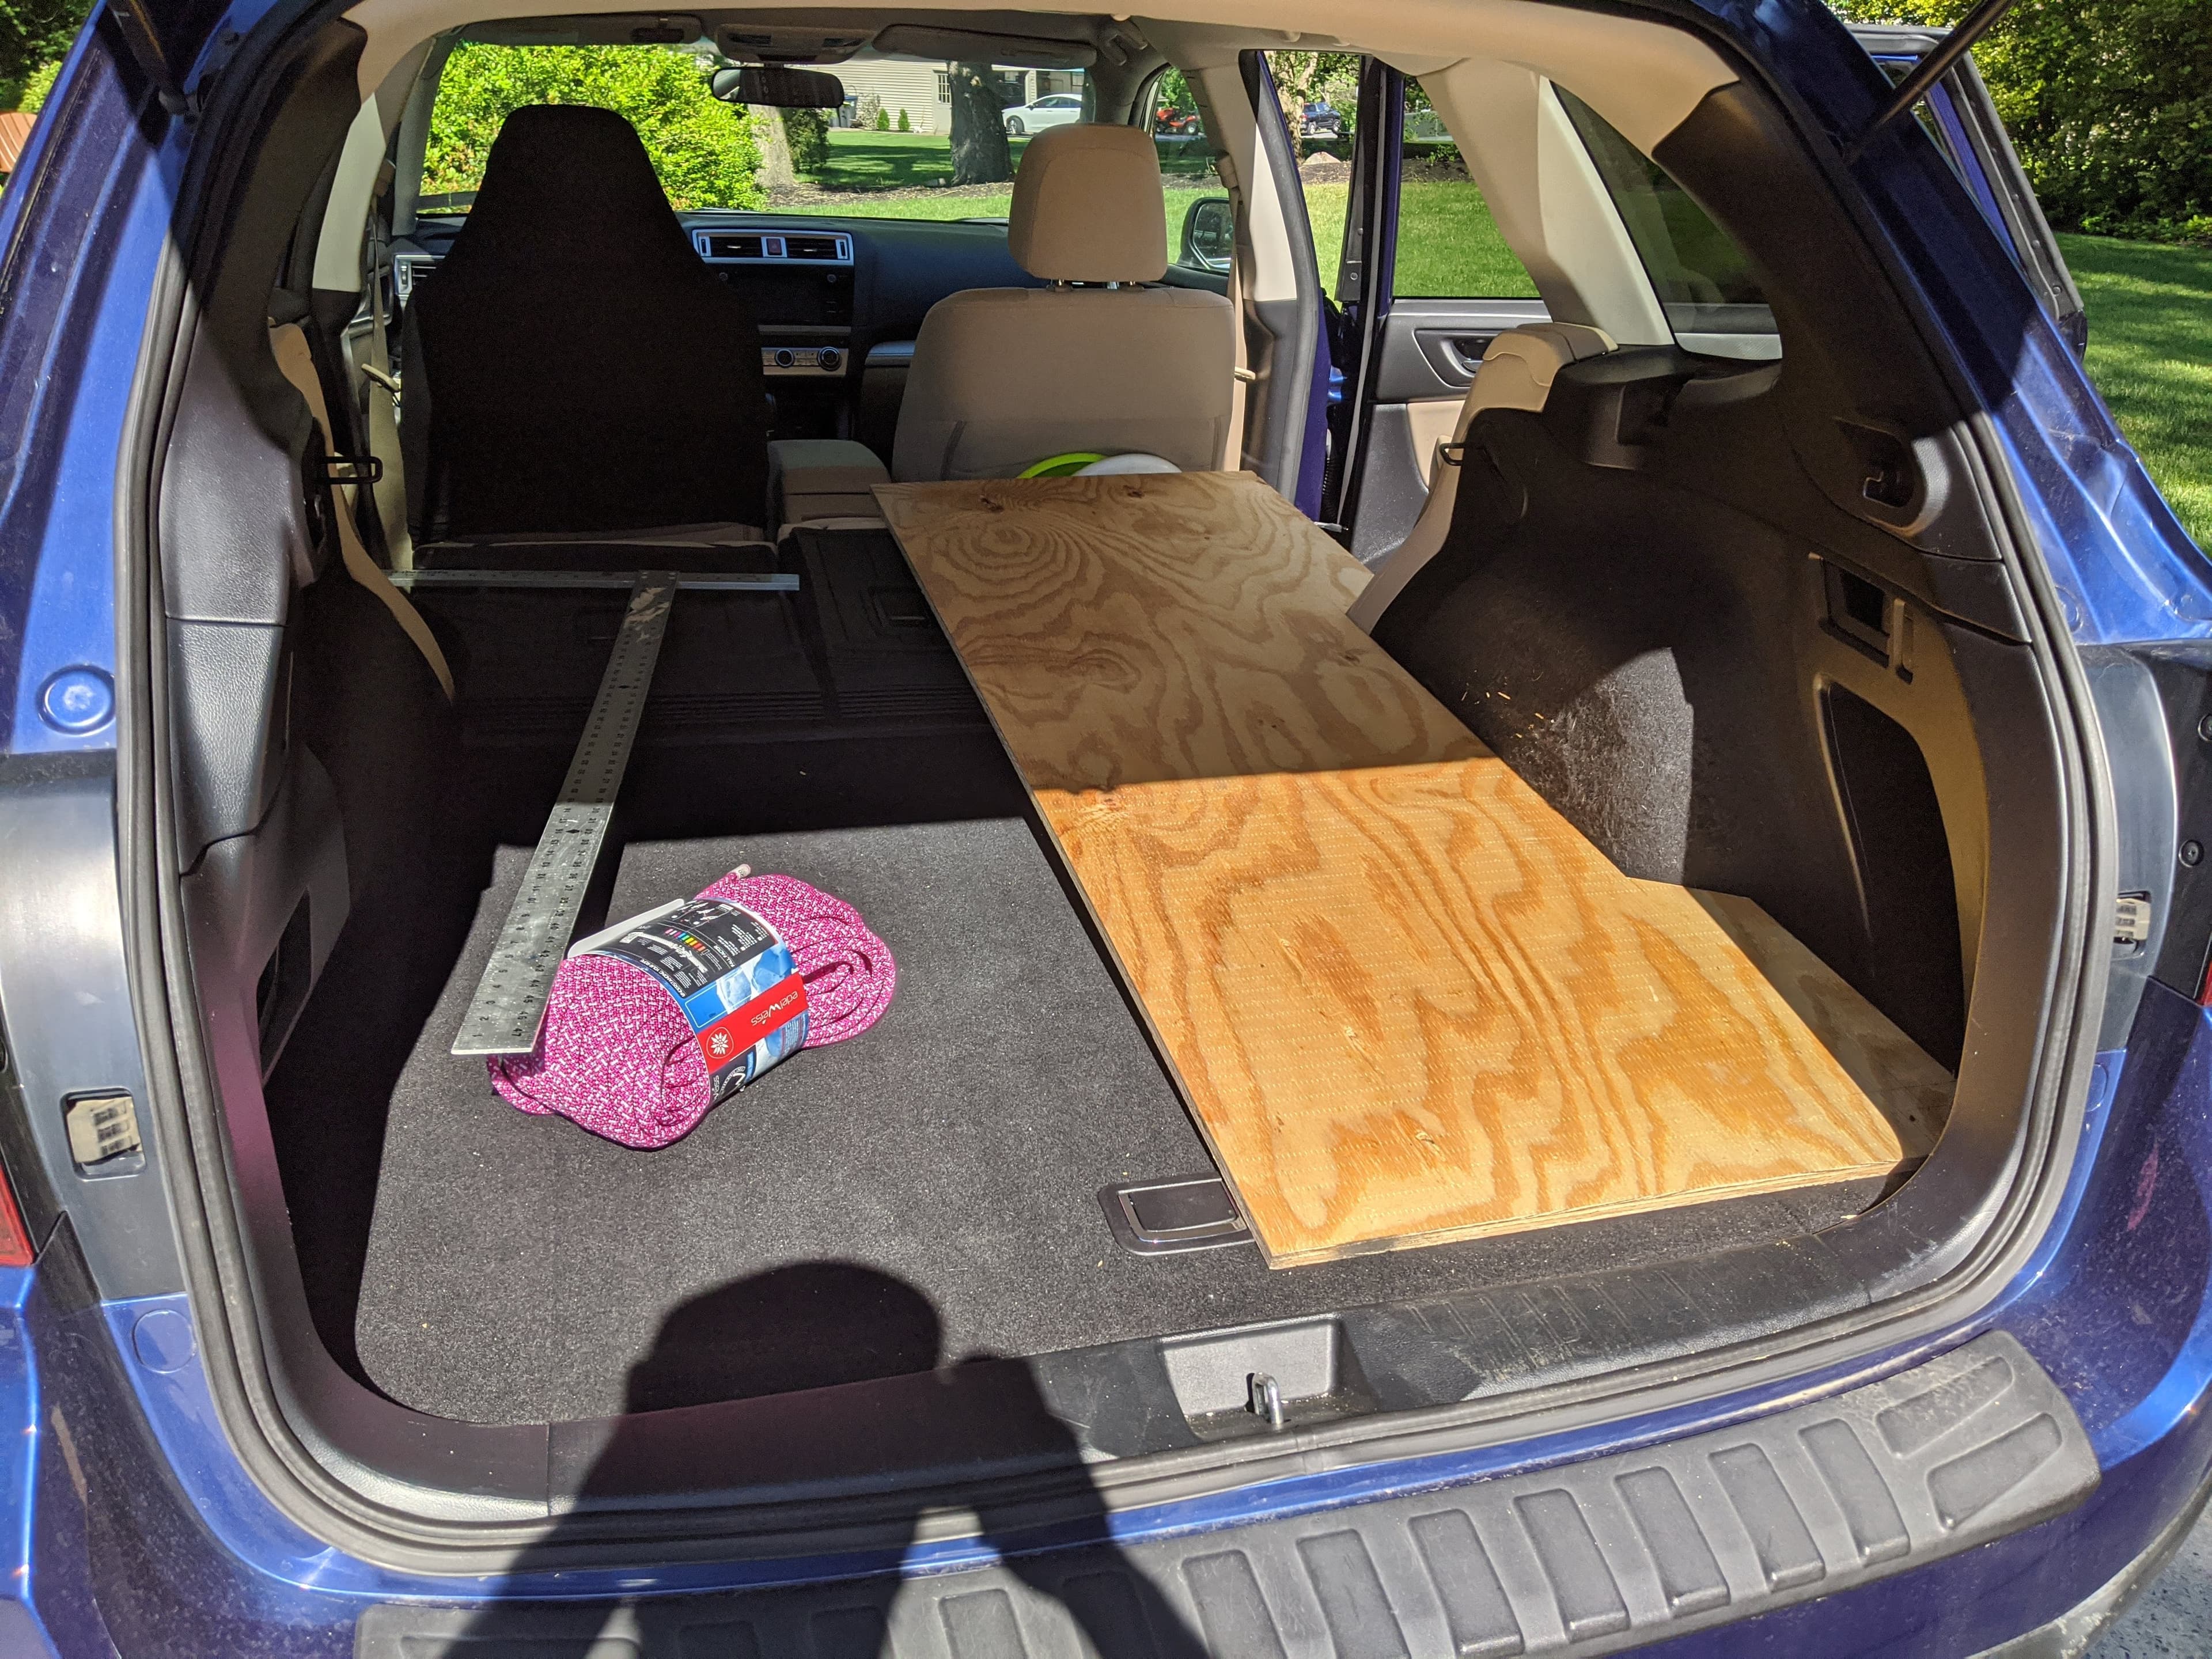
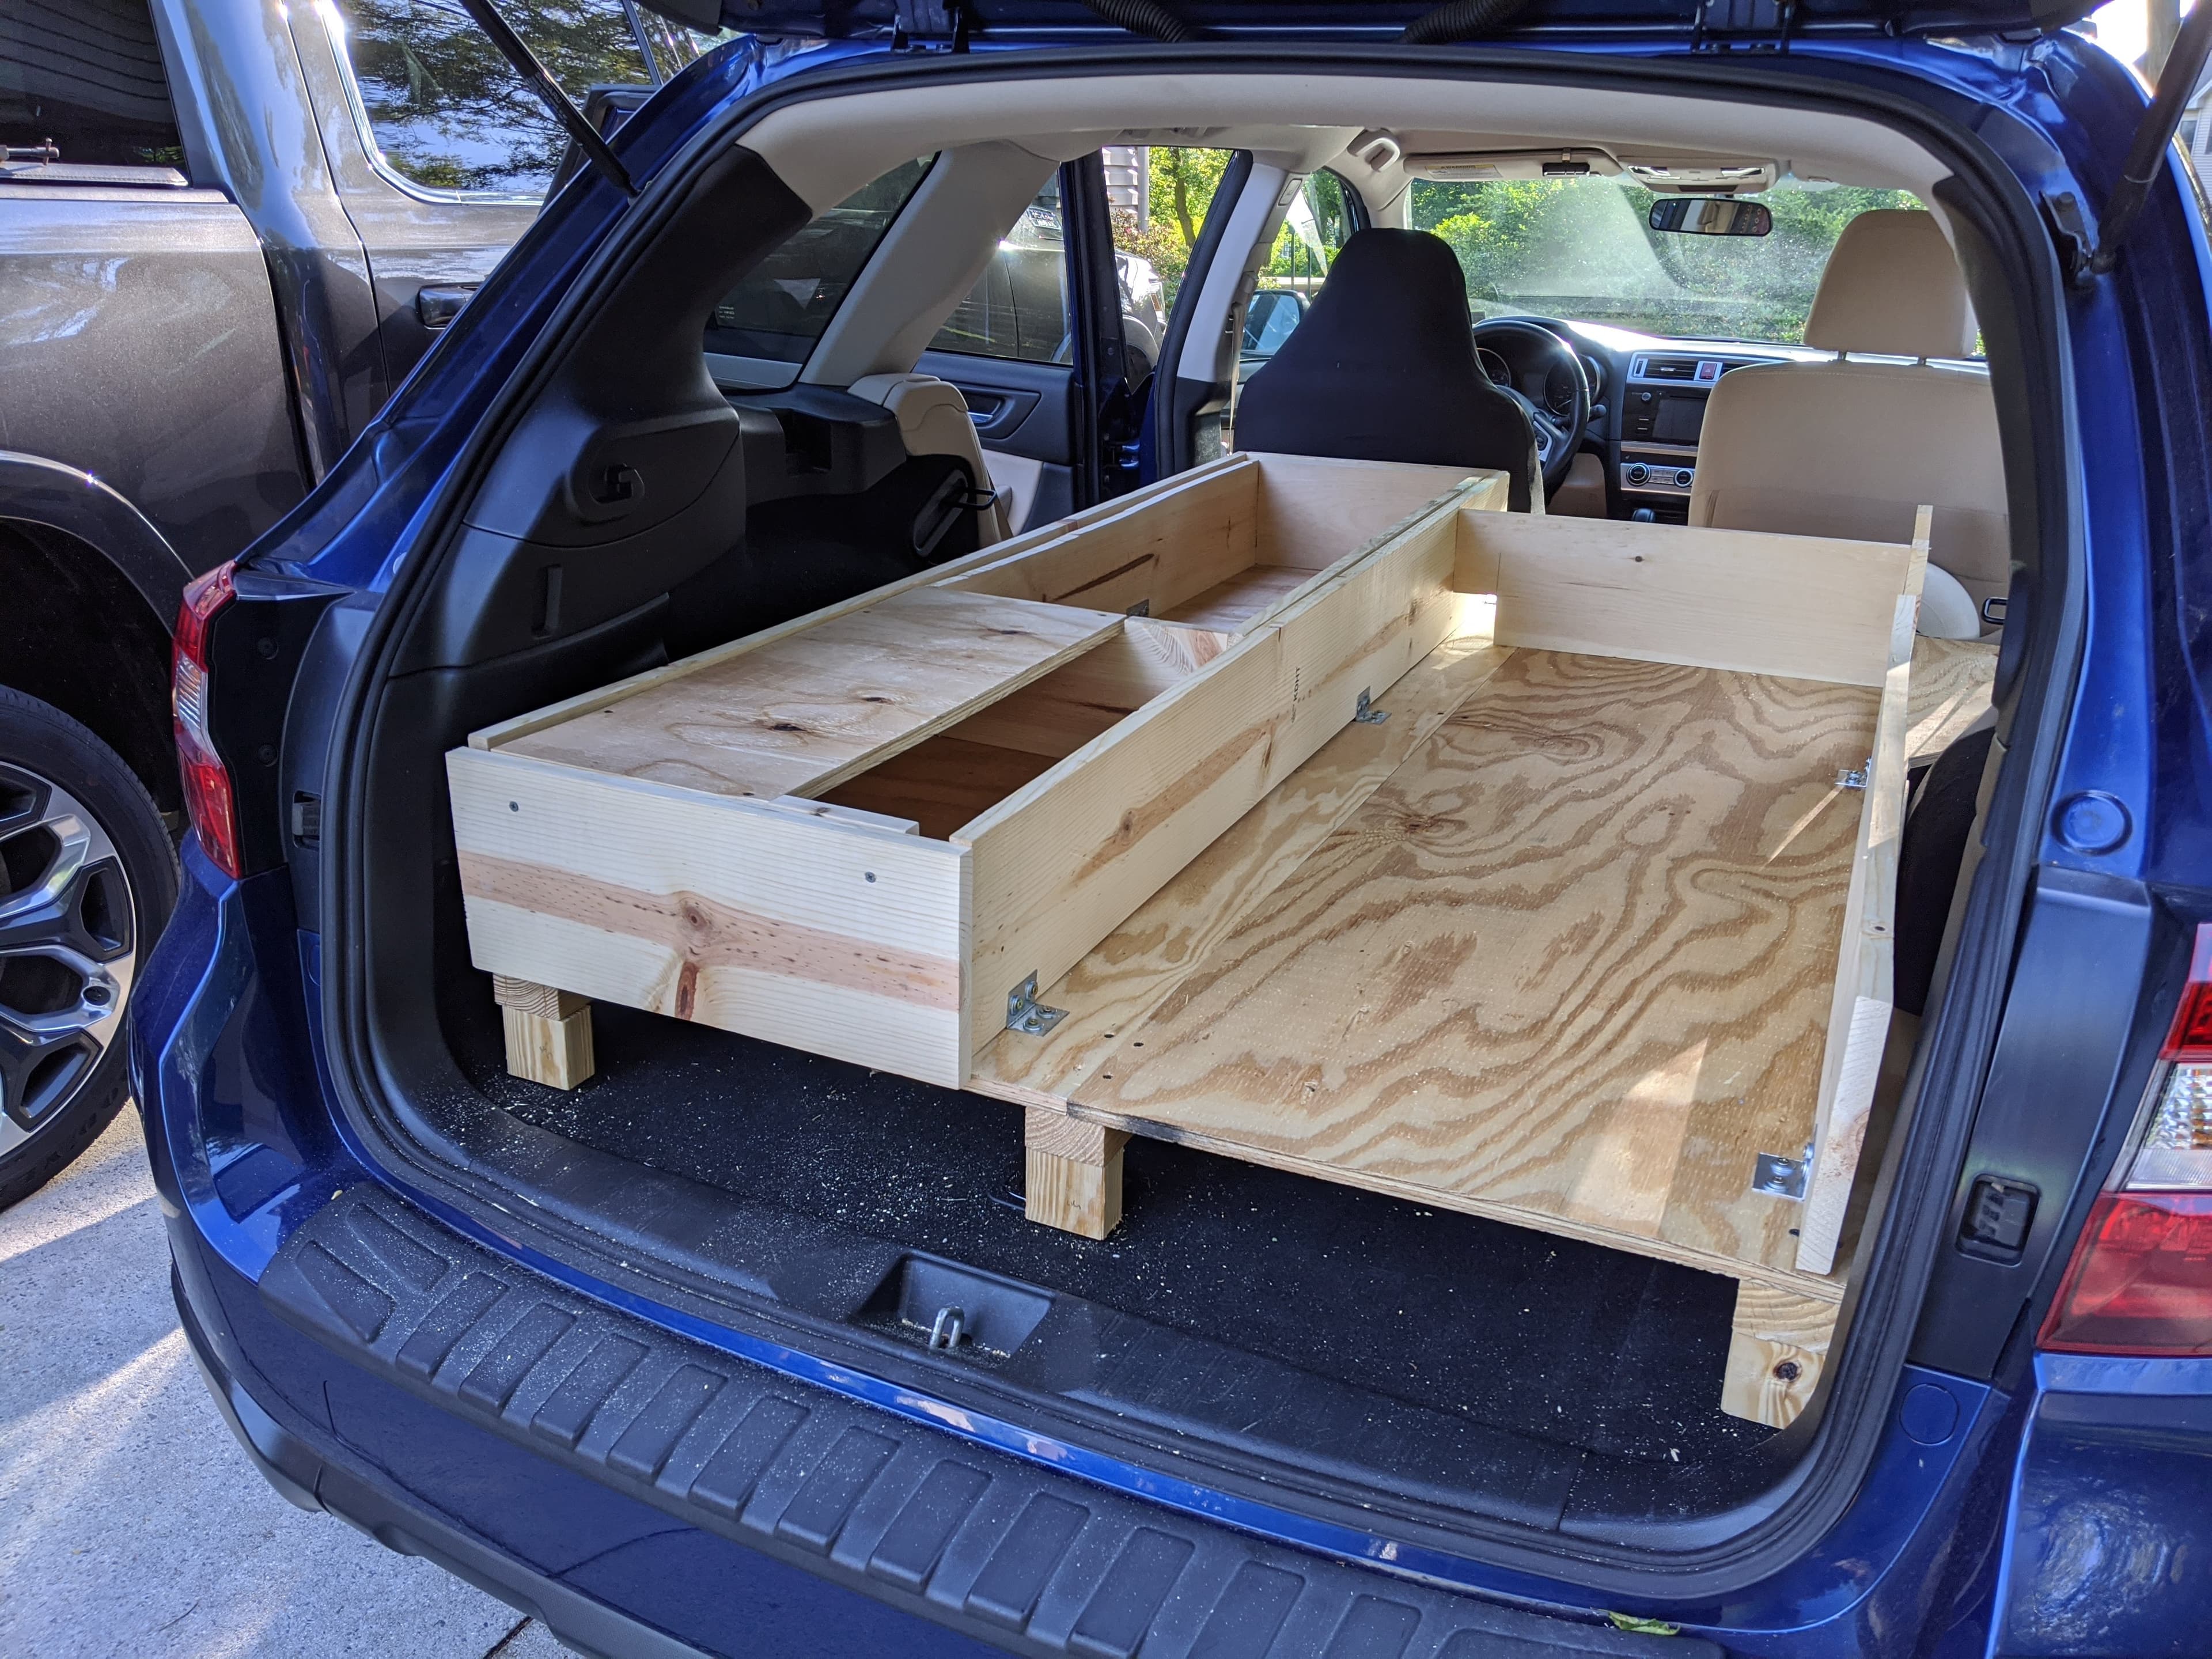
2) Leveling the base
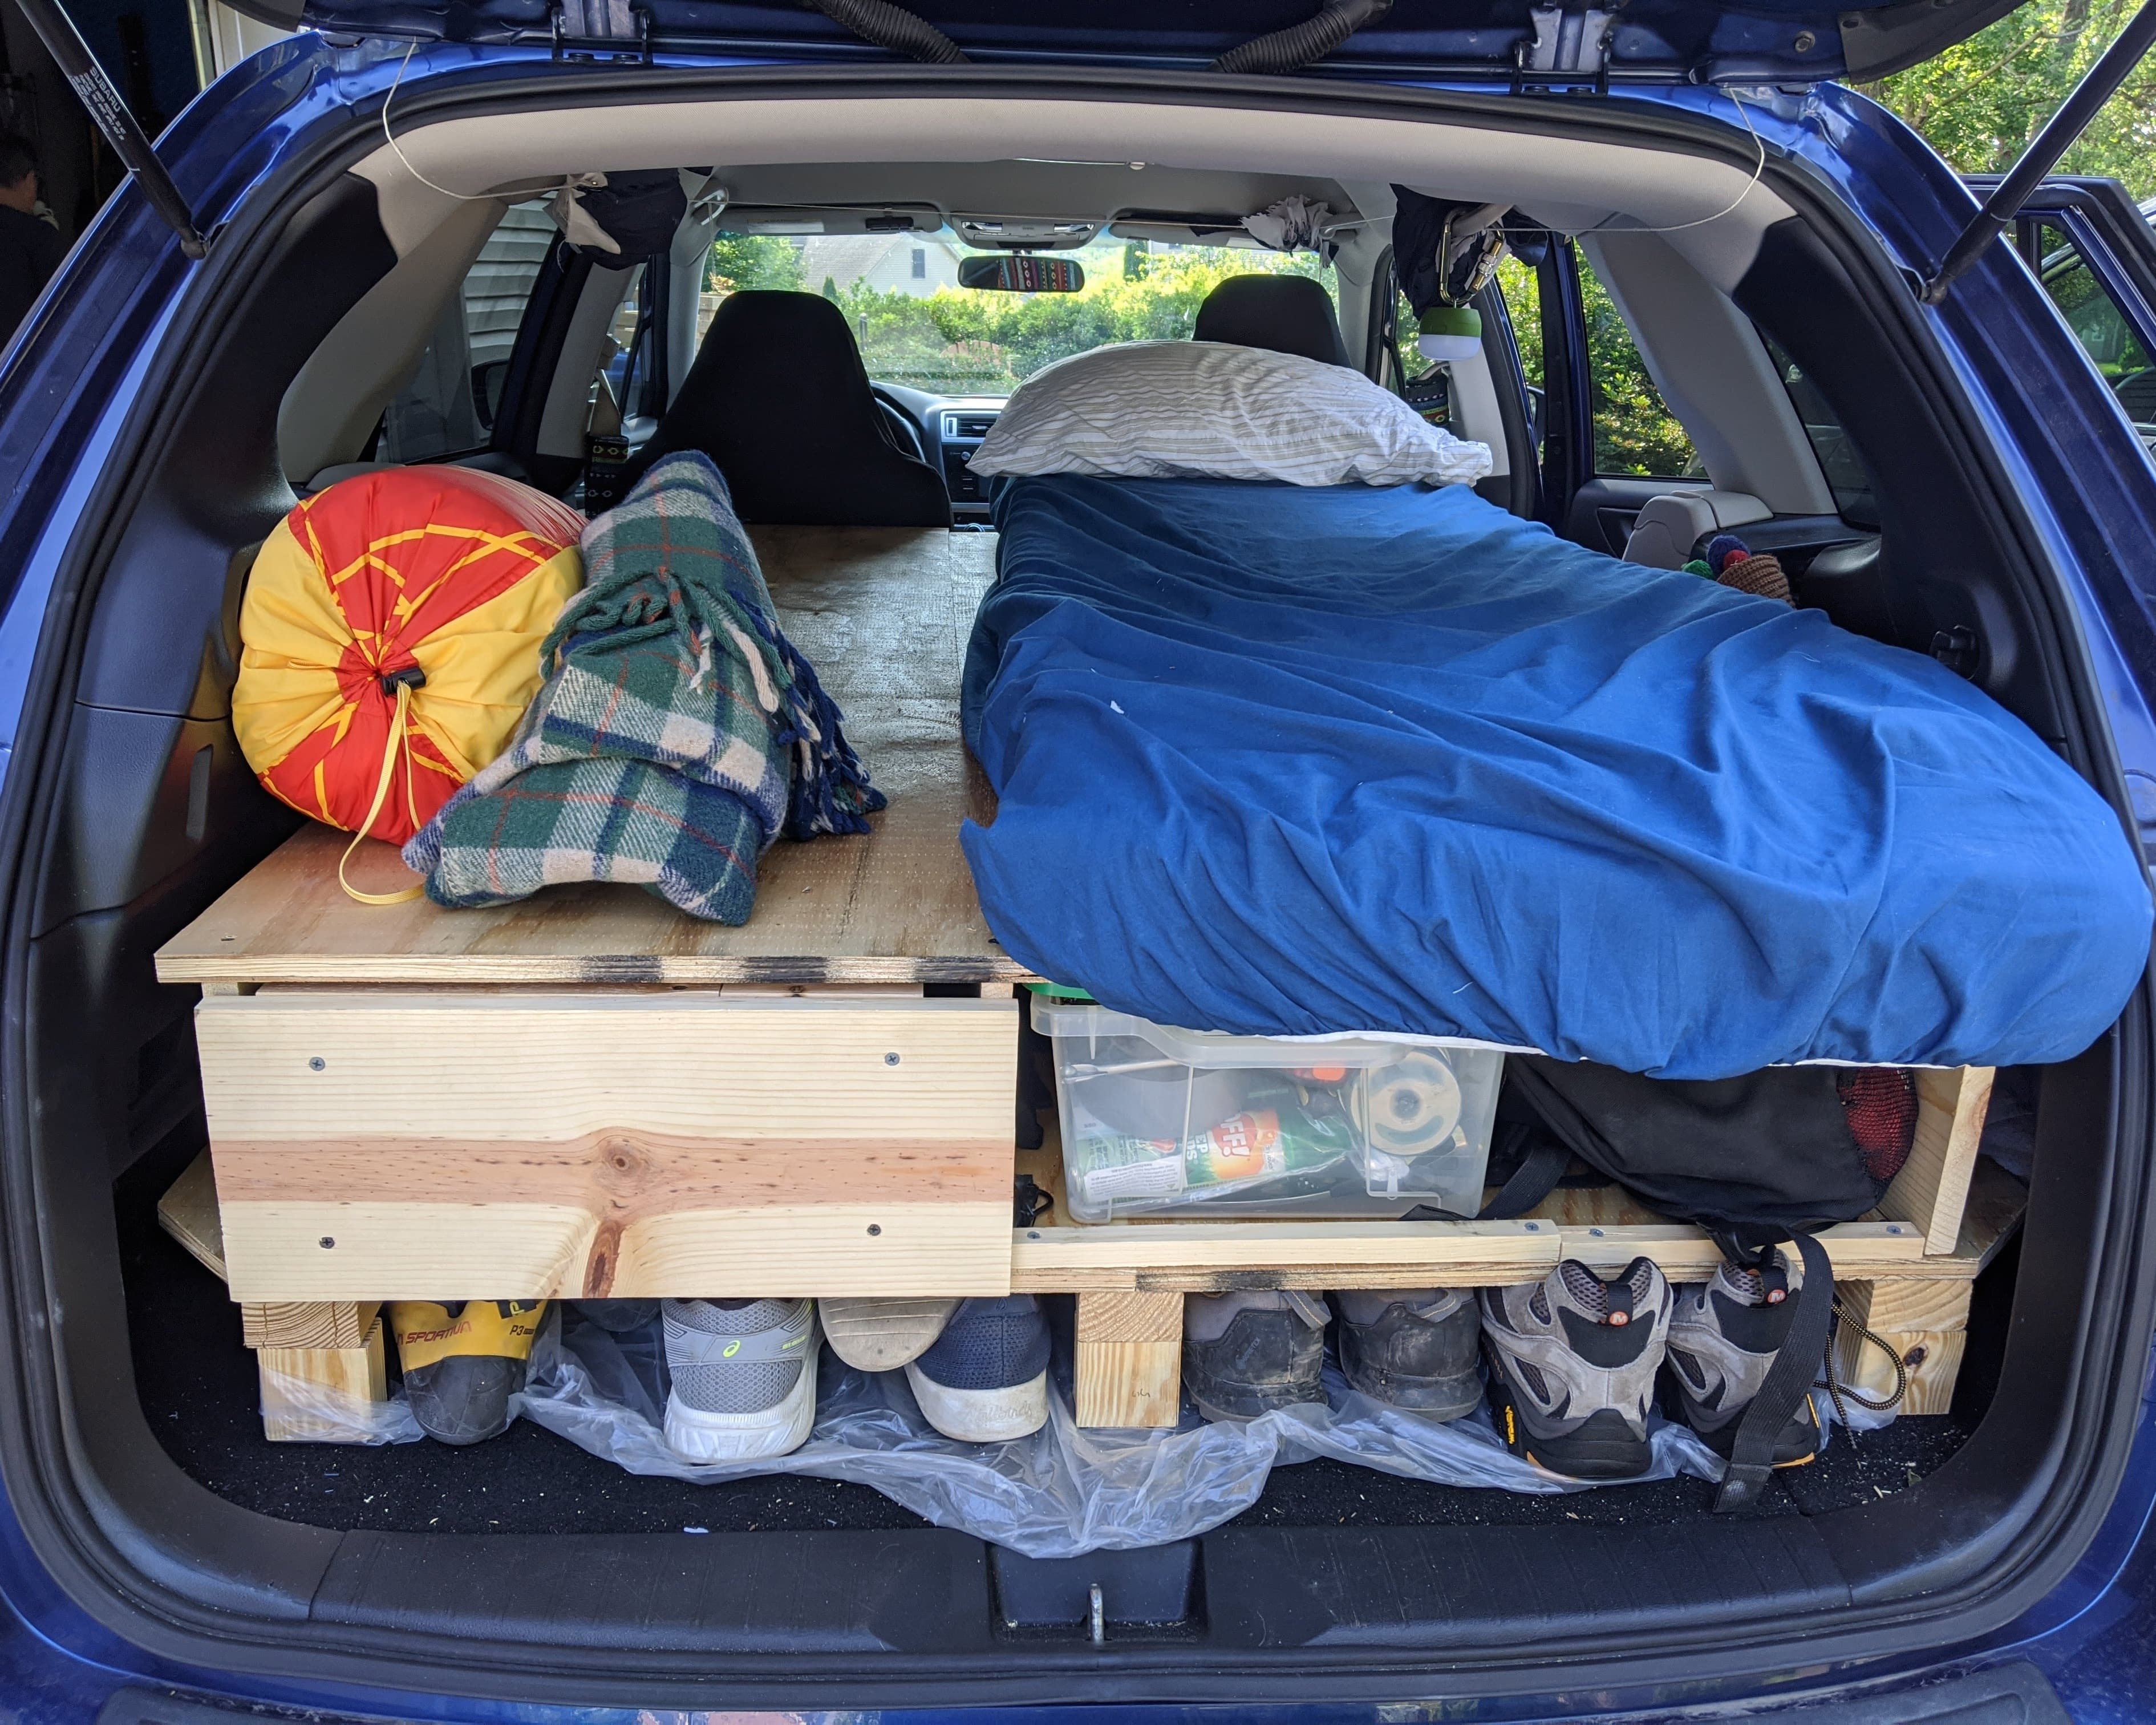
I wanted the platform to be relatively flat and level for comfortability. I measured the level of the driveway and tried to match that as best as I could to try and make my sleeping platform parallel with the ground.
Obviously, this step was not too critical since I did not anticipate that I would ever be parking my car on a perfectly level surface, but whatever! The leveling base boards under my bed system also created a nice storage slot for shoes.

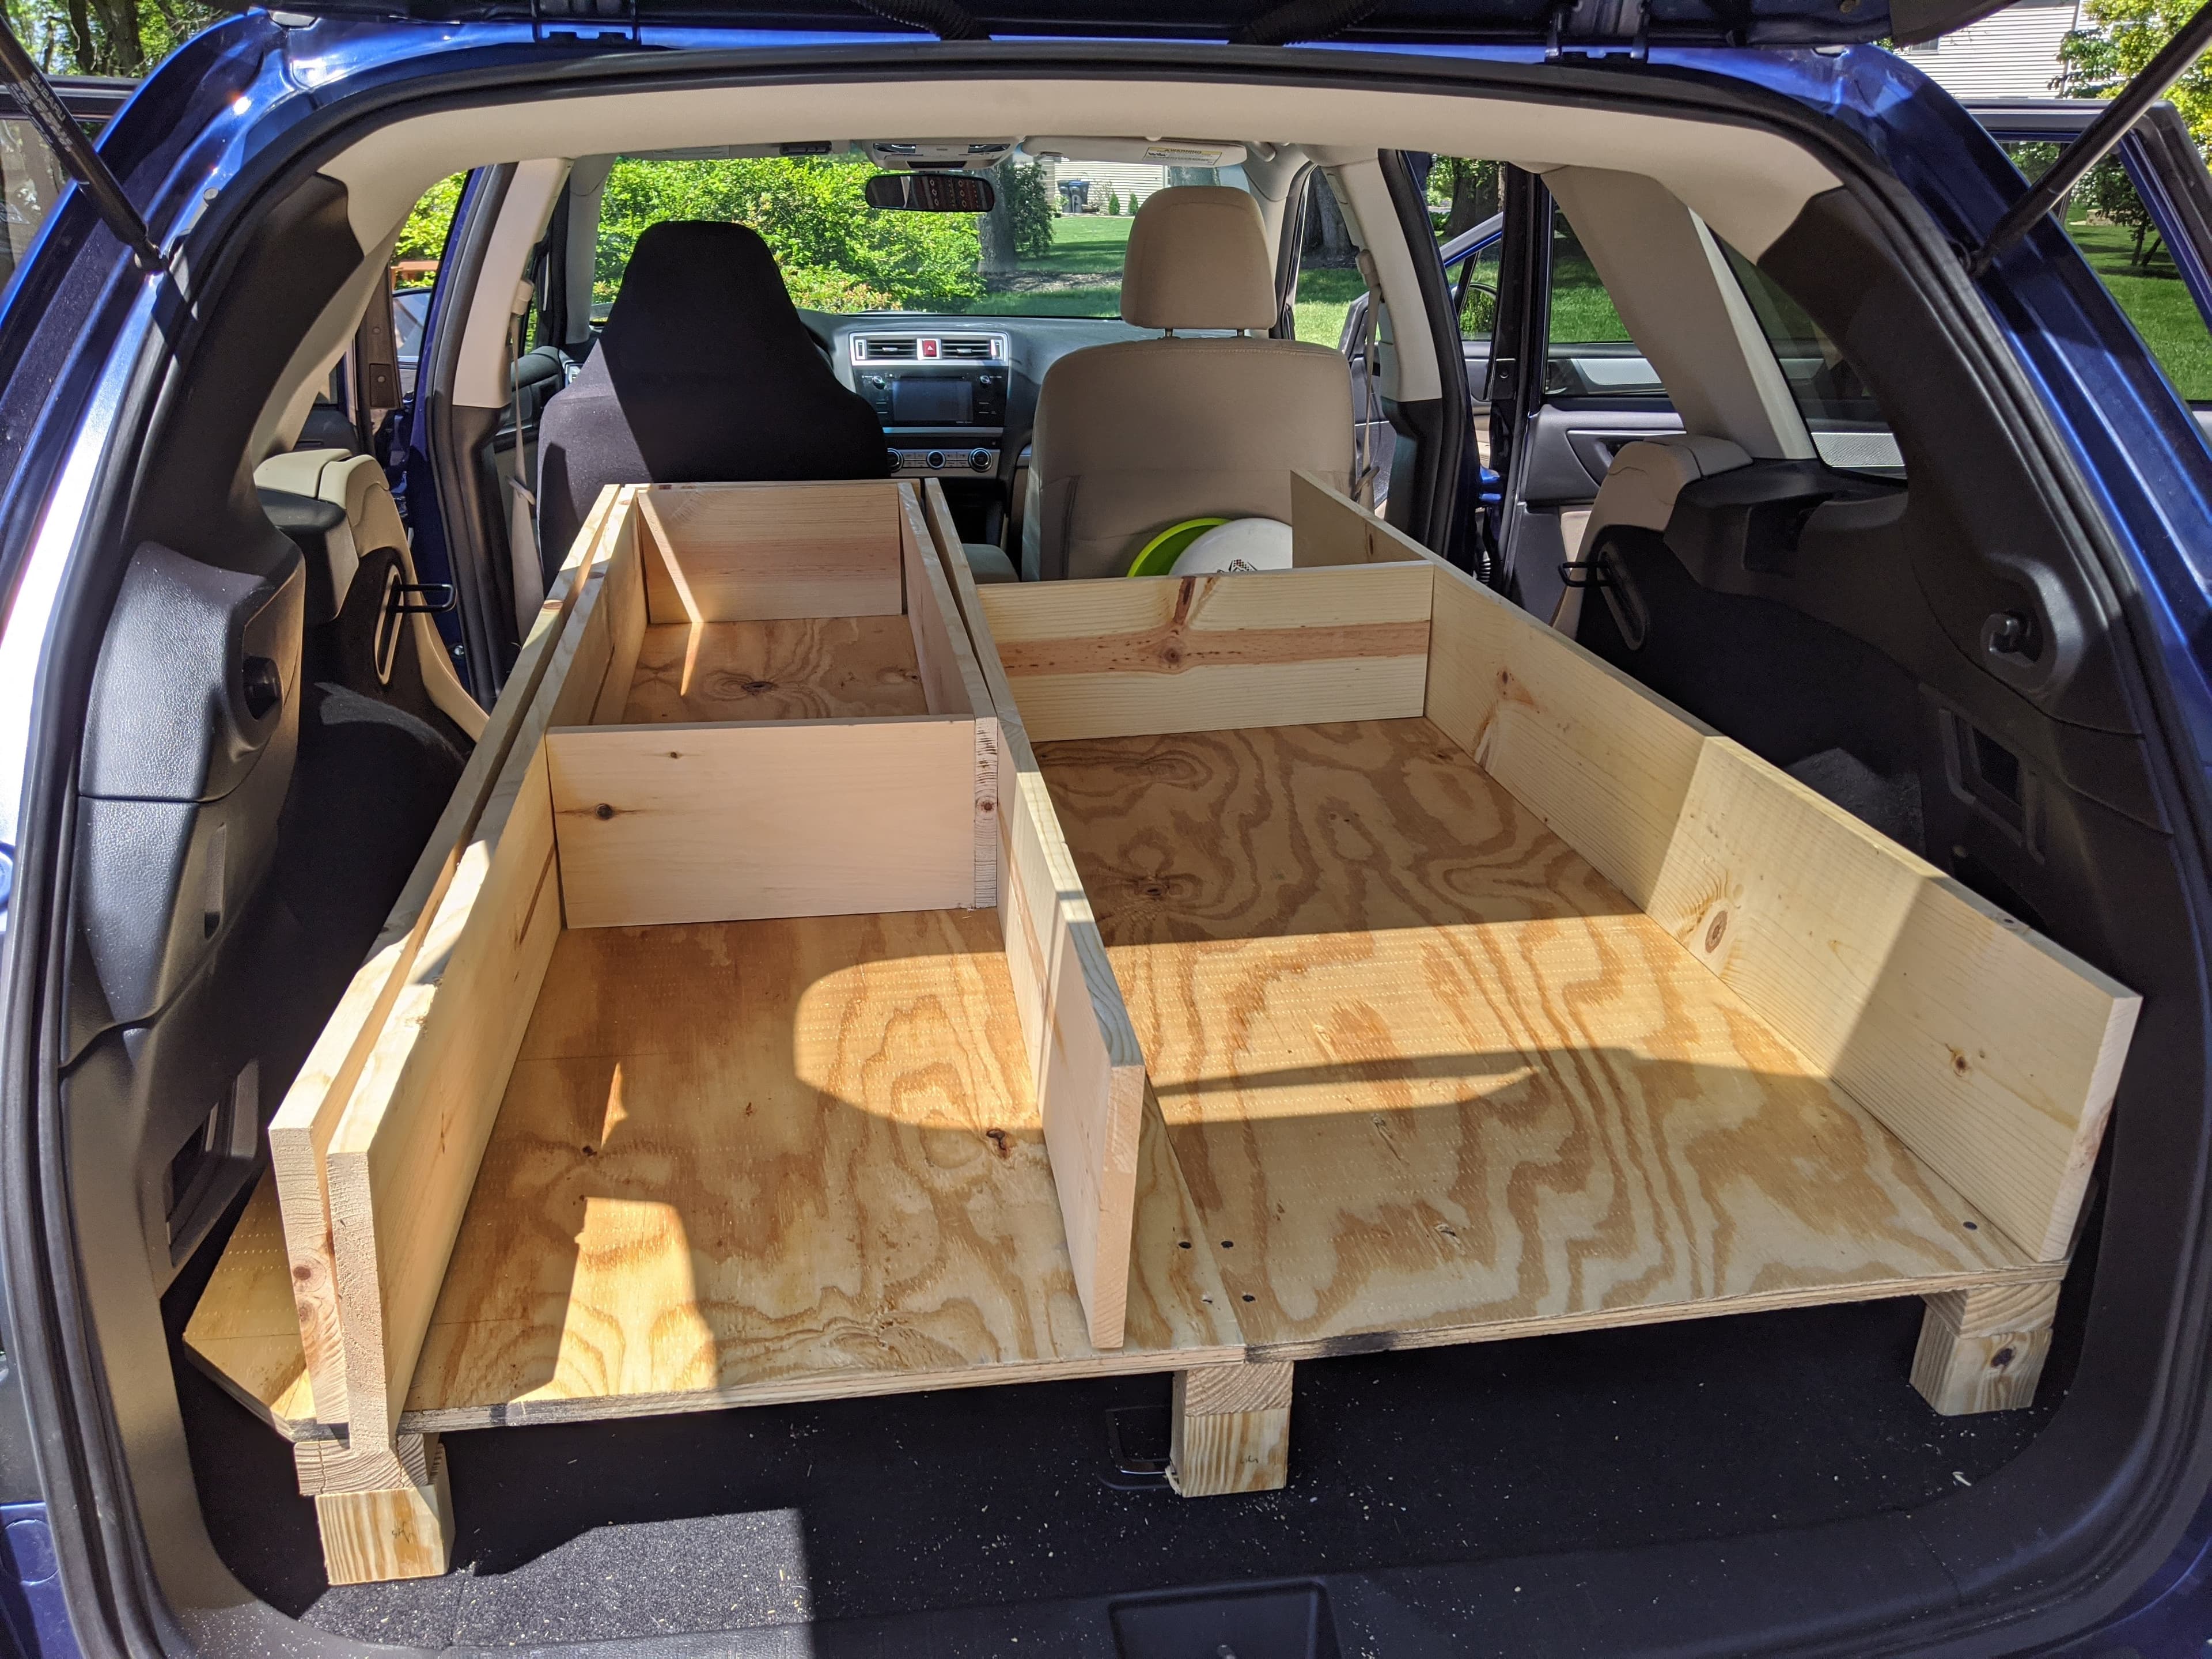
3) Constructing the skeleton
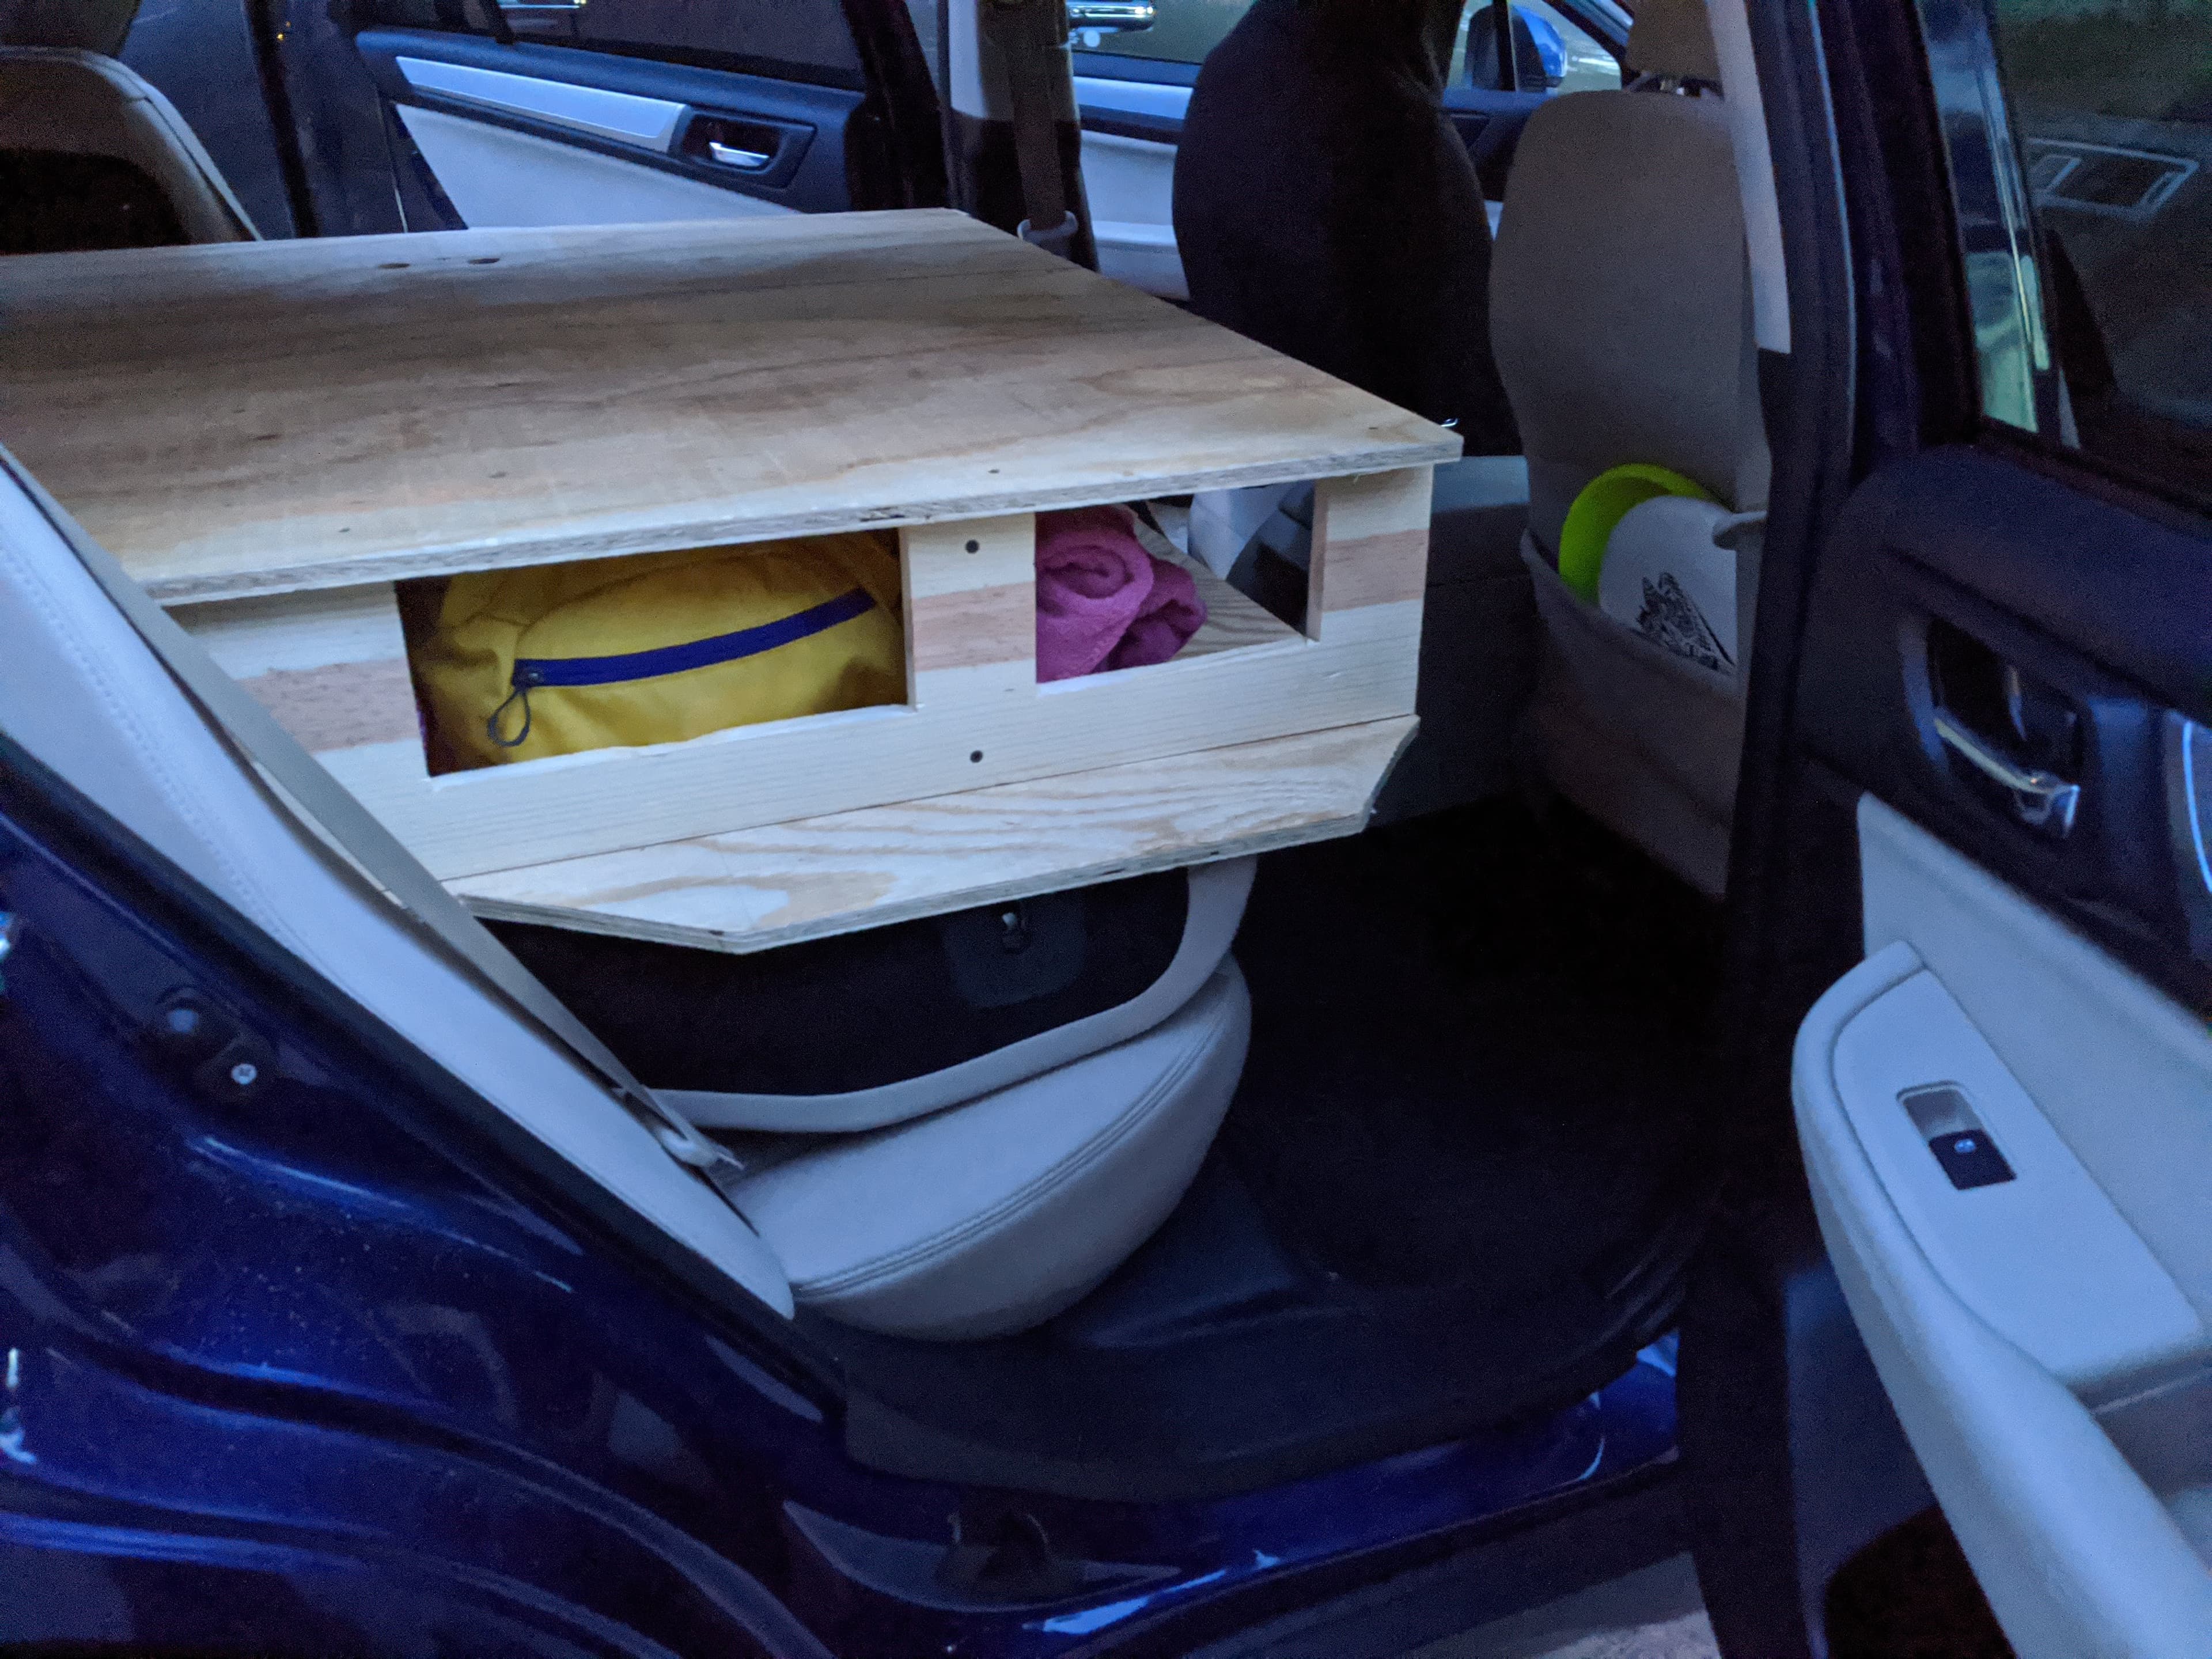
4) Access ports for small items
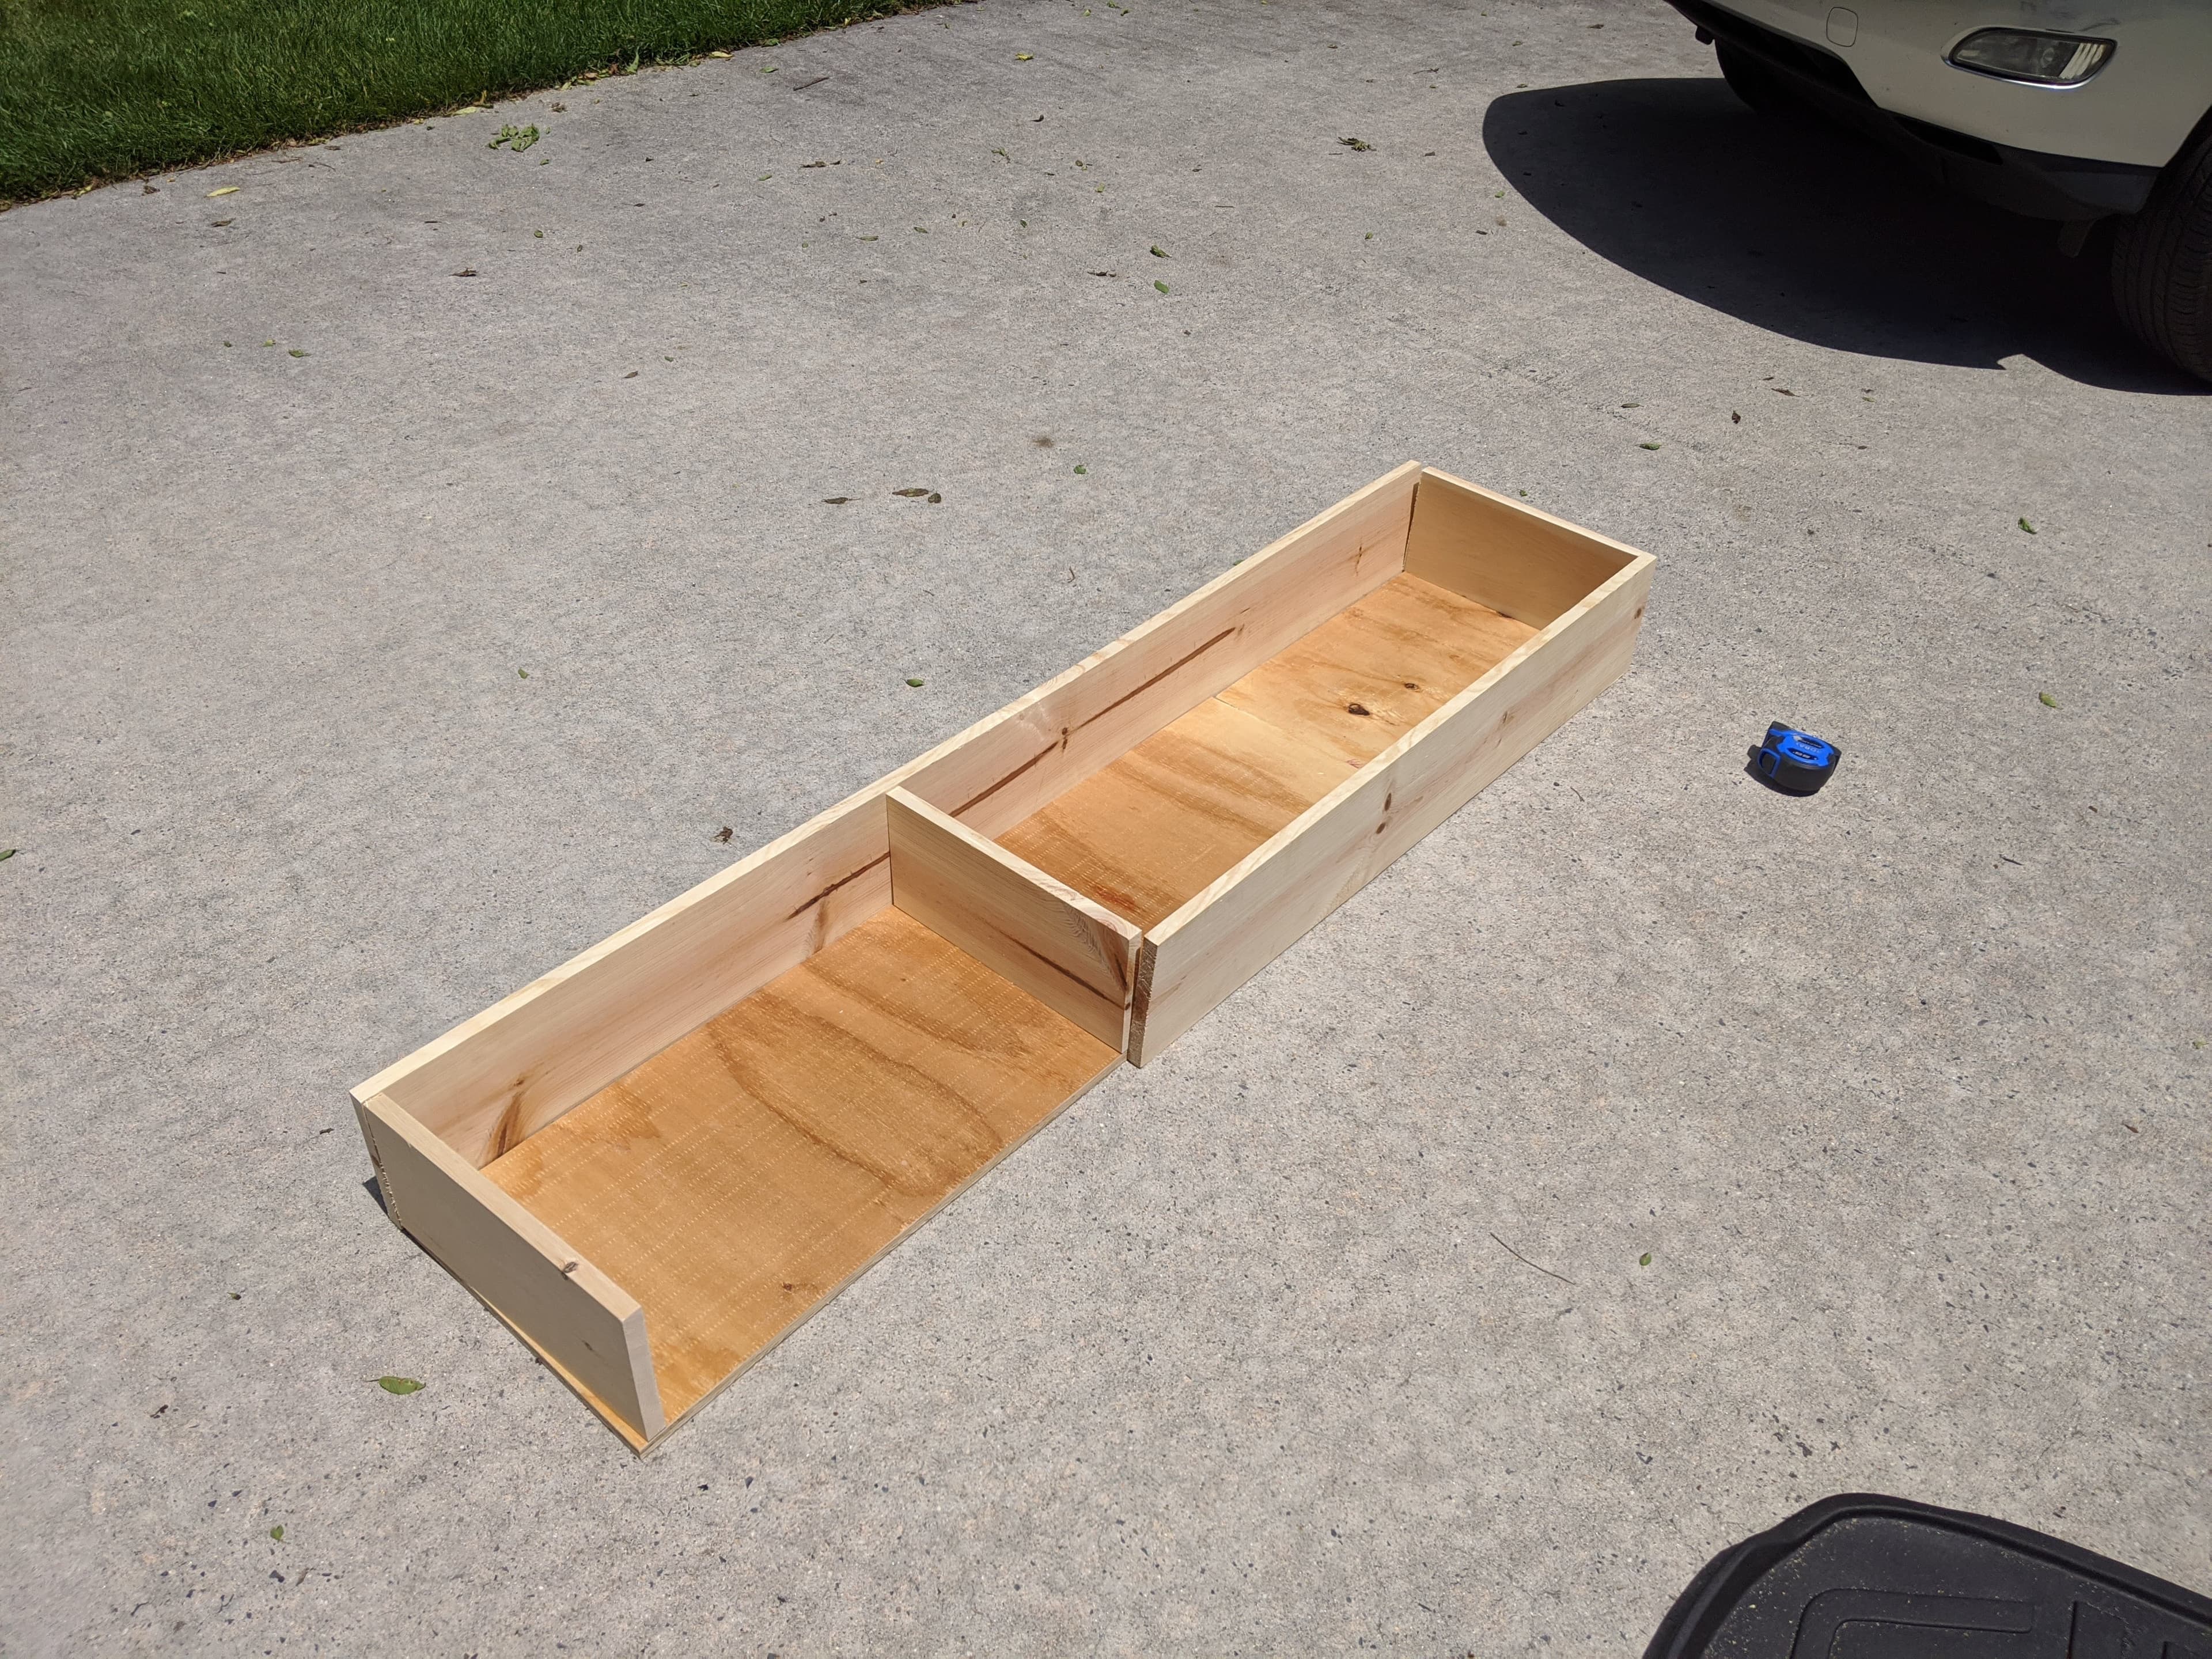
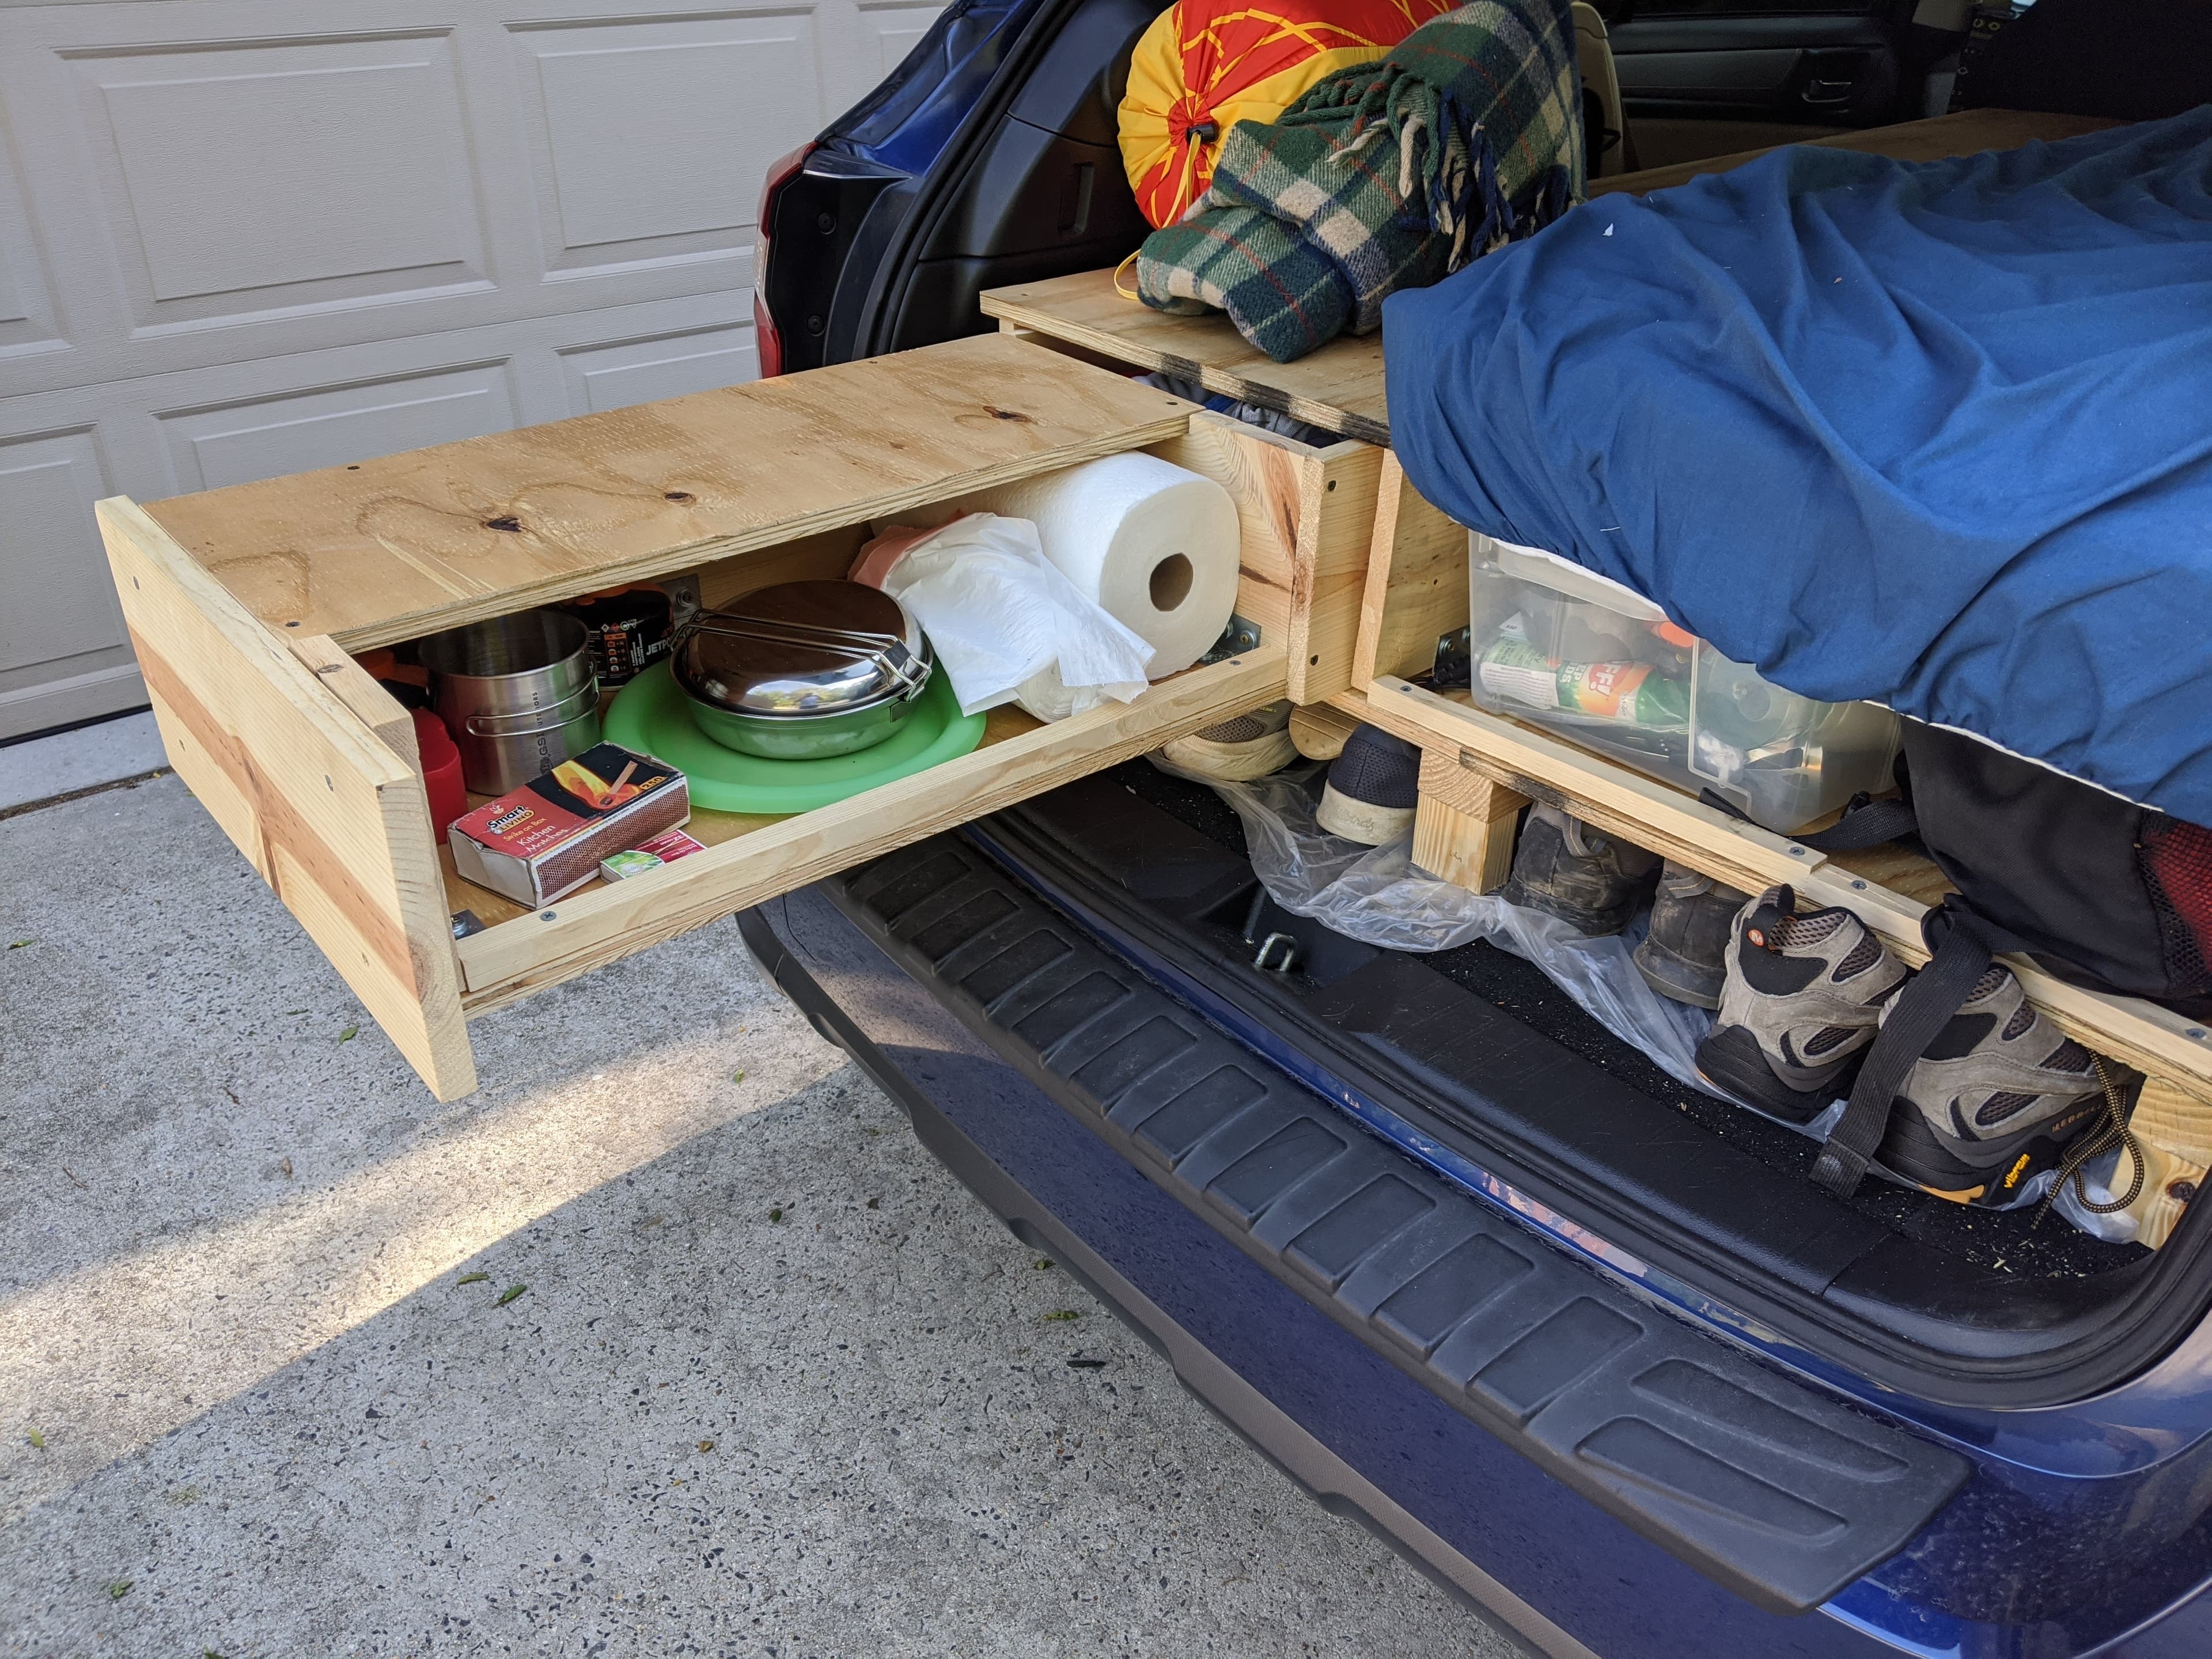
5) Building the drawer system
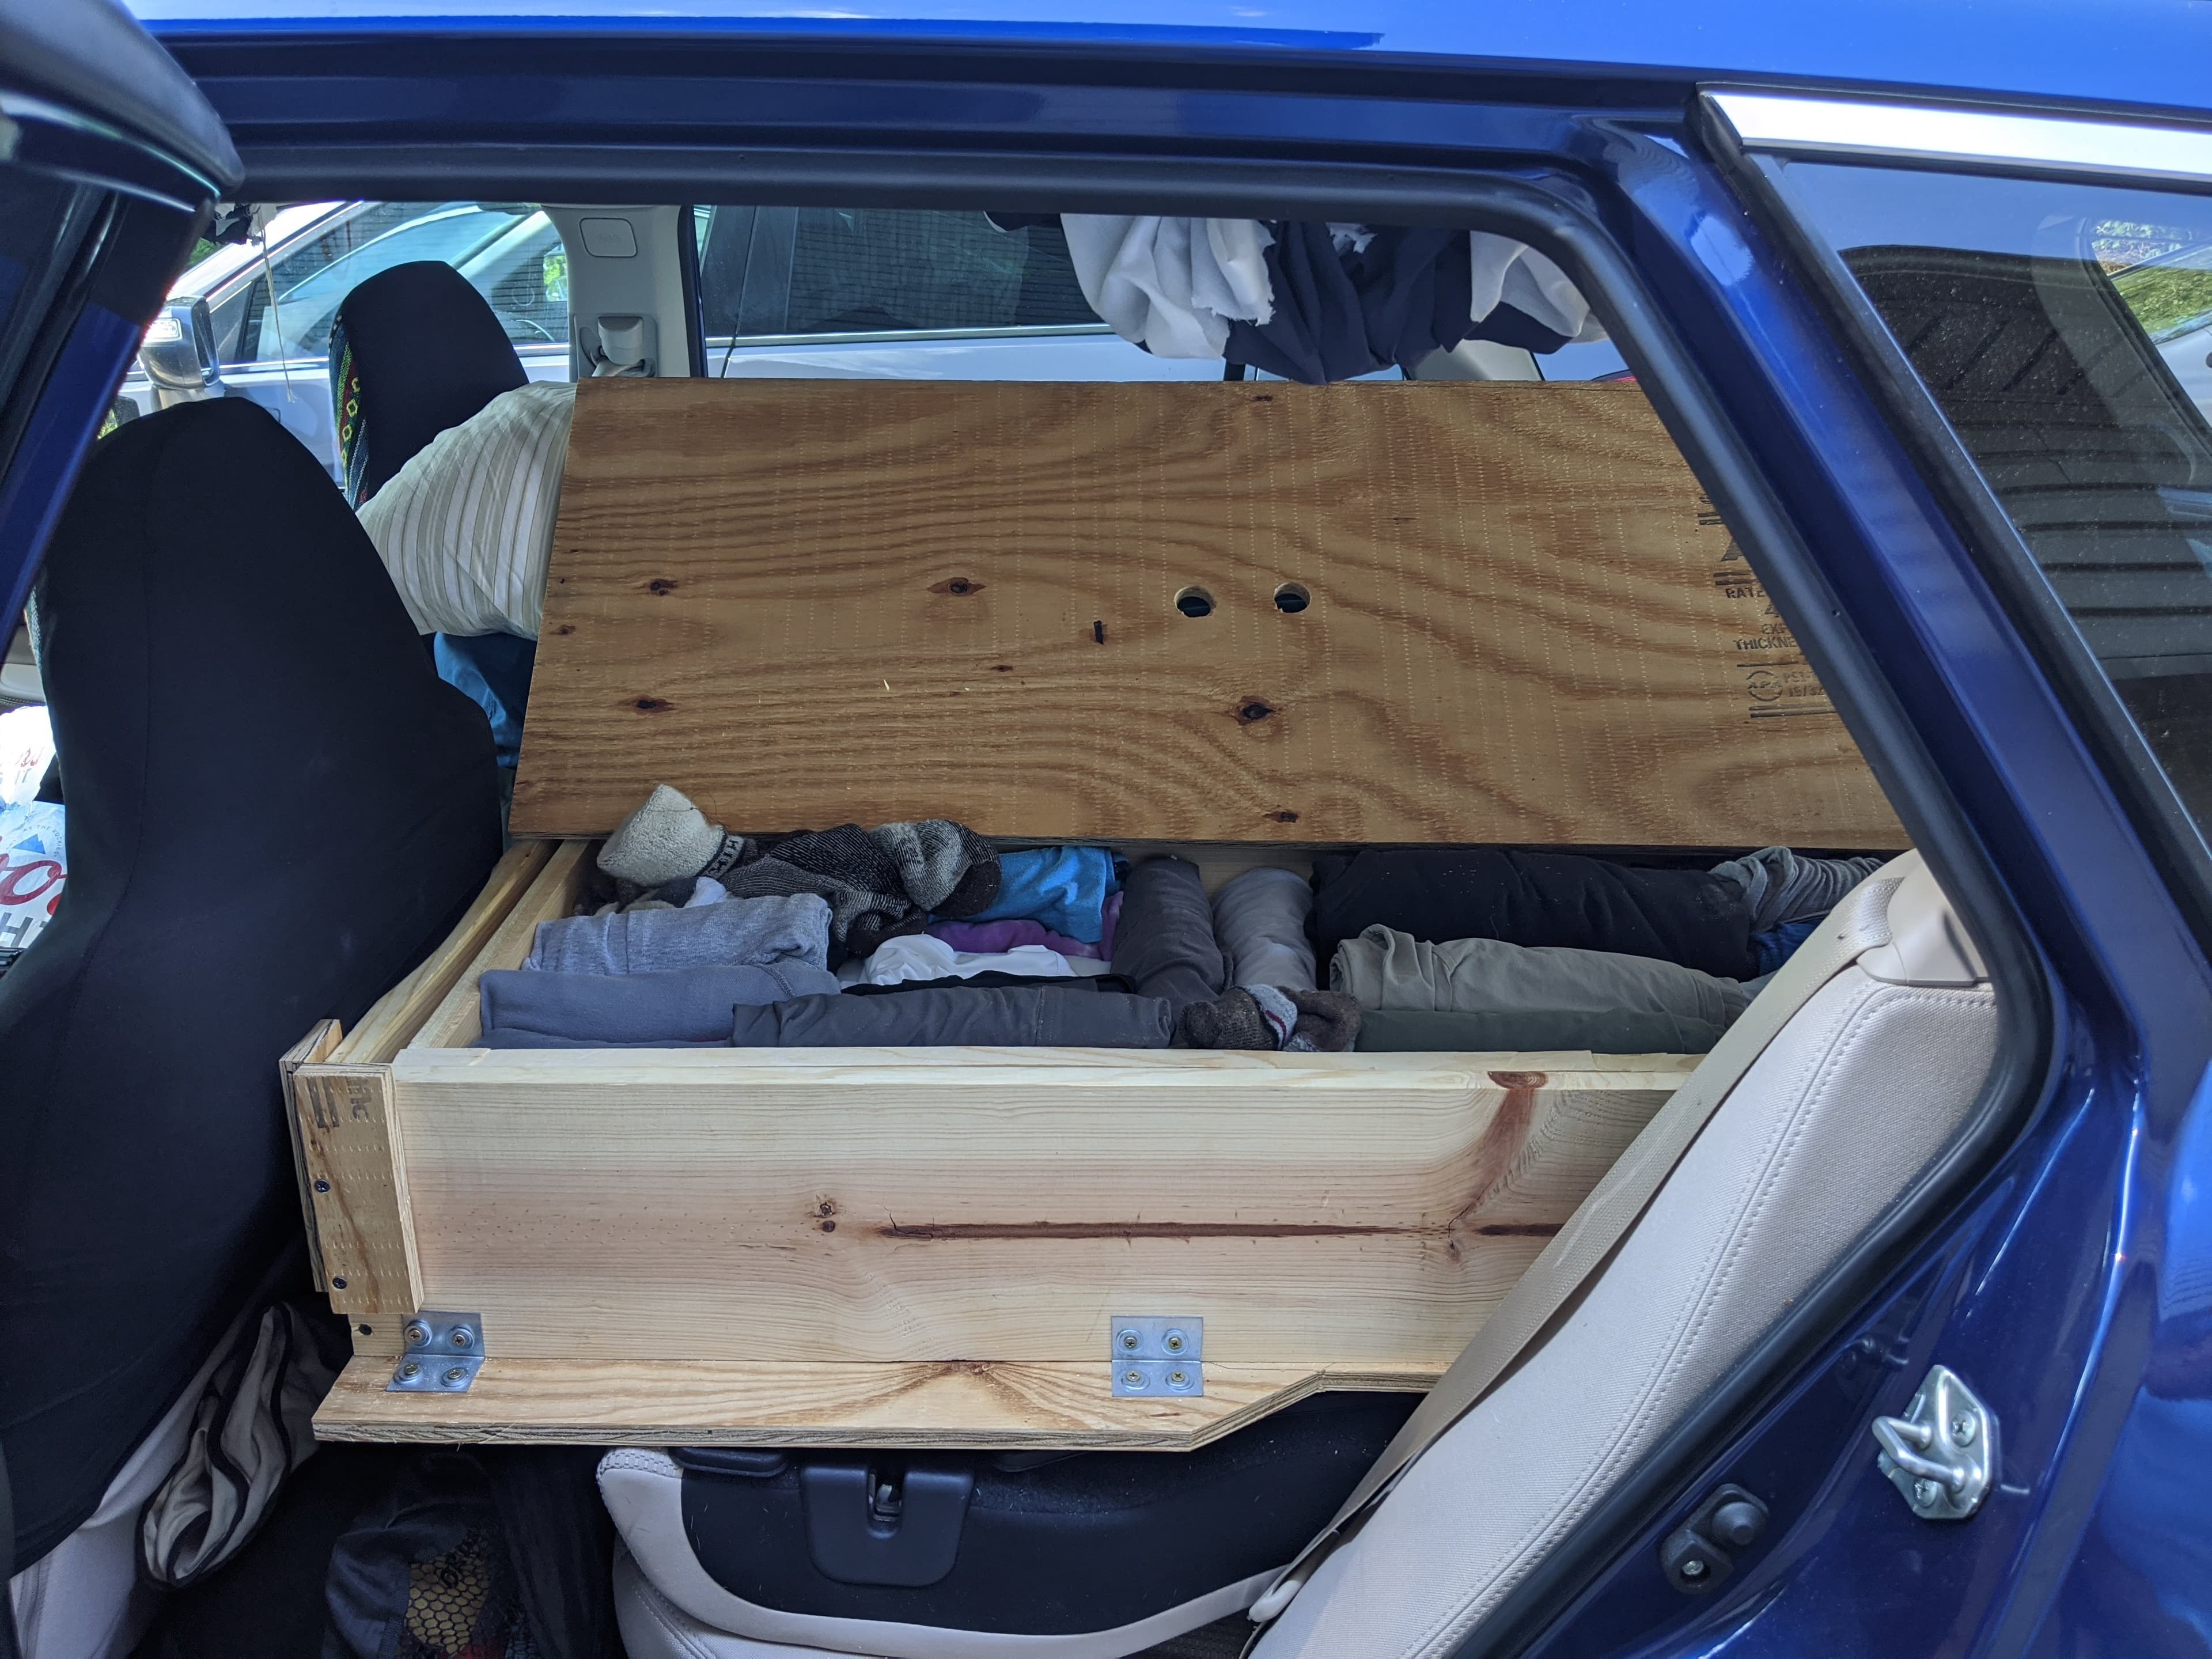
The drawer was a very simple design. Basically, it was just a totally independent drawer that could slide in and out of a slot within the camper build. I cut out and built a counter platform on the end of the drawer to function as a cooking surface, which proved to be very comfortable and useful throughout my travels.
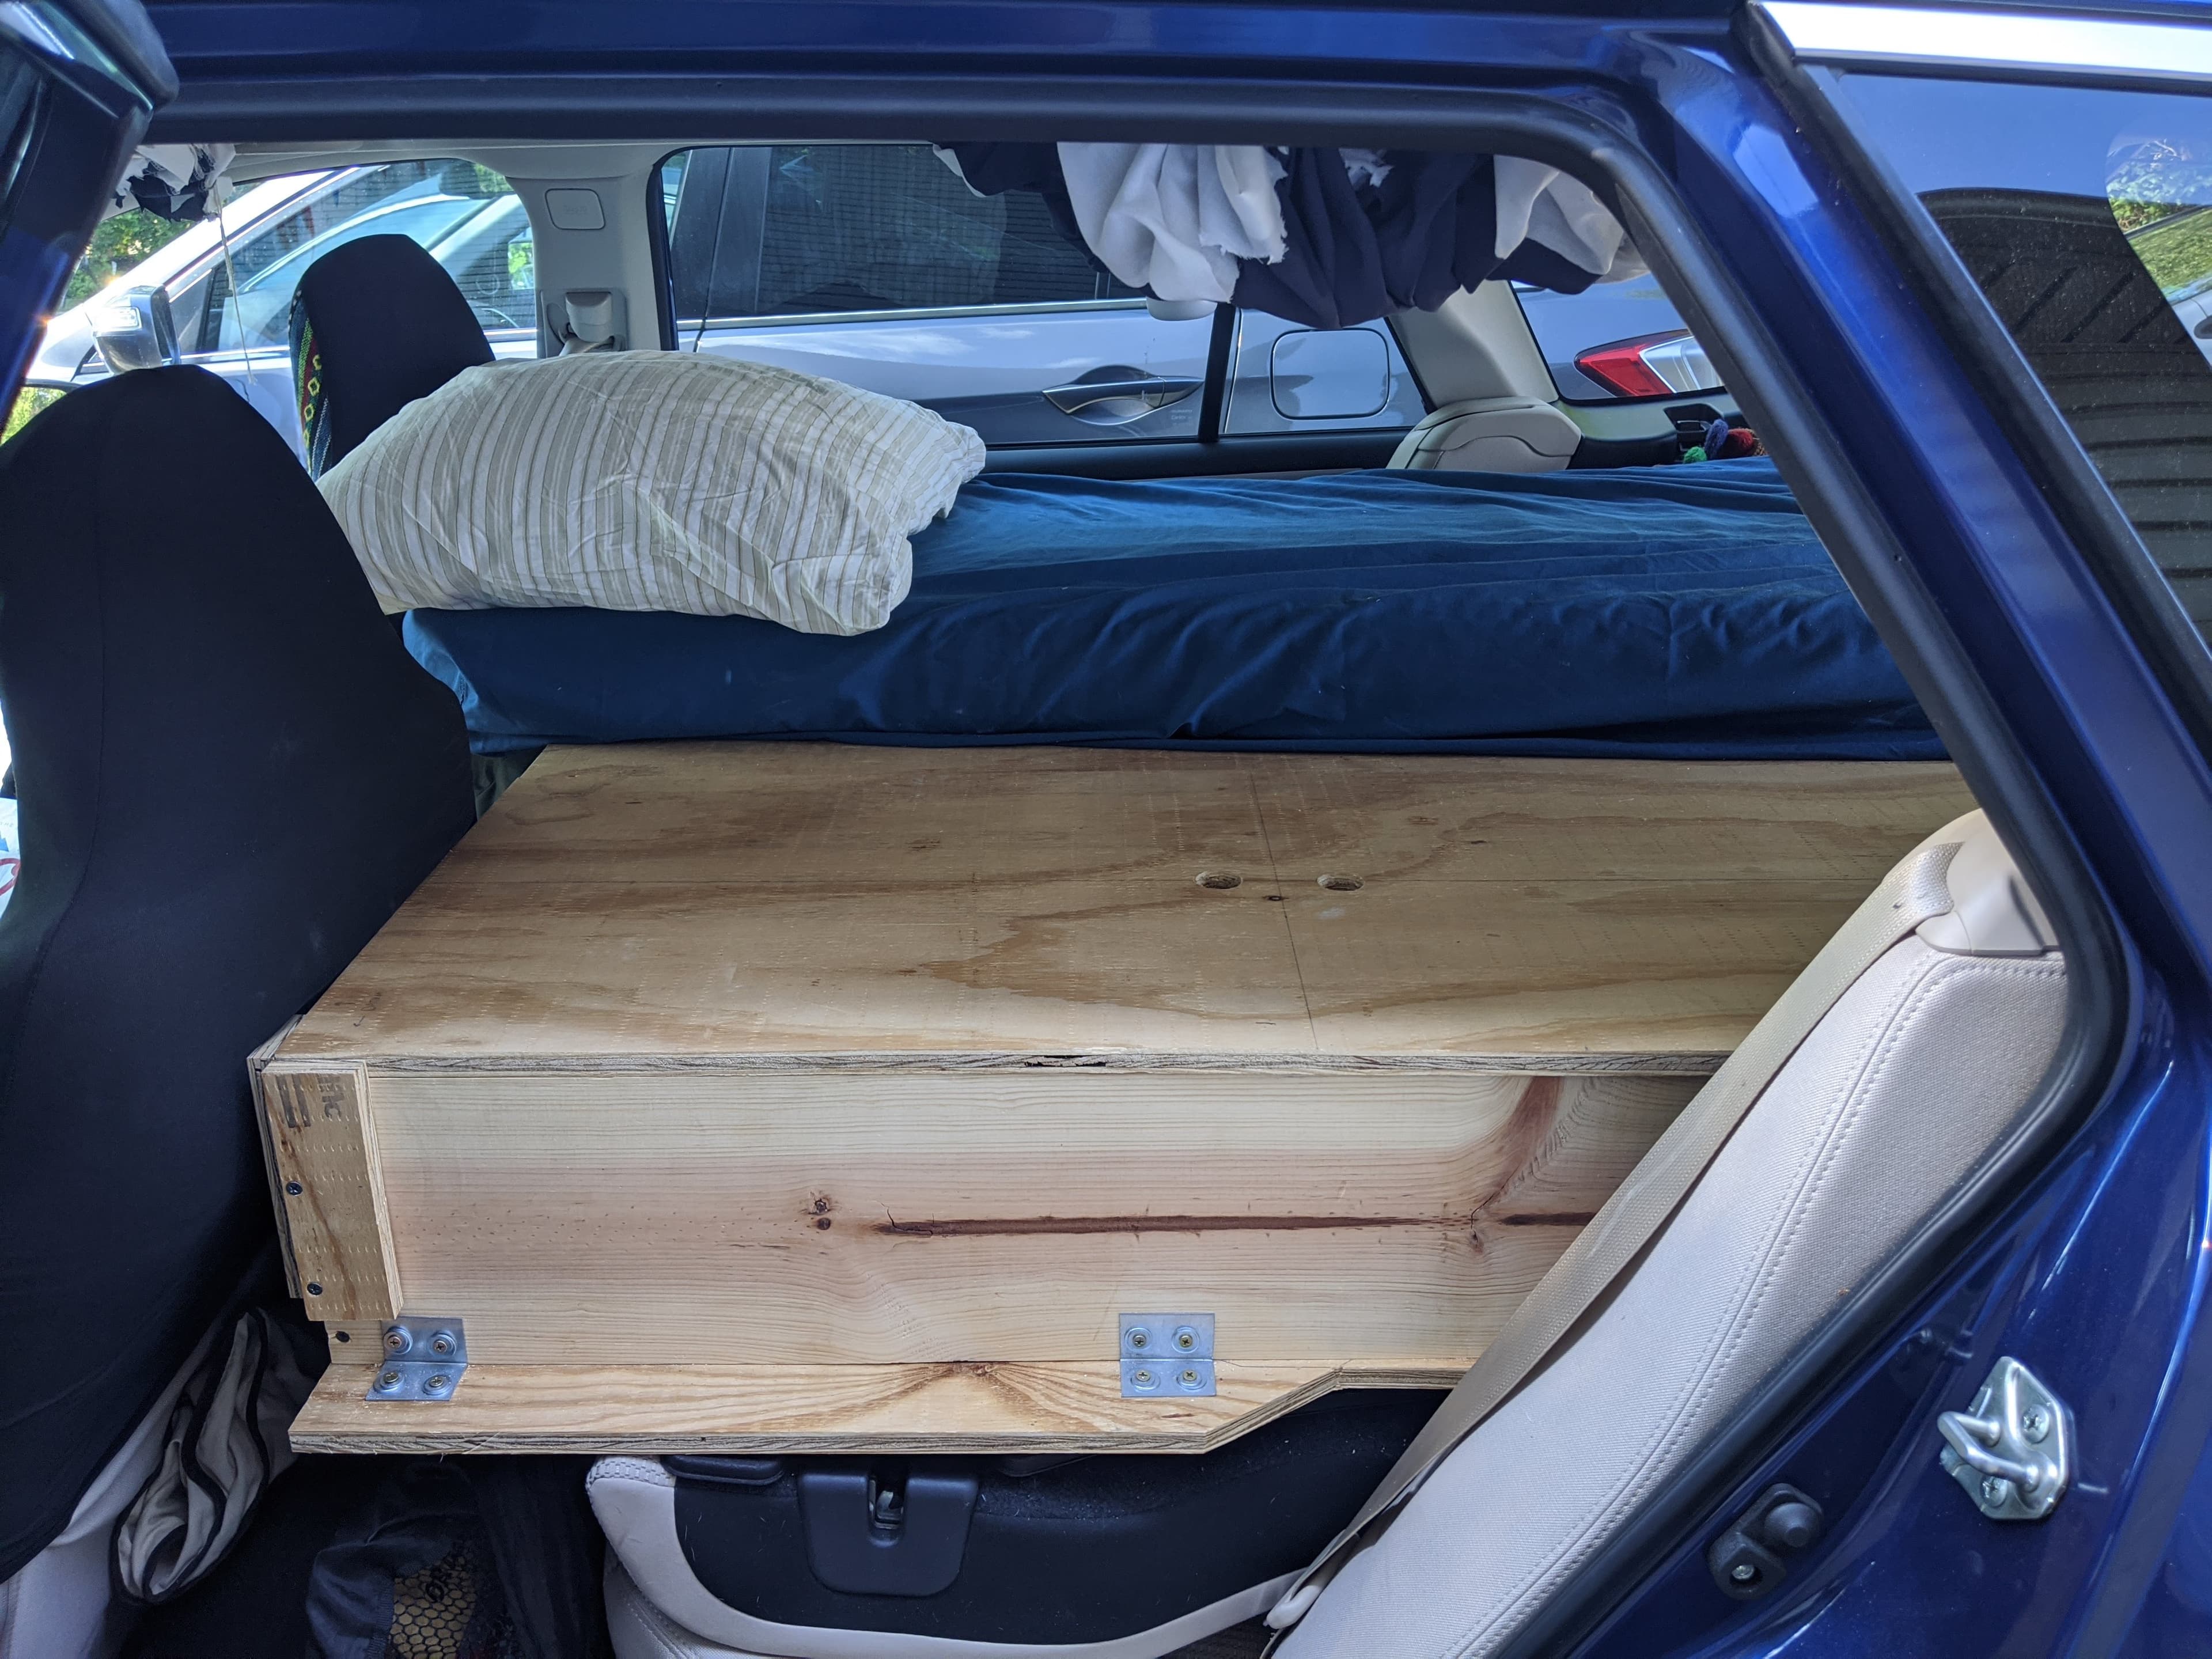
6) Building the Closet
I wanted my clothes to be easily accessible from my bed/mattress, so I cut out a "closet" that accesses a compartment within the camper build. The compartment could be accessed by simply opening a covering panel. When closed, the panel is still load bearing to hold my weight or whatever else I needed to store in my trunk.
7) Finished product
In use
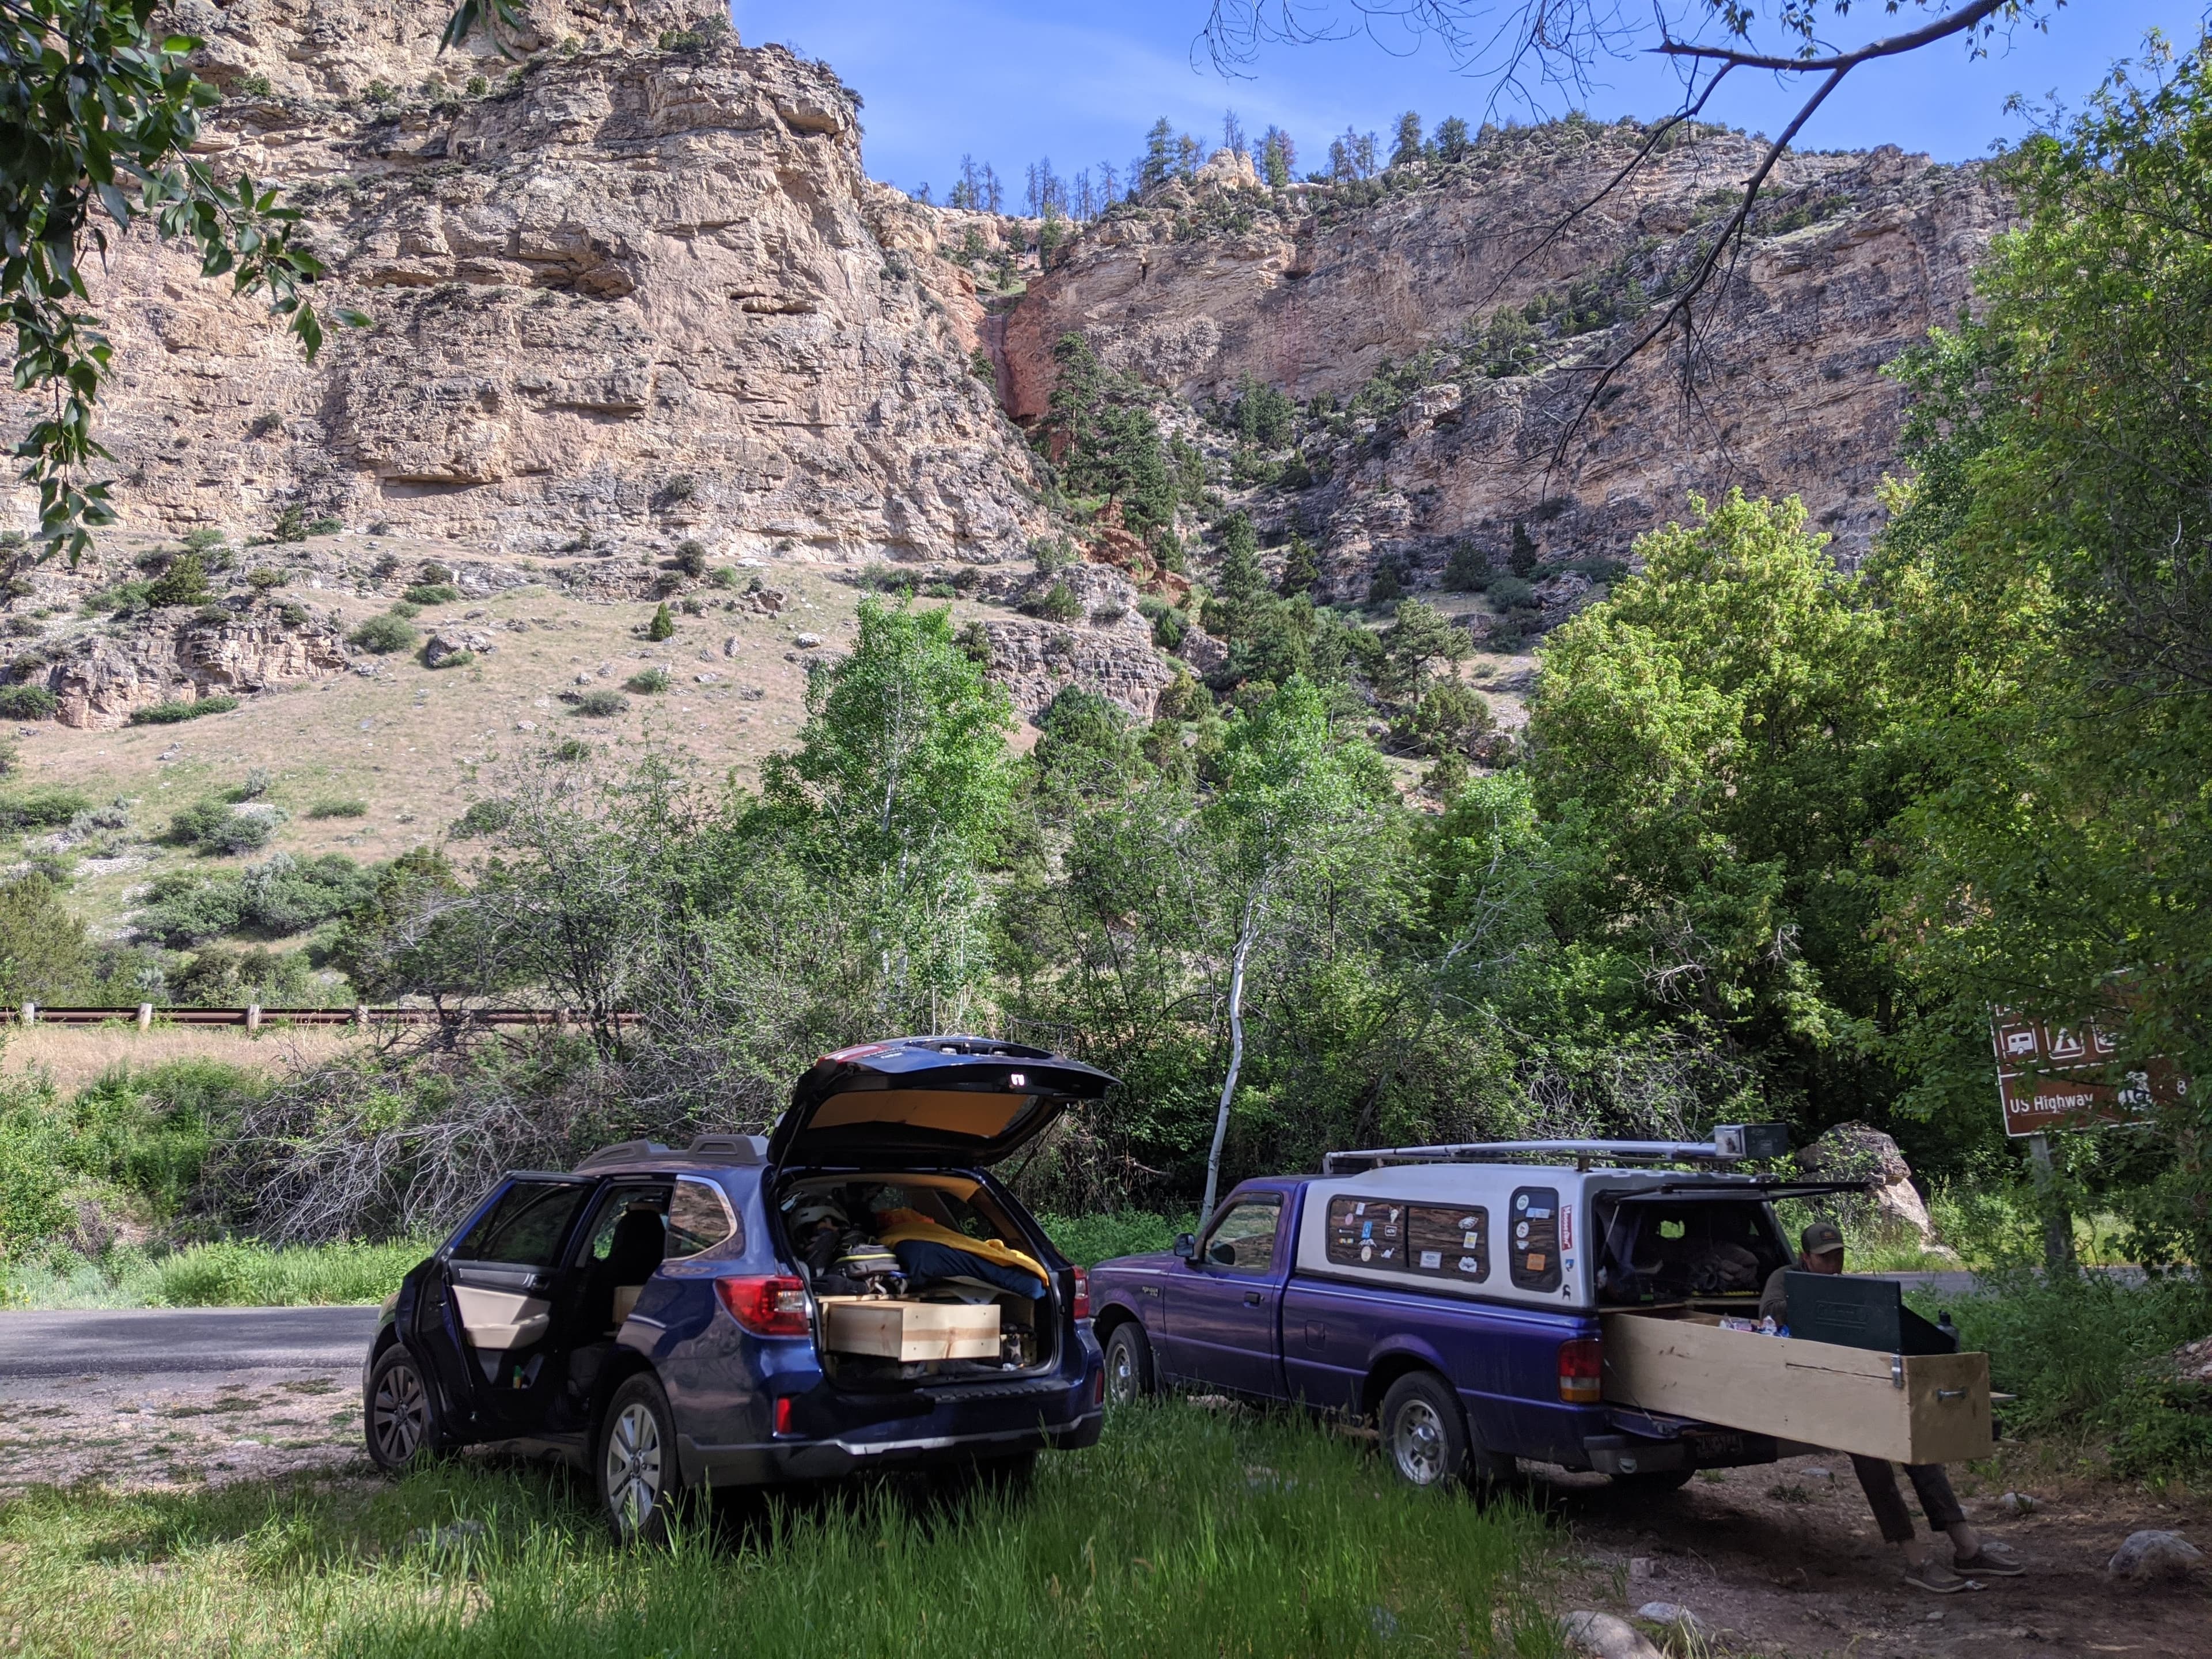
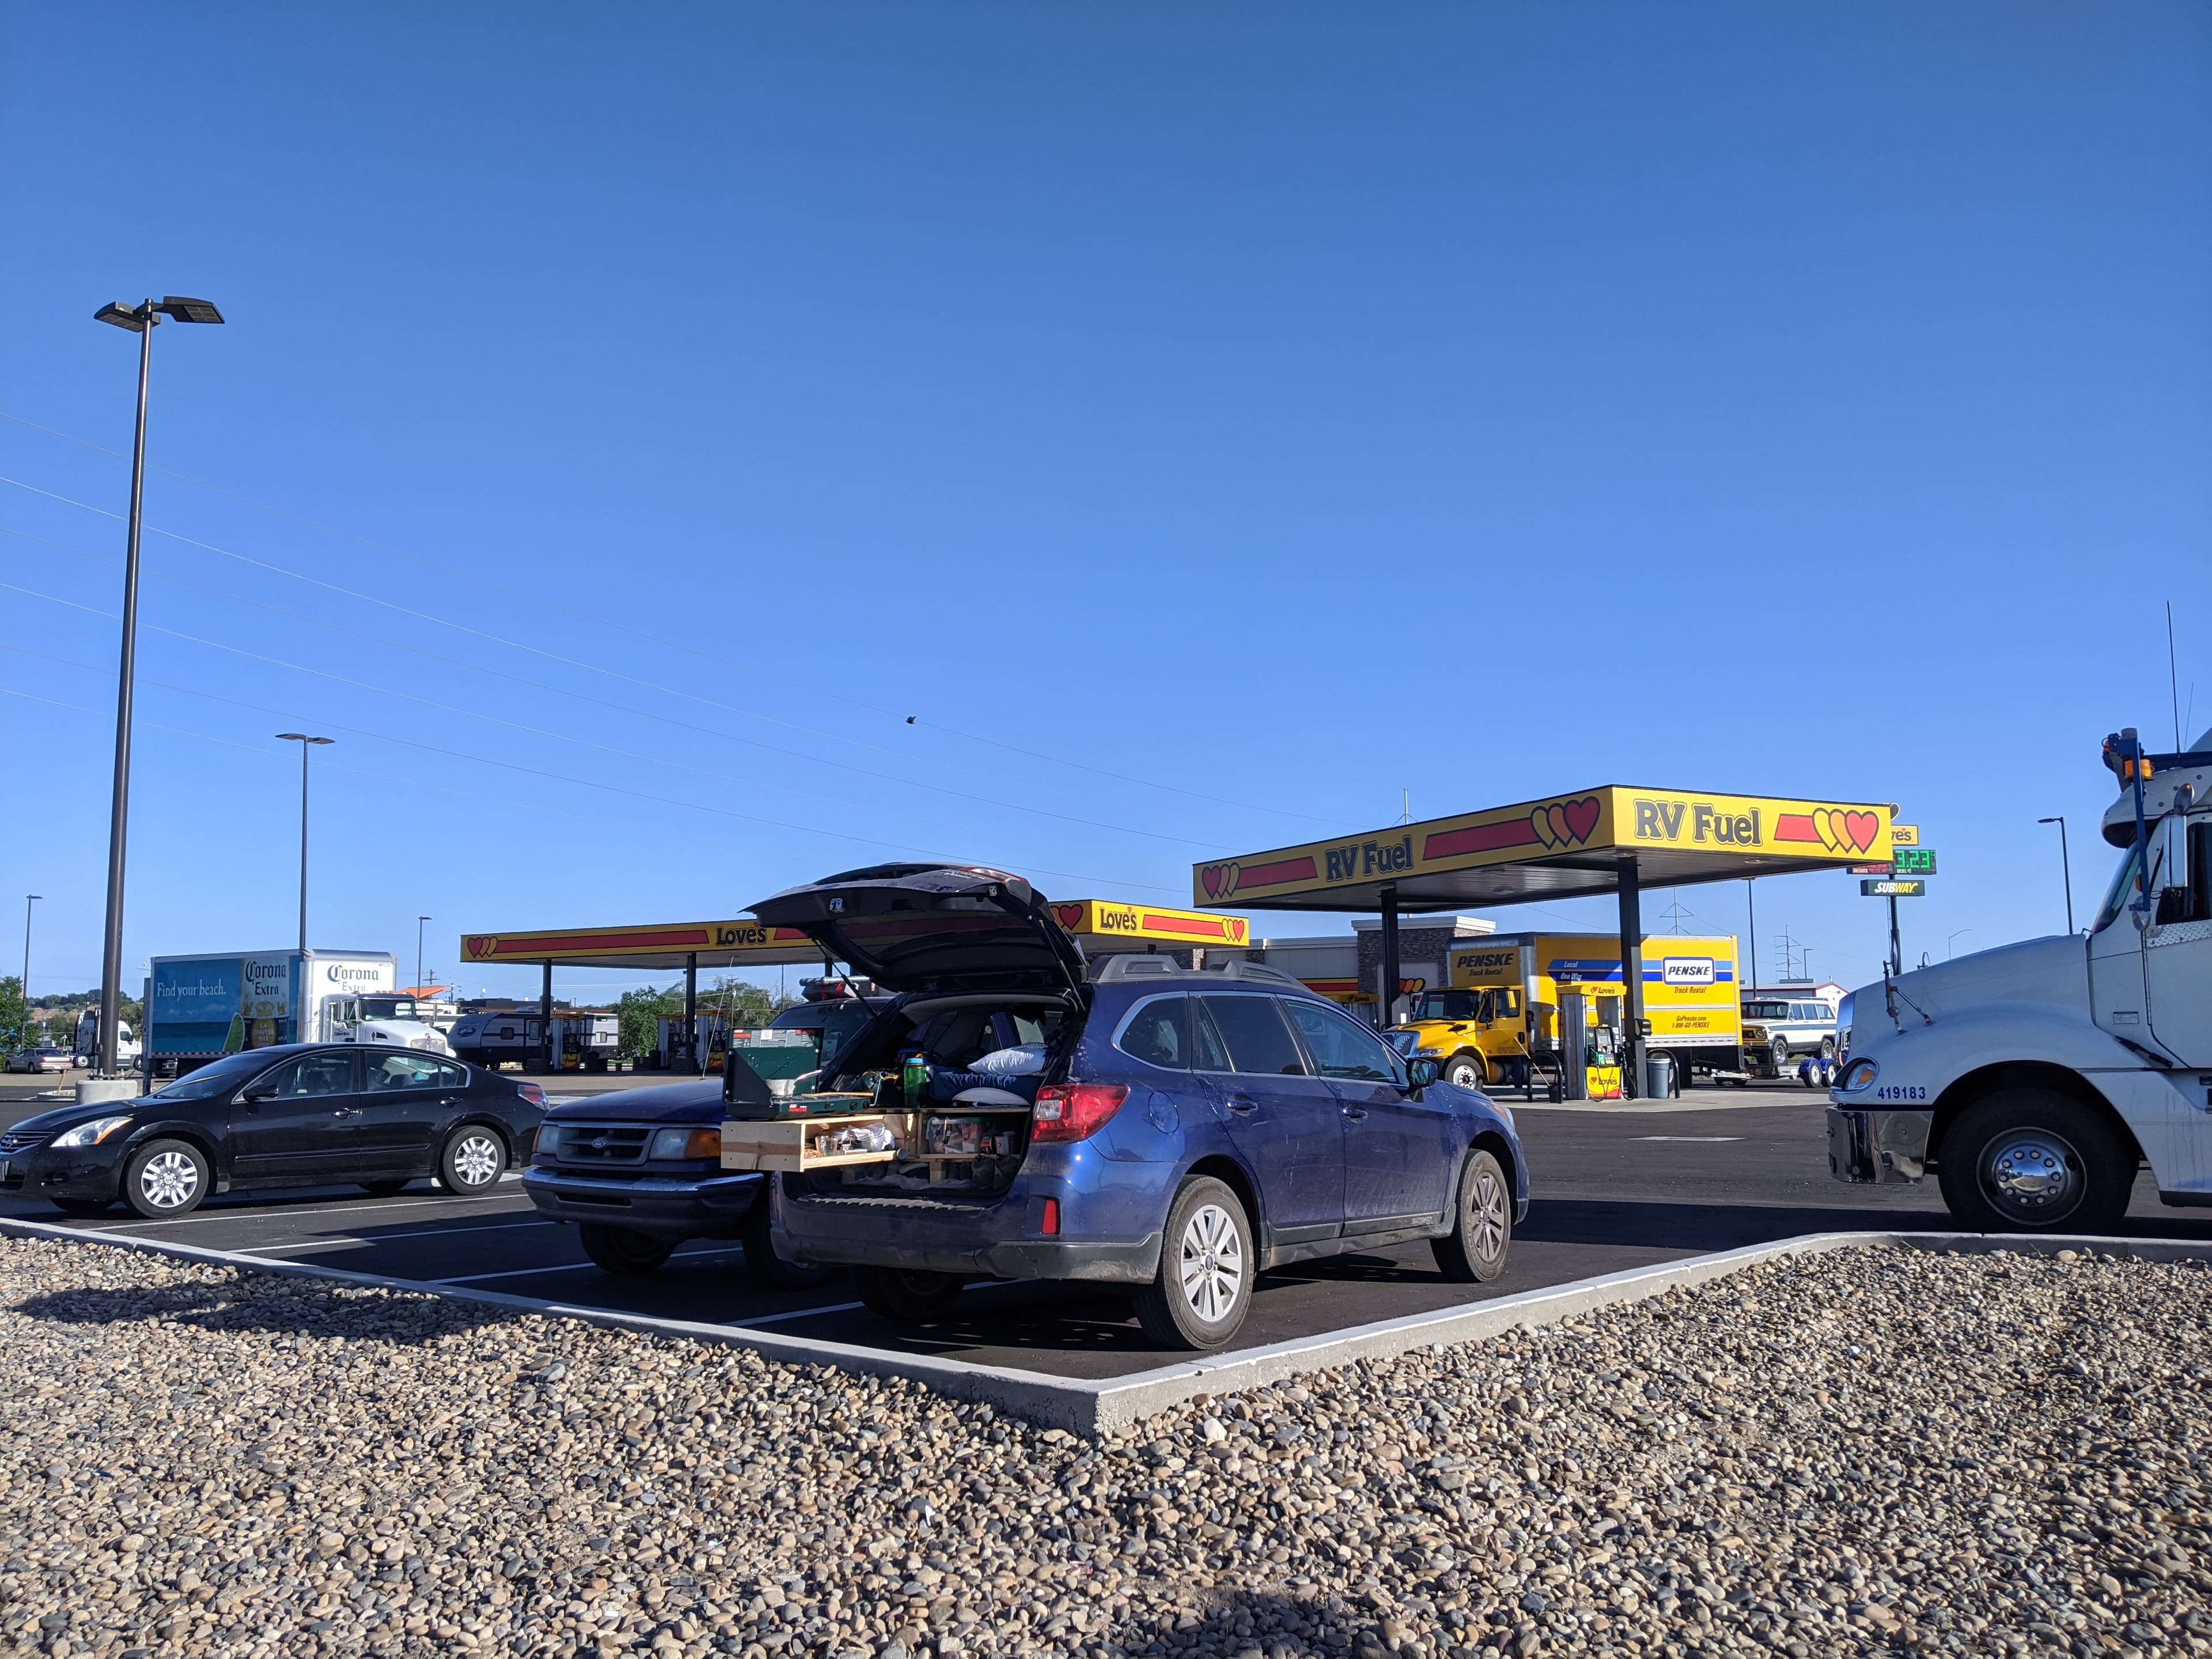
Using the Rig
My friend and I convoyed out west in our respective trusty steeds on a fully-loaded roadtrip. We took our diy campers through the mountains, deserts, rainforests, and coasts from PA to Washington with a lot of stops along the way.